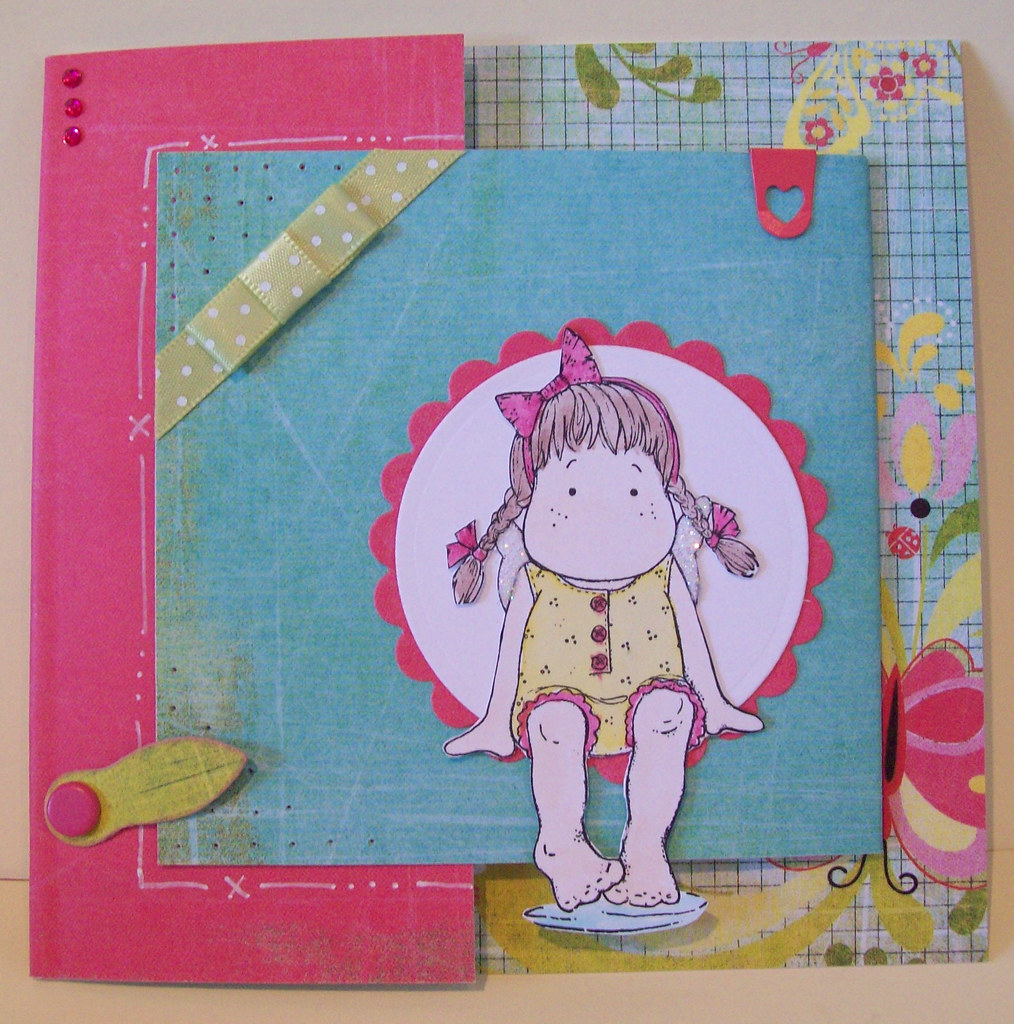
I have made a few cards now, so hopefully I can start updating regularly. I'm going to save some and not blog them all at once! I hope there might still be some people out there who will come and read my blog! Its been so long.
Showing posts with label Pink Petticoat Images. Show all posts
Friday, 8 October 2010
I'm Back...for a while at least!
My big boy Adam has started school now and all of a sudden I feel I've got a lot more free time on my hands! although I've still got James to look after! I thought I'd take the opportunity to get back on track and make a few cards.
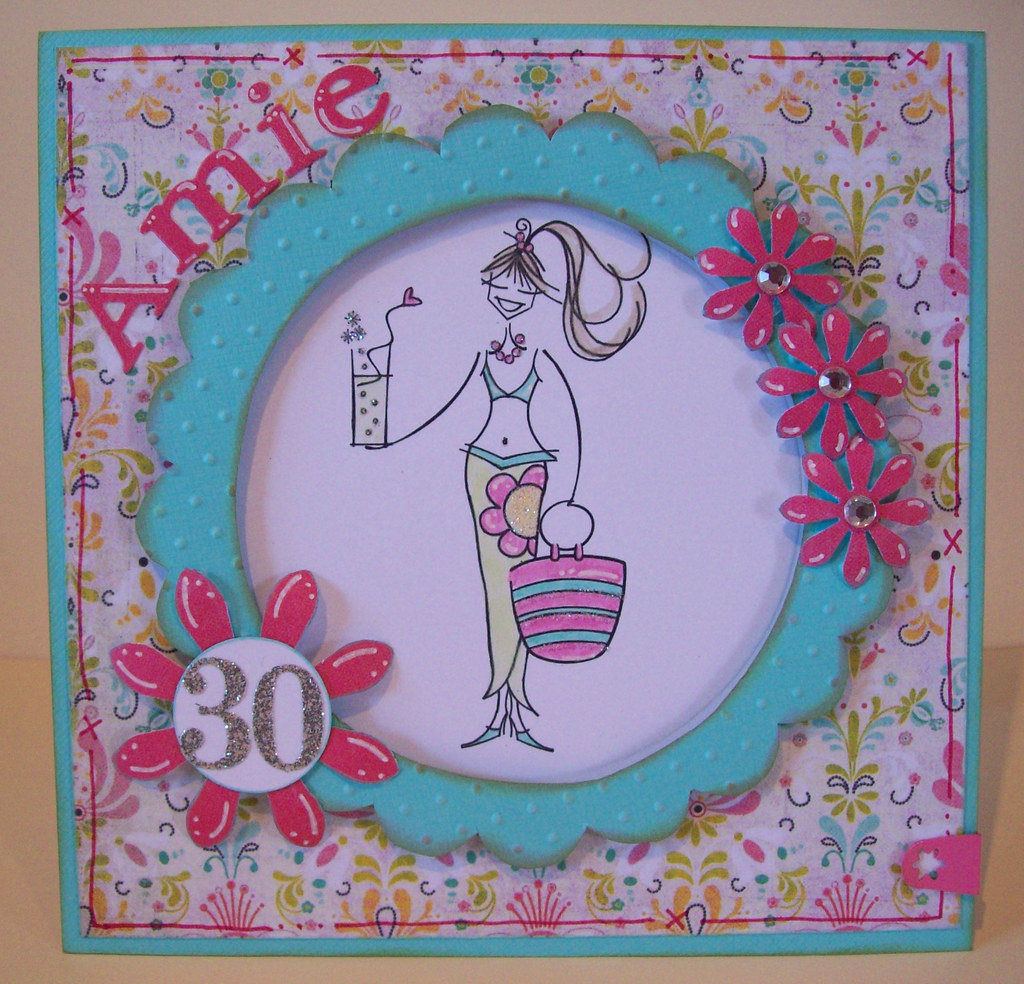
This card was made for an order for a lady who was having a Hawaiian themed party. I decided to use Beach Babe Lola from Pink Petticoat and have hand cut her a grass skirt! The papers are a Shabby Princess download. The numbers were cut out by hand as were the flowers which have been embellished with glamour dust and adhesive stones.
Tuesday, 24 November 2009
I've been so Busy Busy Busy!
I can't quite believe how many cards I've made over the past few weeks! My boxes were virtually empty and I have a craft fair coming up in December so desperately needed to get some made! Also with my expected delivery at the end of February, I dare say that I'm not going to have a whole lot of time for crafting then!
So first up, I'll show you some of my Non- Christmas cards. I've made a few new ones but have mainly been re-creating some of my older designs in bulk. I must have made about 100 cards in the past few weeks, which by my standards is a huge amount! Several trips to Hobbycraft and lots of double sided tape later....
Here is a layout I used a few posts back, with this squares design, only last time I did all one colour, this time I decided to use a patterned paper and co-ordinating cardstock. The papers are Epsom and Pink Petticoat. The sentiments are craftwork cards. I have to say, I like these better than the ones I did before!
The pink and brown version has got to be my faveourite! I've made a couple of each card too to help bulk out my box.
Bathtime Lola is kind of a re-make of a card I did before, in the respect that the image sits slightly high of the card. Its still able to fit into a 6"x6" envelope though! I did measure and check it before I stuck it down. The papers here are from a DCWV stack. The sentiment is Craftwork Cards. I've used glamour dust on the bubbles to give it a bit of sparkle!
I'll be back later with some more!
Wednesday, 4 November 2009
Pink & Girly
I've had a few Children's parties recently and here are a couple of cards I made for my son to give. The first being this cute Peppa Pig card. I've used my new hearts embossing folder which I love! The papers are from Imaginisce and are from the Happily Ever After range (I think!!) I've stuck some gem stones onto peppa's crown and have used some glamour dust on her wings.
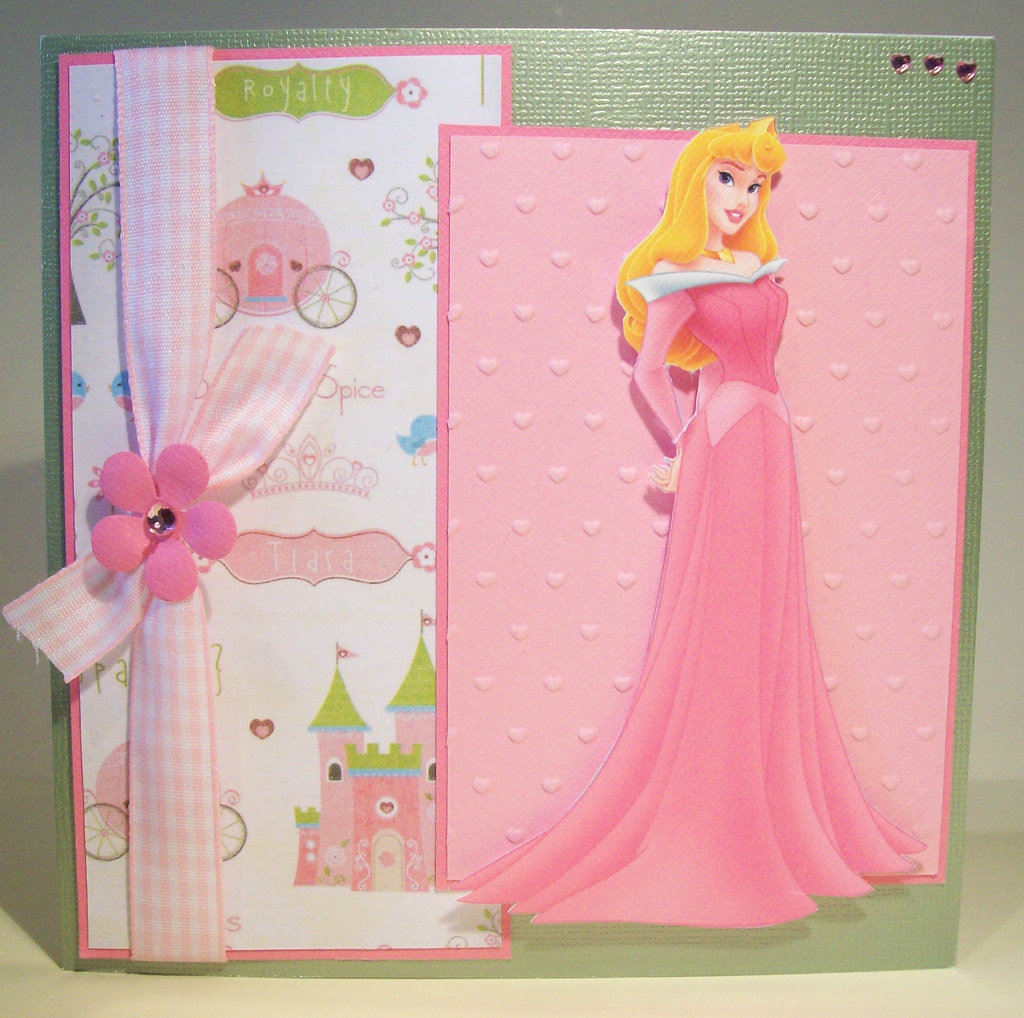
Using the same layout and paper! I've gone for a Disney Princess image this time, both of which tie in with the presents we gave! Hopefully both of the recipients were happy with them!
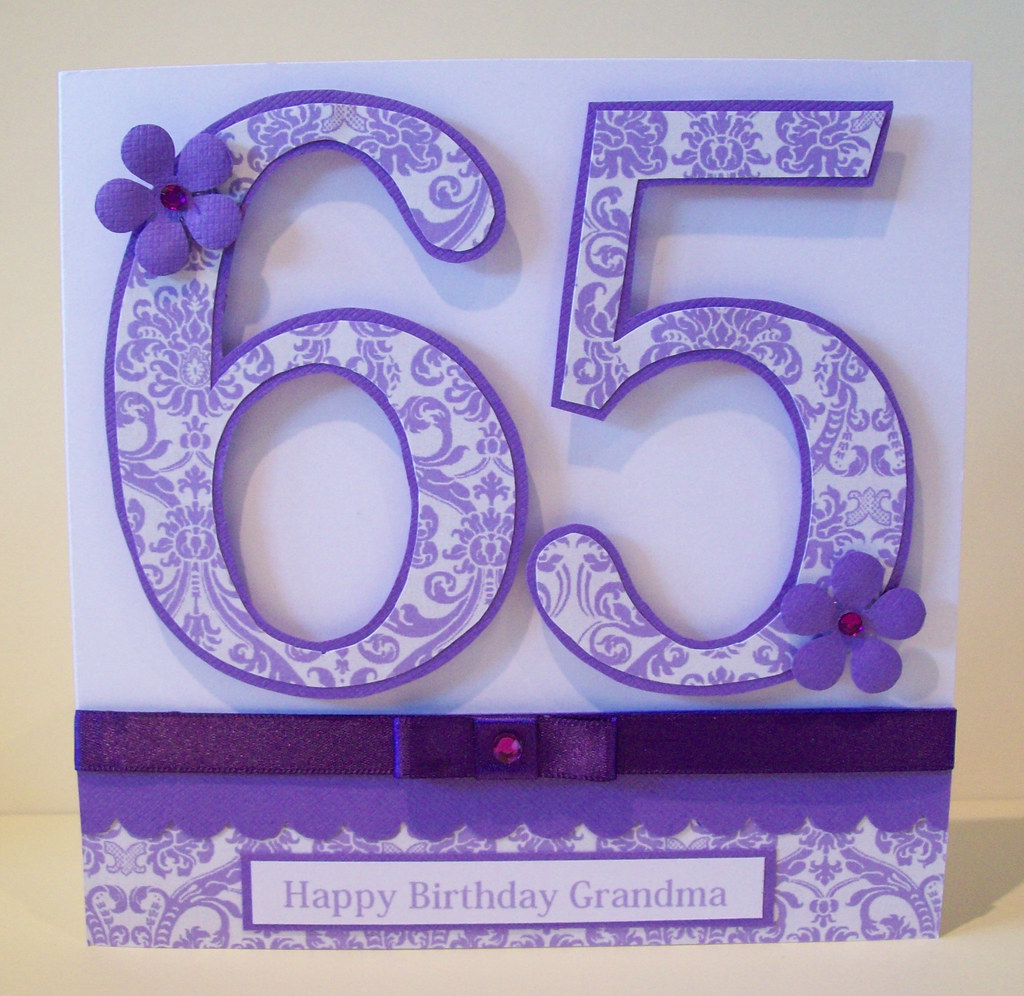
And another of my "number" cards, only this time in Lilac/Purple, which I'm quite happy with. not a colour scheme I would usually make this card in but it works!
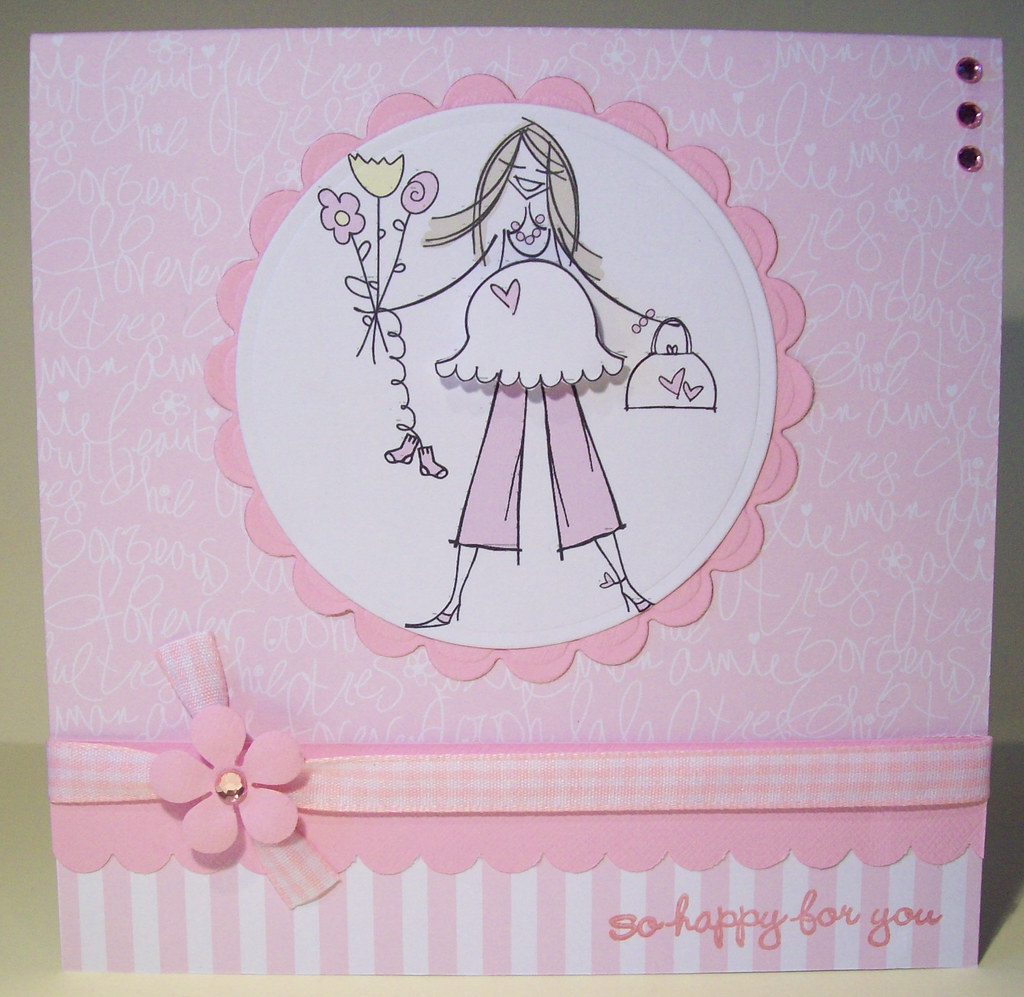
And finally, a card for my friend to give to one of her friends who has just found out that she's expecting! I dont get asked to make may of these, so I offered! I love this Lola Rose image from Pink Petticoat. All papers are Pink Petticoat too! The sentiment is part of a Hero Arts sentiment set. The baby bump is layered using foam pads to give it that extra bit of dimension!

Friday, 18 September 2009
The reason I've been a bit absent...
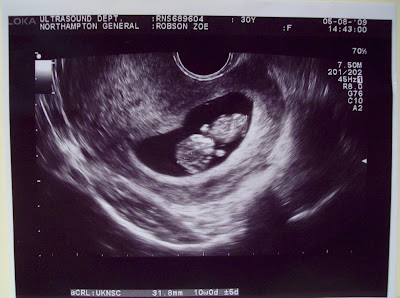
...I'm having another baby! and I've been feeling so ill this time round. I'm currently 16/17 weeks and just starting to get a bit of energy back! Its been a really tough few months, as we have had lots of tests carried out to see whether or not this baby has the same disease that we lost our little girl Rebecca too. The results have come back all clear, which is fantastic news but its been an extremely stressful and worrying time.
10 weeks
12 weeks
I've made some cards too! The first is a variation on a card from my last post. I was asked by this lady to make a card for her Aunt who is having a tea party for her 70th birthday. I had a go at trying to fold a little table cloth, and as it turns out, its a lot harder than you would think!
10 weeks
12 weeksI've made some cards too! The first is a variation on a card from my last post. I was asked by this lady to make a card for her Aunt who is having a tea party for her 70th birthday. I had a go at trying to fold a little table cloth, and as it turns out, its a lot harder than you would think!
I bought a few quickutz dies from ebay recently and decided to make a few simple cards for my box! I've made this card is several colours. The sentiment and border are printed directly onto the card. I've got a few orders that I need to get working on, so as soon as they are finished, I'll upload some pictures.
Thanks for stopping by!
Saturday, 5 September 2009
Its gonna be a long one! grab a cuppa!
Sorry for the long post...I've been such a bad blogger lately. I just dont seem to be able to keep up! In all honesty, i've not actually made many cards recently and the ones posted below have been made over the past couple of months. I thought it would be easier to put them into categories, so here goes!
Girly:
This card was made for my mum's friend, who wanted something pink with butterflies. What made it easier is that it was for her 85th Birthday, so I started with my trusty old number style card and embellished with butterflies and lots of adhesive stones. It was quite a difficult card to photograph with the mirrored butterflies.
This card is for my friends little boy and girl to give to their auntie. The request was for something pink and princessy with an image of a little boy and girl on it. I've stamped the Edwin and Tilda images but then scanned in the Tilda image to the pc and re-sized her so that she is slightly smaller than her big brother! I love these papers so much, very girly and sparkly! they are from the raqnge Fairest of them all by Imaginisce.
This card is for the same lady as the one above. Her sister has paid for her to have ice skating lessons for her birthday and wanted a card to match. I found a template on the internet for an ice skate and decided to use this papermania paper in the background as it has a swirly pattern, hopefully made to look like it has been skated on! I've added some extra glitter too! I'm really pleased with how this one turned out.
I was asked to make this card for a family who have recently lost thier teenage daughter. The lady asked for something with rainbow's and angels, but I couldnt find any angel images that I felt were suitable, but in a flash of inspiration I thought I'd use butterflies instead. The background image is one I found on Google. I'd be quite touched if I'd have received this card when I lost my little girl, and hope that the family that receive it feel the same too.
For my Mummy:
Tomorrow is my mum's birthday. I like to try out a new idea or project when it comes to my mum's birthday. I like to give her something a bit more special, something that's had a bit more effort put into it. This is my first flowerpot card. I used the tutorial found on Joanne's blog, which you can find here. I love Joanne's blog, its so inspiring and has many ideas for "no tools" flowers.
I found that placing the flowers was the most difficult part. I spent a very long time moving them around, trying to get them in the right place, but in the end had to settle and just stick them down where they were before it drove me completely insane! I tend to do that all to often with my cards! Not bad for a first attempt, but there are definately things I will do differently next time.
I've made another slightly different version for my son to give to his Nanny tomorrow. I've used a different stlye of flower punch and less flowers. This one was a lot quicker and easier to put together. Hopefully she will like them both. I wonder how long it will take her to realise how to find the message though! lol. Also I have added a little stand to the back of each of the flower pots so the stand up nicely.
I've bought my mum a nice boquet of flowers, which she had delivered today, and to go with them I bought her a small box of choccies. I've been wanting to make a little treat box for a while now, so today I set about making this one for her. I saw a box recently on Mandy's blog, which was shaped like a bird box. I thought it was really cute, and after a lot of searching, I still couldnt find a template anywhere. I've made this box myself based on the measuremenst of the choccies inside. I'm quite pleased with it. It's not quite how I imagined it would turn out, but a good first attempt. I've made the lid so that it just lifts off with the ribbon threaded through the top of the lid.
And finally, I made this card for my step-dad to give to my mum. I'd been working on this little paper pieced cake stand a few days ago and thought it would be ideal for my mum. The cupcakes are actually from one of the Pink Petticoat Lola Rose images which I've printed and cut out and then have heat embossed the tops with clear powder, to make them look like they have frosting on them, and then just coloured the topping in red. The teapot is also a Pink Petticoat image. The cake stand is made by simply using my Stampin Up Scalloped edge punch and a swirly punch for the legs. I'm really pleased with it! I've been looking around for a stamp with a nice cake stand on, but now I dont think I need one anymore!
I've had these little Craftwork Cards sentiments in my draw for quite some time now, and I really love them, but I dont use them as often as I should! They were my starting point for this card & candle gift set. I love the shape of the background on this card, not sure what the shape itself is called but I know there are a set of nestabilities out there like this, with my name on them!!!! one day I will own them! but for now I just drew my own template out of card and hand cut the shape. I've gone round the edge with my quickie glue pen and then sprinkled on some glamour dust for that bit of sparkle! I've then gone round the edge of the shape with my pokey tool and pierced the card. Then just a few adhesive stones to finish.
I love these flowers. They are quite large and were a freebie with one of my magazines a few months ago! The papers are from Pink Petticoat. I've used a few pins to firmly attach the card/paper and ribbon to the candle.
This card was inspired by Julie who's blog I came across whilst looking through the Craftwork Cards blog. I've spent a long time looking over her blog and her wonderful inspiring creations. I love the use of a single colour on this card, but I decided to add silver edges to the embossed squares and flowers and a touch of silver ribbon too.
I fancied having a go at one in colour too, and this is what I came up with. Something for the fella's this time!
Craftwork Cards Inspired:
Something for the kids:
I'm always really inspired by Kerry's blog and was particularly inspired when I saw a card with this layout! I had this Edwin image coloured in and sitting in my box for a while so decided it was about time he was put to use. I found he co-ordinated quite well with these Basic Grey Abrosia papers.
This card is for my friend to give to her little boy on his 2nd Birthday. I've layered Thomas's face with 2 layers of foam pads and have layered the middle of the cloud with 2 layers of foam pads but have stuck the sides down with tape. The tunnell is hand cut/drawn and the train lines were downloaded from the internet and printed onto clear ascetate. I'm really pleased with how they turned out. I think I may try this with tyre treads for car cards too if I can find some to download!
This is a copy of a card I made a few months back, only this time in Sapphire Blue! I really love the simplicity of this card and have since made another one for a friends wedding recently.
This card was made for a couple who recently got married in Canada. My friend asked me to make it incorporating a Canadian theme somehow! As soon as she said that, I instantly thought of the Maple leaf and decided to copy a card I'd made in the past with the images of Tilda and Edwin sitting inside. I was really pleased with how it turned out.
I made this card for my Mum and step-dad's wedding anniversary last month. It was a bit of a last minute card, but I was so pleased with it. I've used a stamp that came free in a magazine and have stamped it using sliver ink and heat embossed the hearts. Finished with a nice silver bow and a few heart shaped adhesive stones.
This is a card I was asked to make recently. The lady had seen one of my cards with the champagne glasses on and had asked for it to be personalised with the names/dates. She also wanted to incorporate light turquoise too. I've used this pistachio card from doodlebug. I hope its the right colour for her. Its the nearest I had to light turquoise! I've added a few punched flowers and adhesive stones to finish. Again, with all the mirror card used, this was a really hard card to photograph!
And last but not least! Hubby and I will be celebrating our 6th Wedding Anniversary tomorrow. We've actually been together twice as long! It took him a while to propose! The colour scheme for our wedding was Ivory/Gold and I like to make our Anniversary cards in gold to match. Not that I guess he would make that link though. Again the hearts on this card were a free stamp from a magazine, which I've stamped in gold and heat embossed. I've embossed a strip of white card with my swiss dots folder, added a strip of gold ribbon and edged it on some matt gold cardstock. The sentiment is stamped in gold too! There is A LOT of white space on this card, not something that I'm all that comfortable with, but I know its the sort of card that my hubby likes! Hope he likes this one too!
Using the same layout again, but this time with Tilda, whos so cute! and some more Basic Grey papers. I think this is the Bittersweet yummy chocolatey collection. Such a simple, yet striking layout.
Weddings & Anniversary's:
Well if you got to the end of this post, thank you for stopping by and reading. Hopefully I will update a bit more often in future!
Wednesday, 1 April 2009
I've gone a bit overboard with the Urban Prairie
A couple of weeks ago, I treated myself to the Urban Prarie paper pack from Basic Grey and I really fell in love with it. Its full of very bright spring like papers. Subsequently I've made quite a lot of cards using them! First up is another joy-fold card. Not one of my best cards, but something a little different.
And another view!
This next card is one I've been asked to make for a lady who enjoys all things sparkly and pretty and also loves her holidays. I decided to print off this beach babe lola from Pink Petticoat. Ive had this set for a while now and never made a card with her before. I've doodled this card quite a bit. I think I got carried away! The numbers are making memories glitter stickers, they sparkle much more in real life!
I made this one a few weeks back when I was having a surge of inspiration. I've used the aqua card as the base, which is not something I normally do. I usually just layer the coloured card onto a white base card (i'm stingy and dont like to use up too much of my coloured card!) but thought as this was a colour I don't use all that often that I'd use this instead.
The image is a Magnolia Stamp with a computer generated sentiment. The flower is one of my doodlebug flowers. Its lovely. All glittery and shimmering!
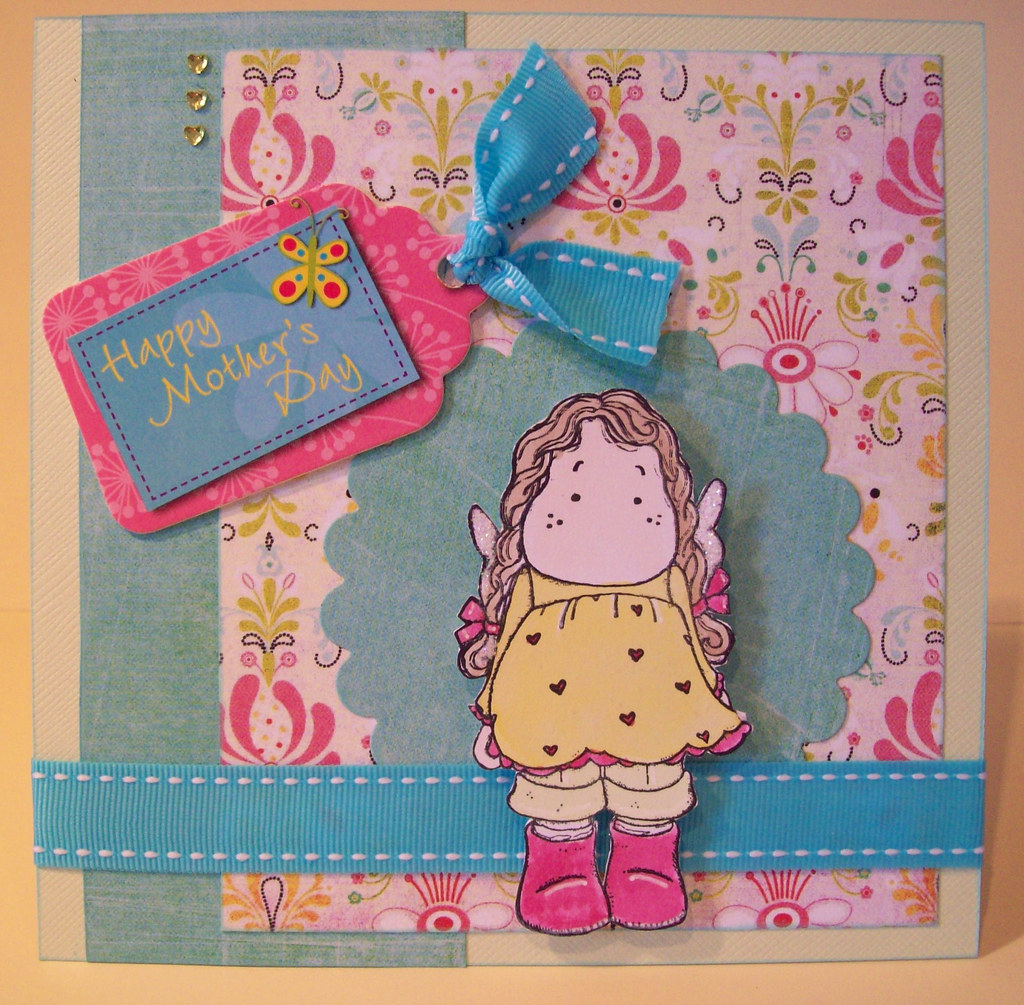
I was trying to make some quick mothers day cards for a couple of orders I had and already had a couple of magnolia images coloured in. The little tag sentiment is one from a free set that came with a magazine last year! I knew I would use it eventually. It co-ordinates perfectly!
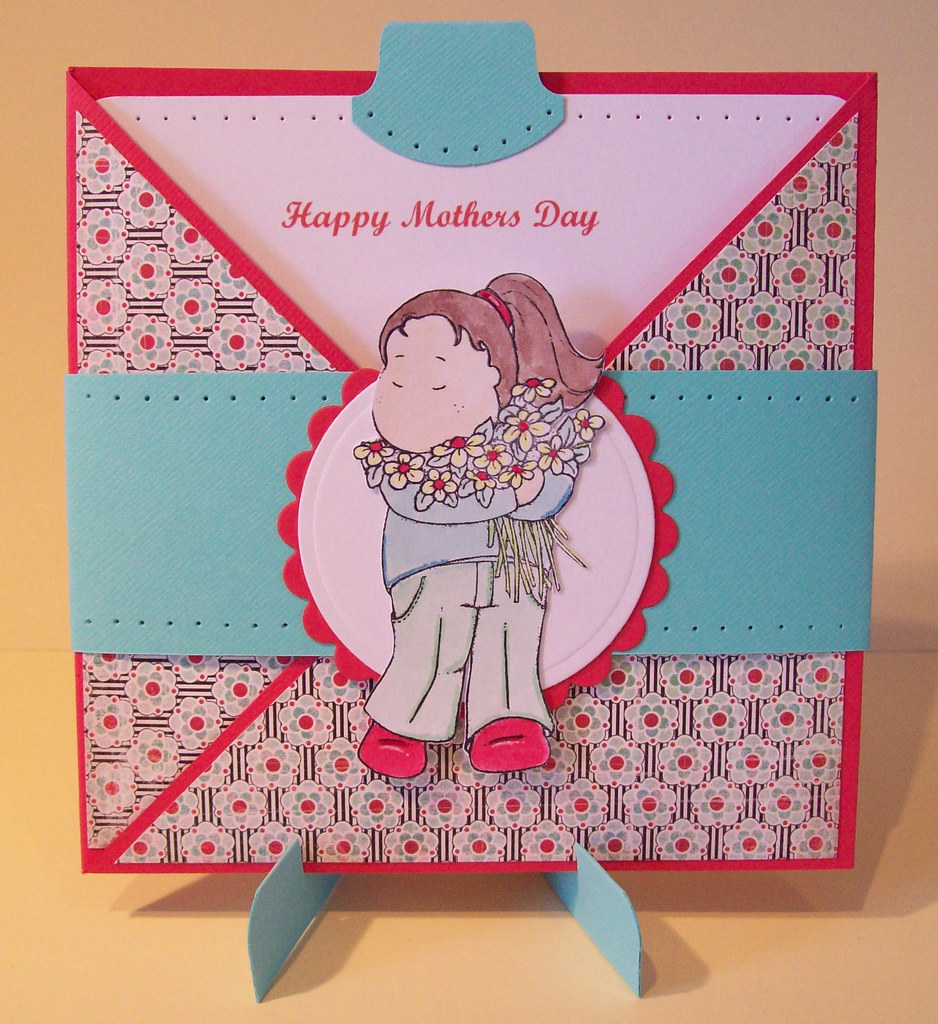
And another criss-cross card, I'm really loving these at the moment. This one was made for mothers day, but can easily be changed for any other occasion as the white card can be removed and replaced. I really like the colours on this paper. Red and this turqouise seem to go really well together, I may have to combine these two again.
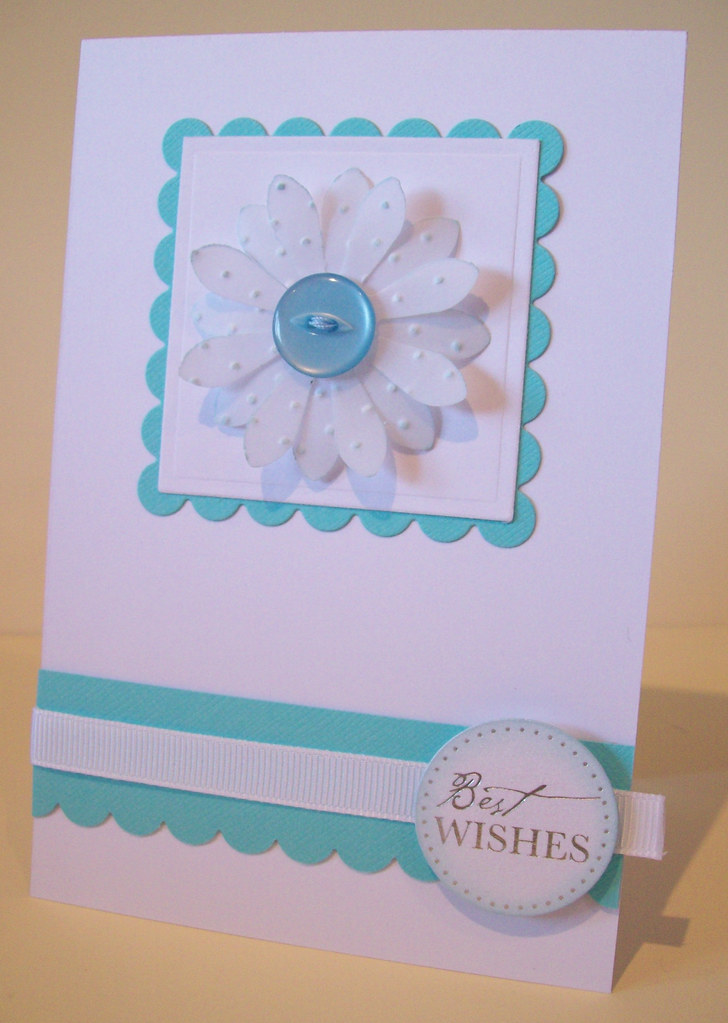
Finally, this is a card I made when I was experimenting the other day. I saw a card with a vellum flower in a magazine which inspired me. The vellum i've used is quite thick. I've embossed it with the swiss dots folder and then inked the edges. I'm not really sure that this was the card I intended it to be, but it works as a simple quick make!
I've been a busy little bee...I've lots to show you
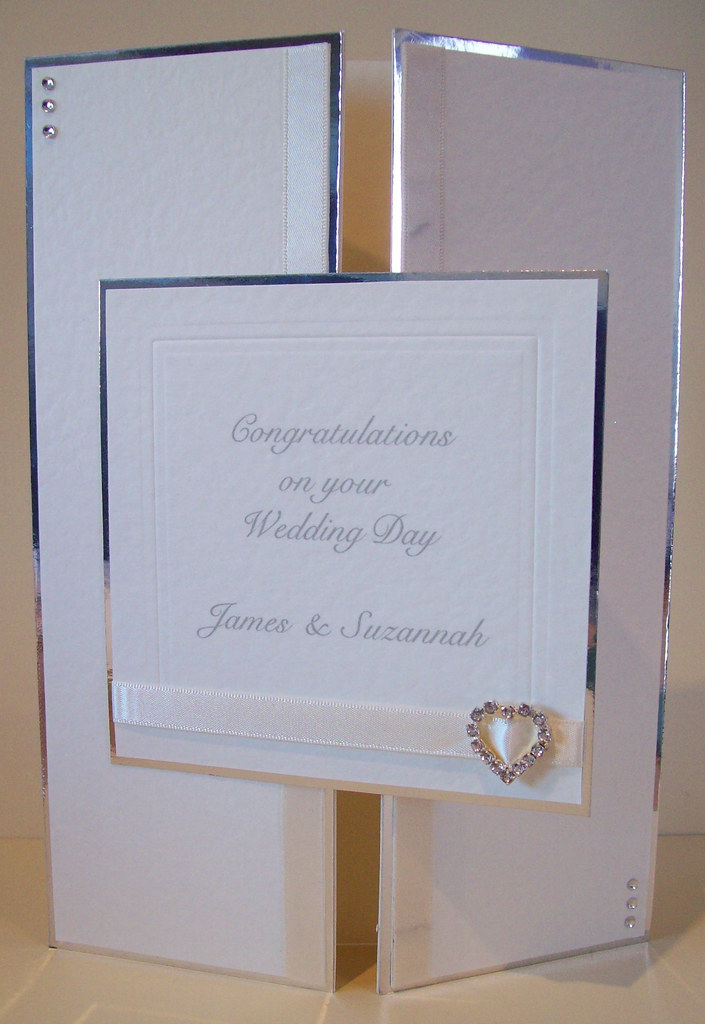
First of all, my mums friend, one of my most loyal customers! asked me to make her a wedding card which matched the invitation she received. She actually gave me the invite so I could use the embellishments from it which was really handy. She specifically requested an A5 gatefold card and this is what I came up with!
The picture doesnt really do it much justice, its much prettier in real life. The original invite was simple a DL sized card with the ribbon and heart shaped diamonte buckle. I wanted to make the card simple and not too fussy. I've embossed a square with my nestabilities, a new technique for me! Usually I just cut and emboss them! I then printed the sentiment from my pc and mounted using silver mirror card. I've added two strips of the same ribbon to the edge of the card and finished with a few extra adhesive stones! I dont think you can beat simplicity when it comes to wedding cards.
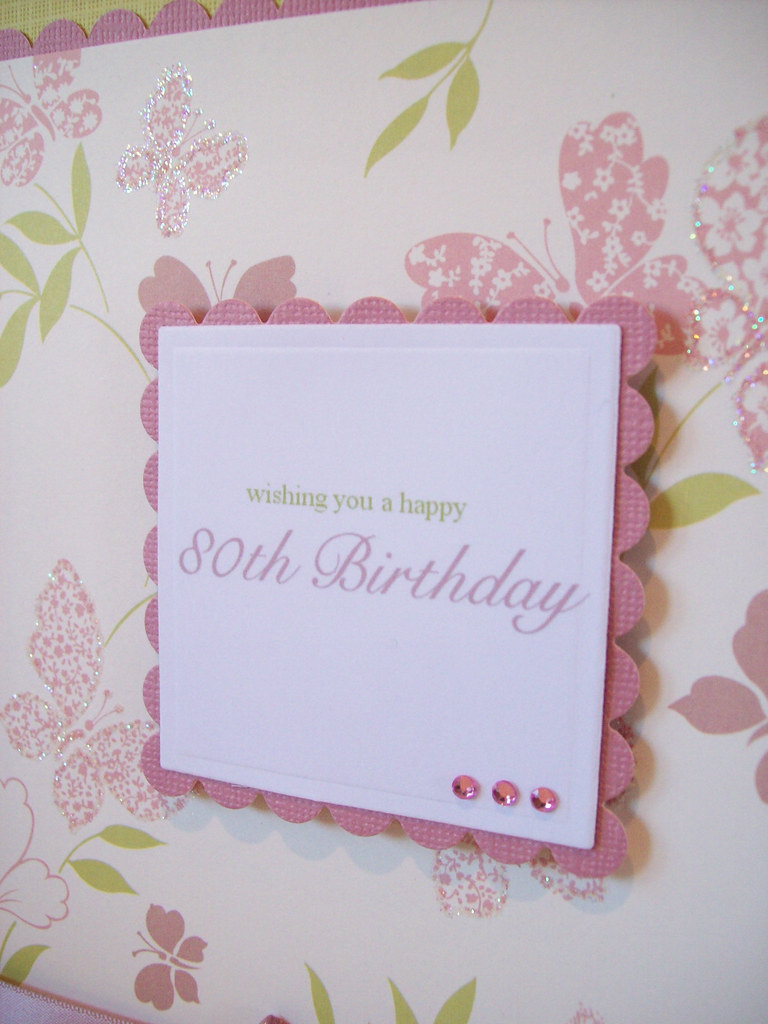
The same lady asked me to make another card for an 80th Birthday, she wanted it to be quite simple with butterflies and flowers. I had a rummage through my stash and I pulled out this beautiful paper, by Laura Ashley. This is one of my favourites, I absolutely love the colours.
I've added some glamour dust to some of the butterflies for some added sparkle. I decided to make the sentiment the main feature of the card instead of sticking something else on and ruining it. I printed it from the pc and layered it using my trusty nestabilities, adding a few adhesive stones to finish it off. This has got to be one of the quickest cards I've made! I hope she likes it as much as I do.
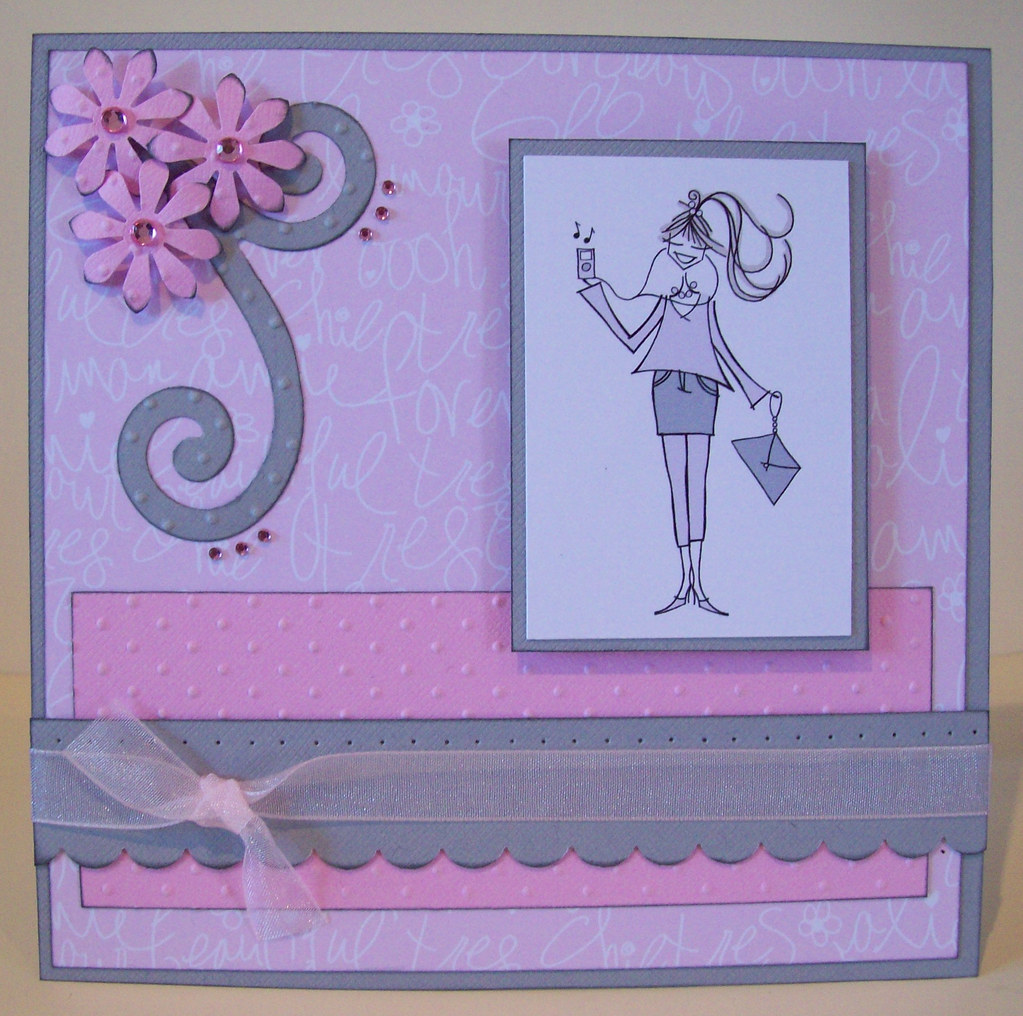
Here are a couple of cards I made using some Pink Pettticoat Images. I love these Lola images! I'd actually had this one printed off for a while, so thought it was about time I made good use of her. I really love this combination of pink and grey.
And this one, I'm not sure about. I love the papers and the colours, but something about it just doesnt feel right. Its a sketch I've used on a few of my cards and they have all looked ok, but it doesnt seem to work her. The papers are from the Basic Grey Urban Prairie set. I've added some glamour dust to finish it off.
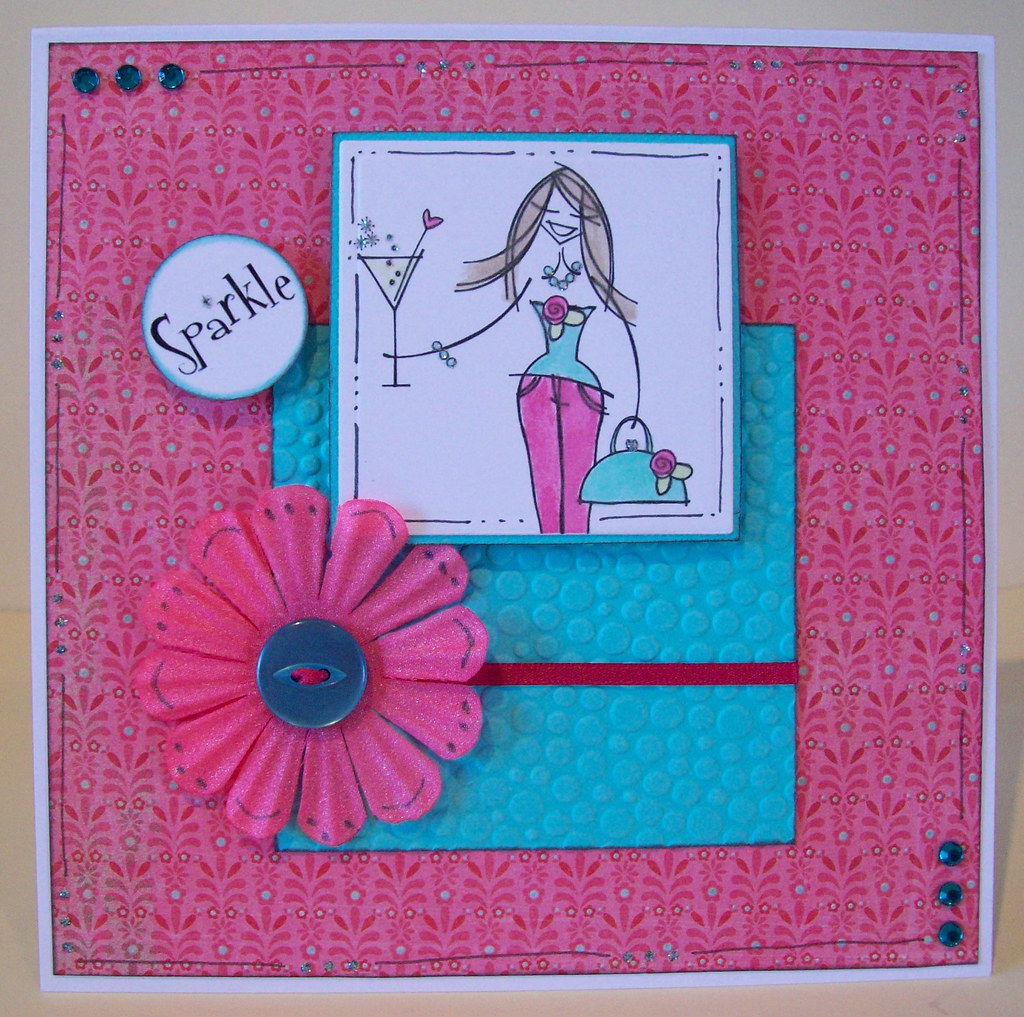
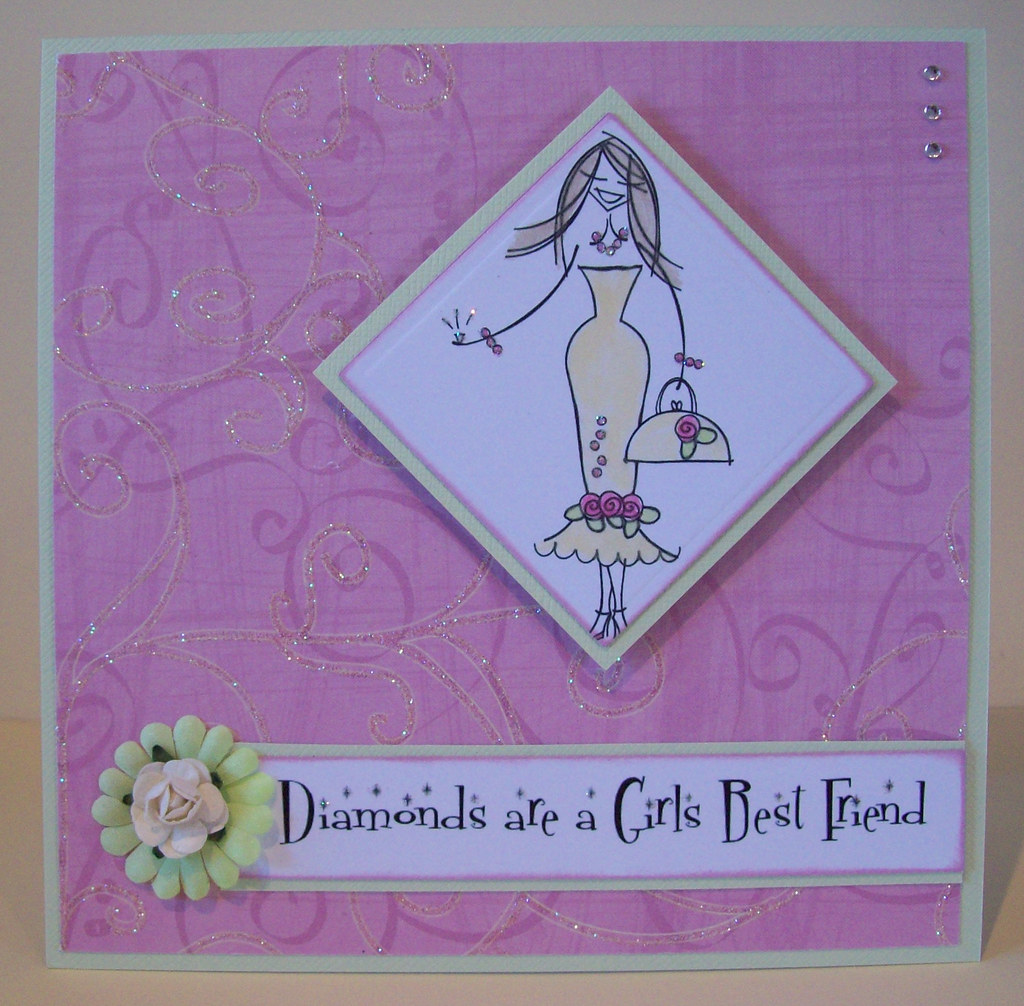
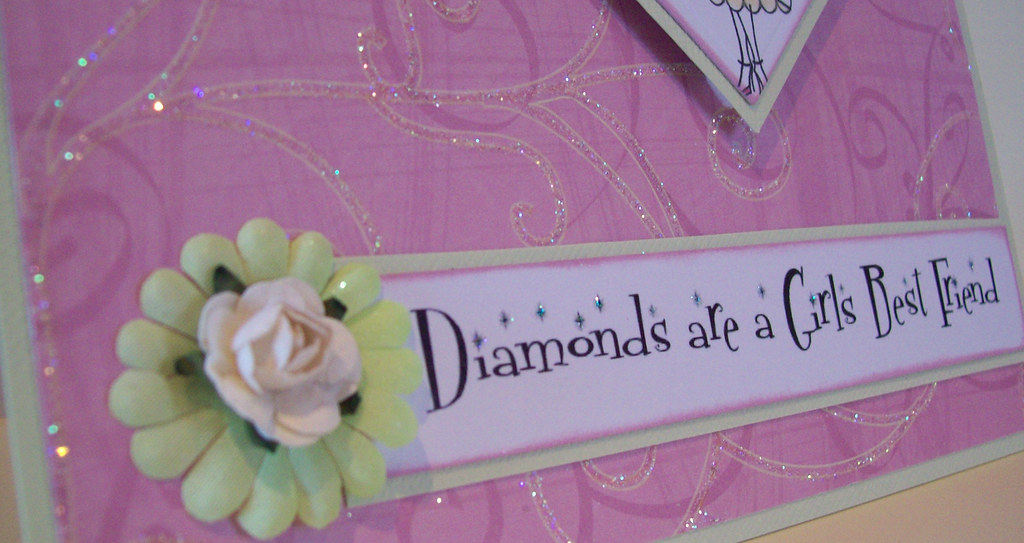
And the last pink petticoat card! I think this is my favourite of the three, I have used my quickie glue pen and glamour dust to highlight some of the flourishes on the paper. The sentiment is printed from my pc using the "Sparkly" font from Fontfinder.com
I've added quite a bit of glamour dust to lola and to the sentiment too.
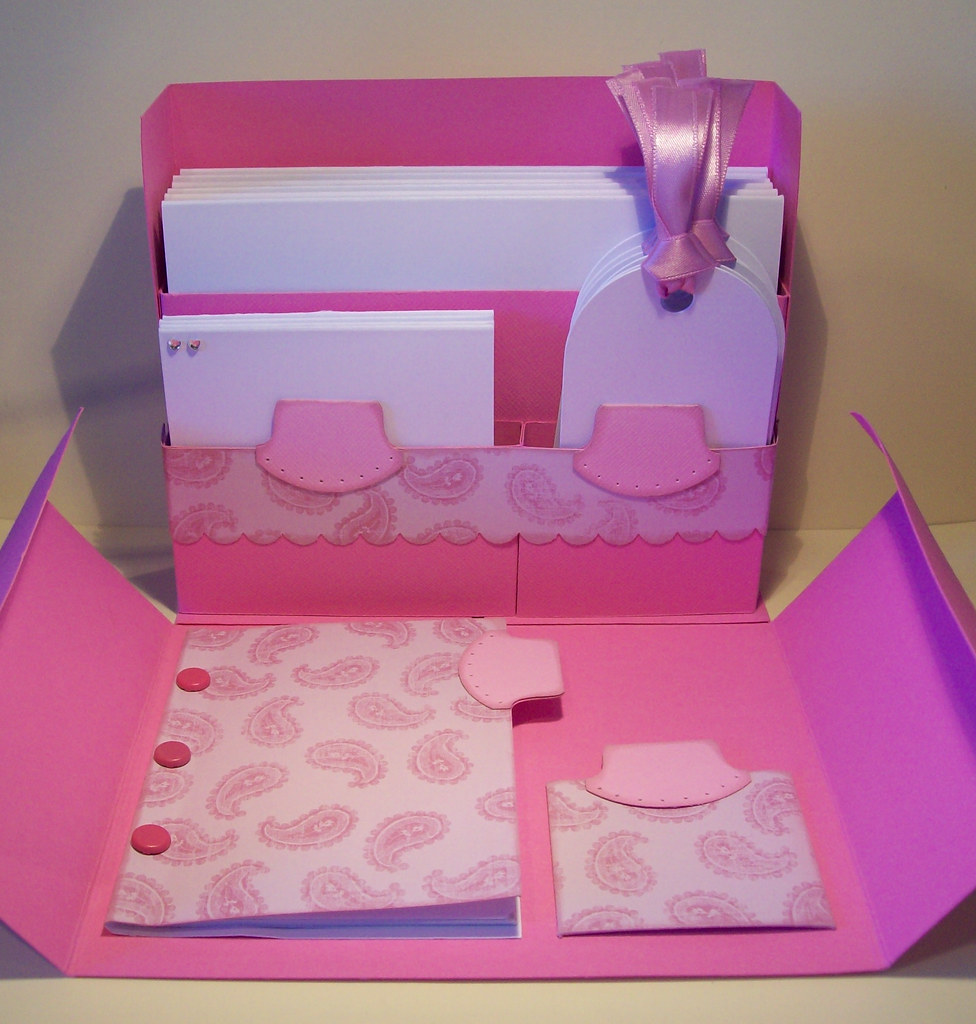
I've made another stationery box for the lady who ordered the first two card as a thank you gift. Again, I've made a matching criss-cross card to go with it.
The only problem I've discovered when making the stationery boxes is that I've made A6 sized notecards to go in the back section, only I can't fit the envelopes in, they are about 1cm too big! So before I make the next one I have to resize the cards and find envelopes to fit! For now though she can have a pack of envelopes seperately!
I'm really pleased with how these have turned out. The box itself is very quick to make, its the contents that take the most time.
Right, I think thats about all for this post. I will be back soon though as I have more cards to show!
The same lady asked me to make another card for an 80th Birthday, she wanted it to be quite simple with butterflies and flowers. I had a rummage through my stash and I pulled out this beautiful paper, by Laura Ashley. This is one of my favourites, I absolutely love the colours.
The sun is shining here today, and it feels quite mild too, so I'm off to make the most of it before it goes again.
Hope you all enjoy your day.
Subscribe to:
Posts (Atom)