Friday, 5 December 2008

.....more Christmas Cards...a few for the men?

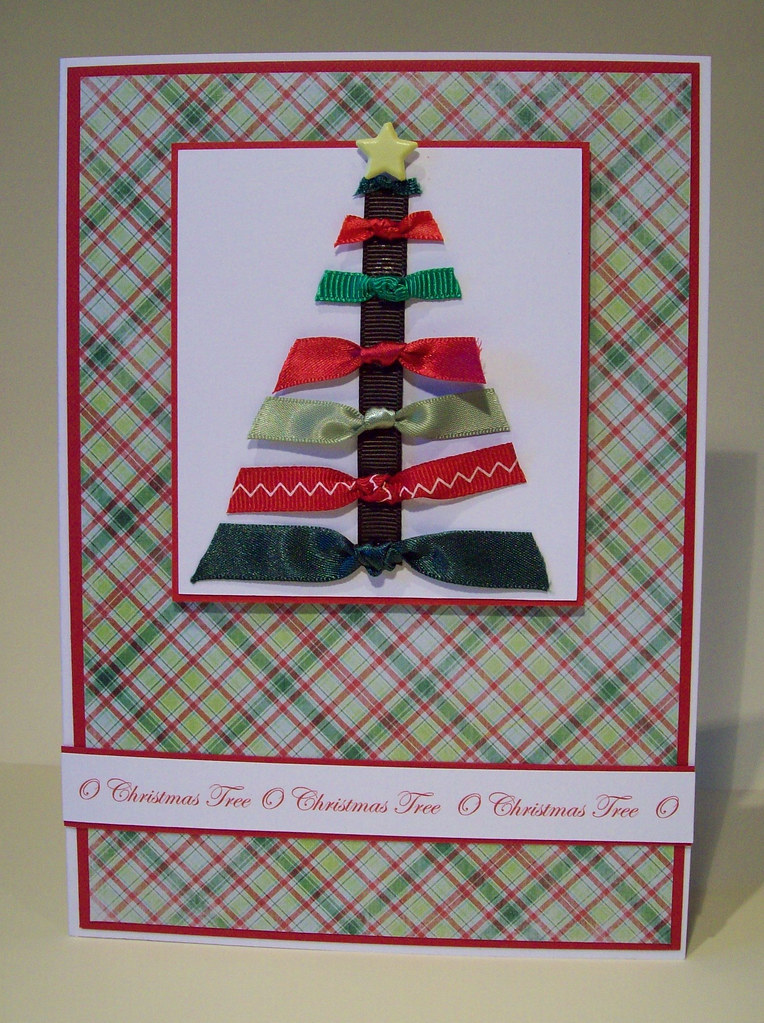
First of all I'd like to say a big Thank You to Kerry for the Freebie Christmas Tree which I've used to make this very simple card. Thank You Kerry! I started by printing out and painting the christmas trees. I tried putting them on other cards with other images but I thought I'd like the tree to be the main focus of the card. I've added a few red and green papermania adhesive stars to decorate and then stuck it down using foam pads. The strip of dotty paper is doodlebug layered onto some red doodlebug cardstock. I've then printed the sentiment on the pc, again onto co-ordinating doodlebug card and layered this too. I really love this card. I can't beleive how simple it was to make! One of my quickest so far!I got the idea for this card after seeing this card on Tara's Blog! I really love the holly wreath and decided to have a go at making one myself. I've used doodlebug again! Paper & Card! and I've embossed each holly leaf with the swiss dots folder. I wasnt sure what to do with the wreath once I'd made it and one evening I had a flash of inspiration! So I went straight into my craft room and cut out circle from the card and hung a large round sentiment in the style of a hanging bauble!I bought the Papermania Christmas stack a few weeks back in Hobbycraft as i thought the traditional papers would be ideal for some more masculine cards. I've used the free template to cut out the holly leaves and inked all the edges. For the lettering I printed off a few christmassy words and made my own card templates so I can re-create them. I've cut them out using the same paper as the background paper. The font I've used is called Madfont and I downloaded it from DaFont I had the Idea for this next card when I saw the Ribbon Tree stamp in a magazine. I cut out all the different pieces of ribbon and stuck them down and then trimmed them into a tree shape. I added a small star brad to the top of the tree. Then I got stuck! and didnt know what to do with it, so I've kept it simple and a bit manly!

I decided to have a go at making some Christmas Baubles using the Papermania paper pack again. I've cut out the baubles using my nestabilities and finished them with some gold ribbon and a few adhesive stones. I think they have turned out really well. Very simple and easy to make.

More Christmas Cards

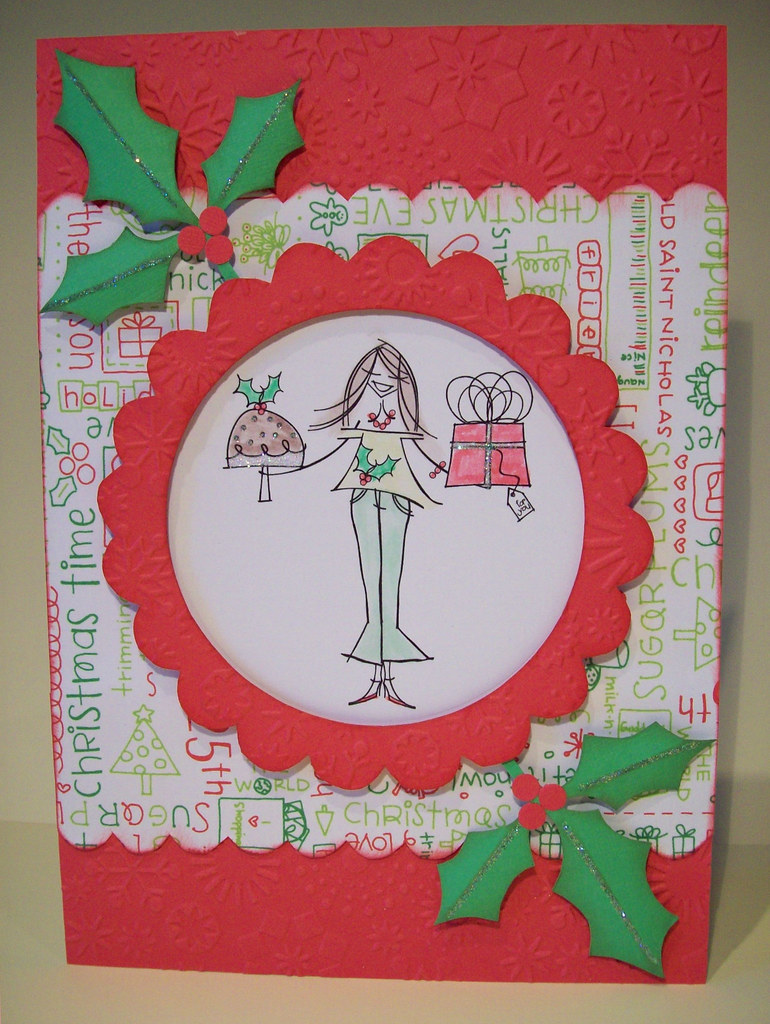
Can you see a theme running through my cards yet? Pink Petticoat? Doodlebug? I wanted to keep my cards all fairly similar this year to make it a bit easier on me. Its been far from easy though! Here are a few more.... For this card, I've made the holly leaves using one of the free templates that came with a magazine a month or so ago. I've inked all the edges and scored down the middle of each leaf before adding glamour dust and sticking them down with foam pads. I made a bulk batch of these and they've been really usefull!Another Pink Petticoat card using Lola Rose, combined with Doodlebug Holly Paper which ties in lovely with her christmas jumper!For this one, I thought I'd have a go at stamping up a Magnolia image to use on a Christmas card. I've used Tilda with Flower Boquet and coloured the flowers in red to resemble some kind of poinsettia type flower! I've gone with the same layout as above, using my handmade holly leaves and hand cut scalloped circle, and I wonder why it takes me so long to make my cards!!!The dotty paper is Doodlebug again! and to tie in with this I've used the swiss dots embossing folder. Then just a few adhesive stones to finish!


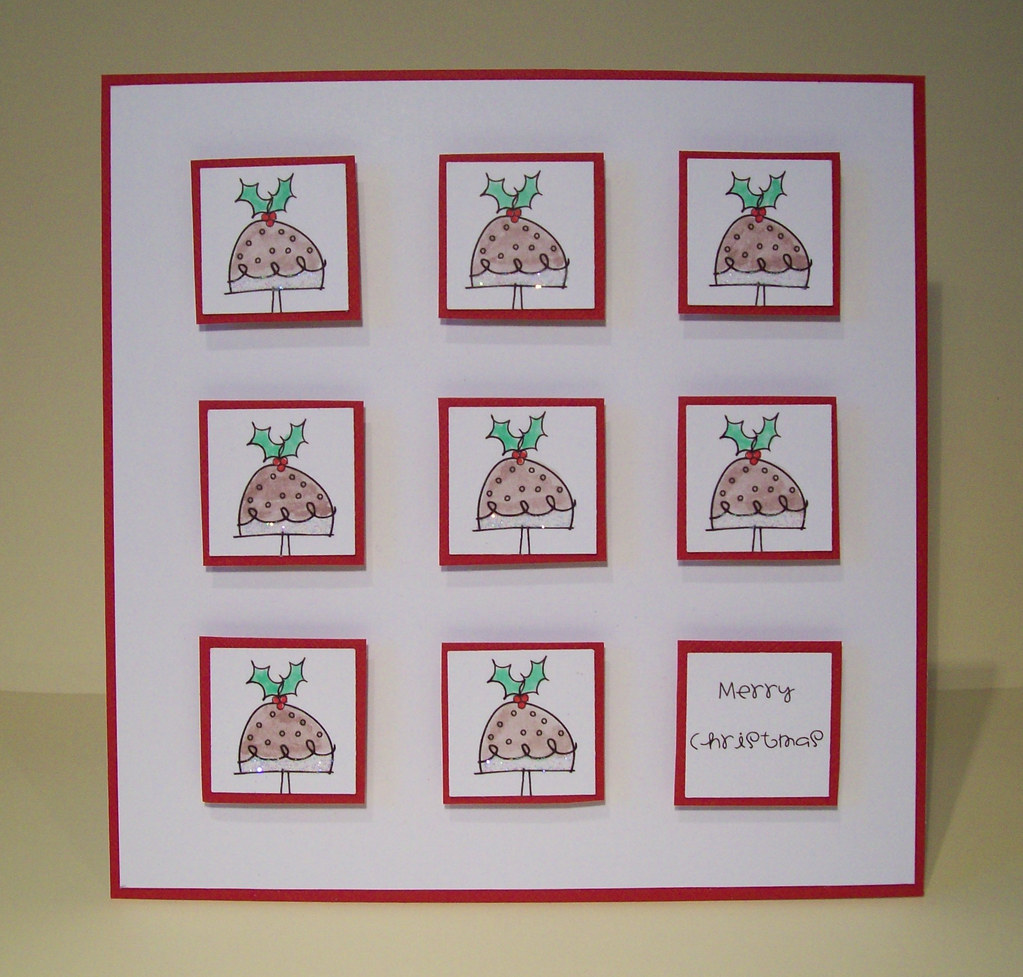
Whilst playing around with the Pink Petticoat images I decided it would be a good Idea to do something with just the Christmas Puddings, so I cropped them in Paint shop pro and printed off about 50 of them! I used my square punch to cut them all out and I spent a theraputic evening watercolouring them and adding glamour dust. I had a little production line going. I wasnt entirely sure what I was going to do with them once I'd finished so here are a couple of cards that I made.

I think this is my favourite of the two. I've embossed the bottom of the card with the cuttlebug snowflakes folder and sectioned the two parts with a nice piece of red ribbon. I printed the sentiment on the pc and layered onto co-ordinating card.


Thursday, 4 December 2008

So many cards...so little time!

I've been asked to have a little stall at my little boys pre-school christmas fair in a couple of weeks time. Its the first time I've ever been asked to do anything like this and I'm a little nervous to be honest. I've been working really hard trying to get as many cards made as possible. Tonight I've got nothing left in me! I'm exhausted! so thought I would take a bit of a break and come and update my blog instead. I've got lots of cards to show you.

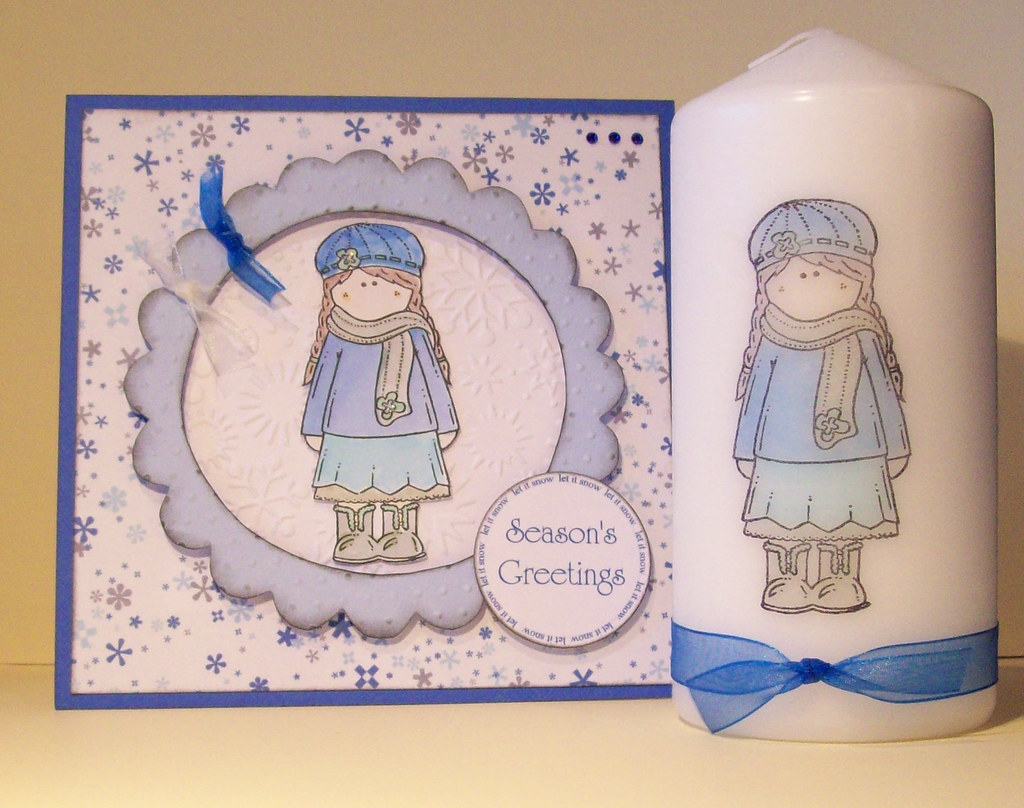
First of all I thought I’d start with a couple of candle and card sets. This first one is made using a Sugar Nellie stamp that I bought a couple of months ago from Funky Kits. I think I only paid £2.50 in the sale for it! What a bargain! I’ve used Doodlebug Winter Asterisks paper together with Doodlebug cardstock. The white background is embossed with the Cuttlebug snowflakes folder and the raised scalloped circle, which is all cut by hand, is embossed with the Swiss Dots folder. I’ve added a few adhesive stones and a sentiment I made on the PC. I really love this set. I think it’s my favourite out of all the ones I’ve made.
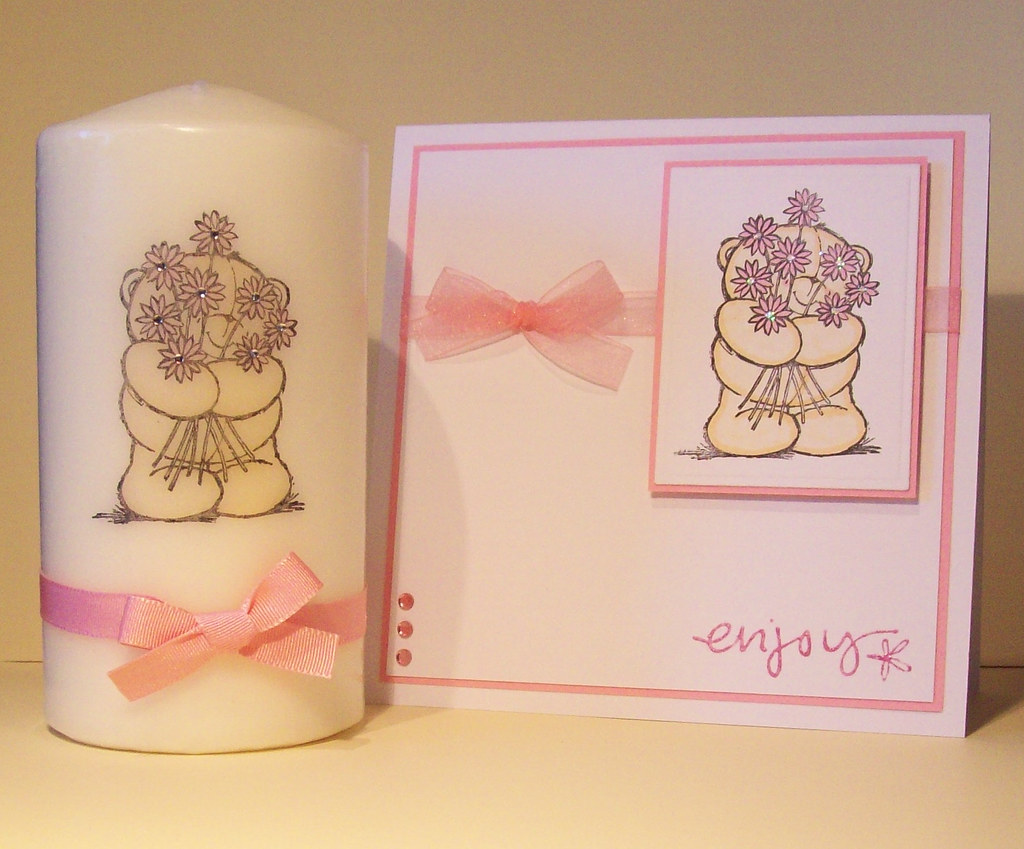
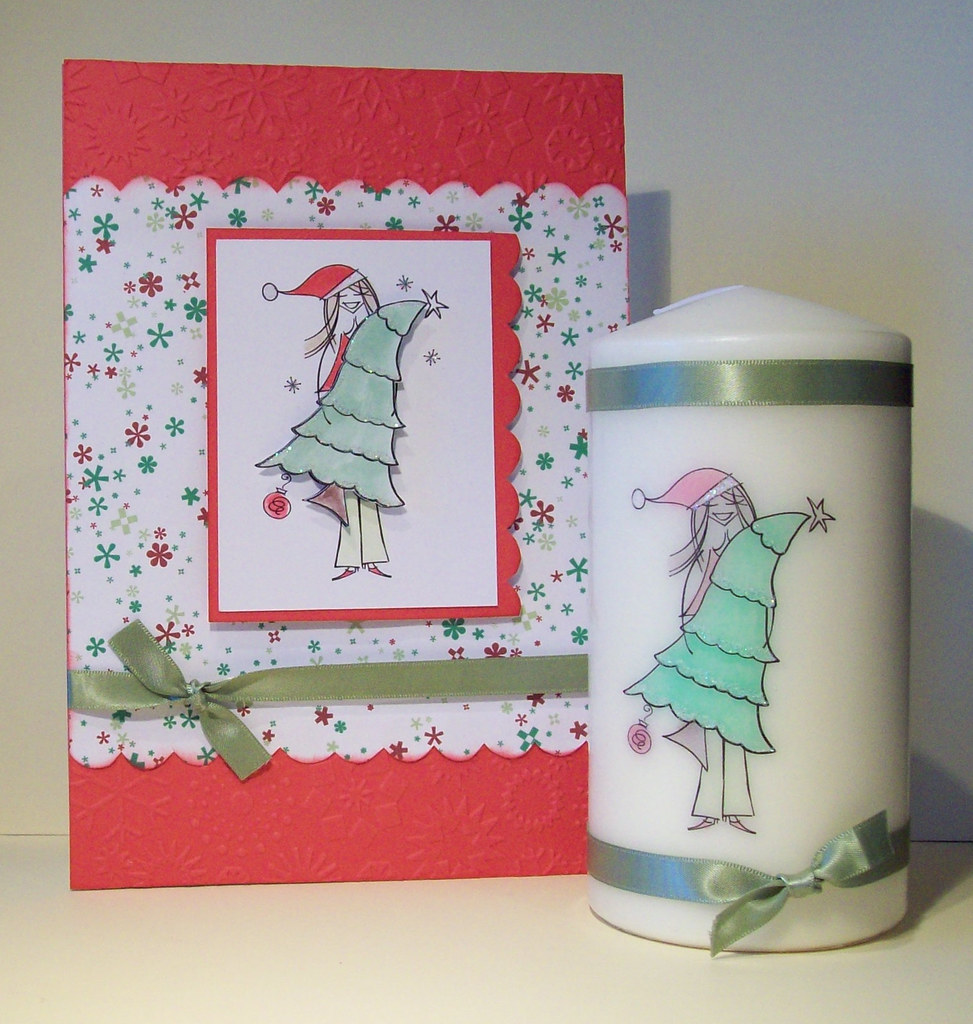
Secondly, I decided to make a candle to match my Forever Friends card. I have added small adhesive stones to the centre of the flowers and tied a pink bow around the bottom of the candle. And finally, another Christmassy card and candle. I made this one using Pink Petticoat’s Lola Rose with Christmas Tree. I used the printing direct onto tissue paper technique for this one! I’ve added glamour dust to the trees for an added bit of sparkle! The Christmas tree on the card is stuck on with foam pads to give it a bit more dimension but this is about as far into decoupage as I like to go! I’ve then embossed the top and bottom of the card with the Cuttlebug Snowflakes folder. The cardstock and paper are both Doodlebug and the ribbon is from Ribbon Oasis.

Monday, 1 December 2008

Award Time!

I've been a bit slack on updating my blog lately! I've been so busy making christmas cards! I've received a few awards and just wanted to pop them up on my blog and say thanks to the ladies who have passed them on to me.
First of all Alex has given me the Kreativ Blogger Award
I've already passed this award on, so won't send it again but I think just about all the blogs I visit already have it! If you are reading this and don't have the award, then feel free to take it from me!

Secondly both Vicky and Denise have passed on this award to me

"This blog invests and believes the PROXIMITY - nearness in space, time and relationships! These blogs are exceedingly charming. These kind bloggers aim to find and be friends. They are not interested in prizes or self-aggrandizement. Our hope is that when the ribbons of these prizes are cut, even more friendships are propagated. Please give more attention to these writers!" Deliver this award to eight blogger's who must choose eight more and include this cleverly-written text into the body of their award.

Thank you all so much, I really appreciated the thoughts and am glad you all enjoy my blog!

I'm now off to have a look and see who I can pass the award onto!
Back soon...

Thursday, 13 November 2008

Meet George....the dinosaur!

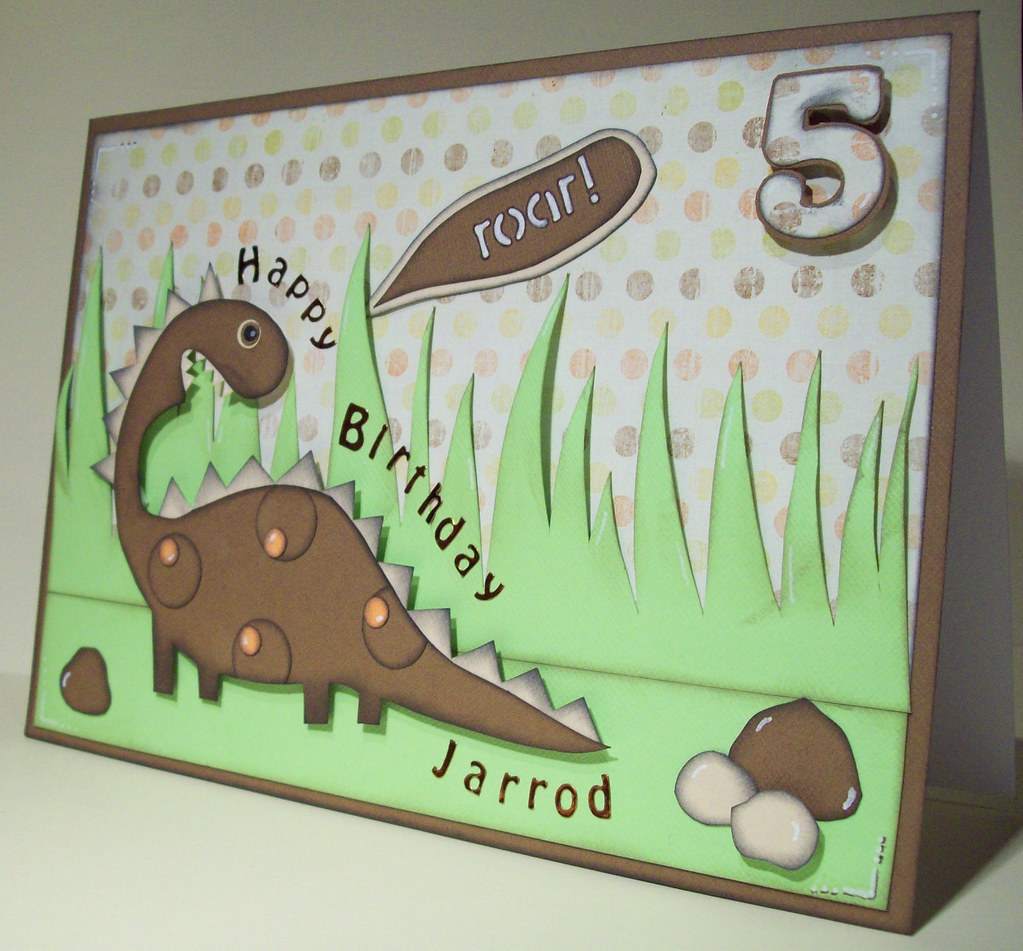
I've had a busy day today. I was asked to make a card for a little boy who is going to be 5 soon and I've spent nearly all day making this card! I have no idea what his favourite characters are or anything so I thought I'd play the safe option and go for Dinosaurs! I did a search on the internet but all I came up with really were the Basic Grey Archaic dinosaurs. I then remembered seeing some cards and toppers made using them in a magazine, which I think Jo Kill did, so I dug out the magazine for some more inspiration.
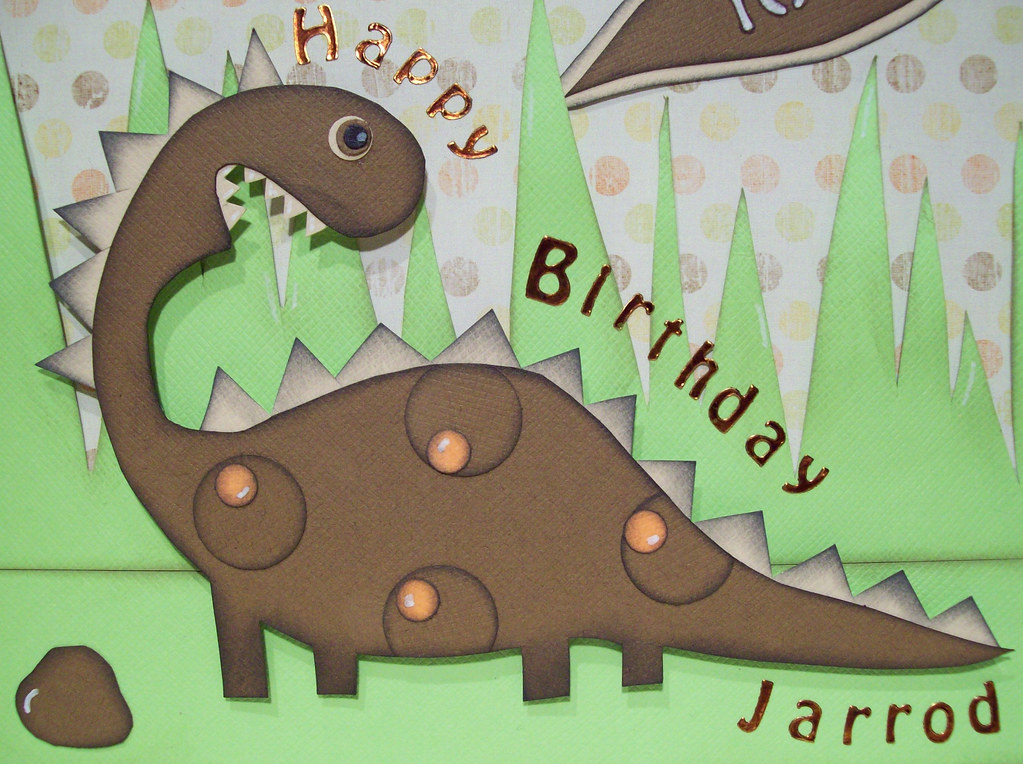
Rather than go out and spend more money I decided that I would have a go at making my own paper pieced dinosaur. So I got out my trusty doodlebug cardstock and set about making a template. I've kind of copied the Basic Grey one, but have drawn it all freehand. I've inked all the edges, hopefully making it stand out a bit more. I have decided to call him George, don't know why really, he just looks like a George! I think I've fallen in love with him. I'm so pleased with how he's turned out.
I'm not so happy about the rest of the card though. The inspiration stopped at the dinosaur! I used a Shabby Princess paper for the background which is in tones of brown, green and orange. I cut out a few small pieces of card which I've inked and hopefully they look like rocks! I was a bit stuck when it came to the sentiment. I dont have many sentiments stamps and by the time i was ready for it, it was too late to print one off the computer, So I've just coloured some peel offs brown.
I hope you all like him!

Tuesday, 11 November 2008

A little bit of Christmas!

I spent most of Sunday looking back through old issues of magazines looking for some inspiration for some christmas cards and was so frustrated as I just couldnt find what I was looking for! I didnt know at the time what I was looking for but I didnt find it! I did sit and cut out some snowflakes from one of the free templates that came with a magazine and also some holly leaves.
Here are a couple of the cards I've used my holly leaves and snowflakes on!
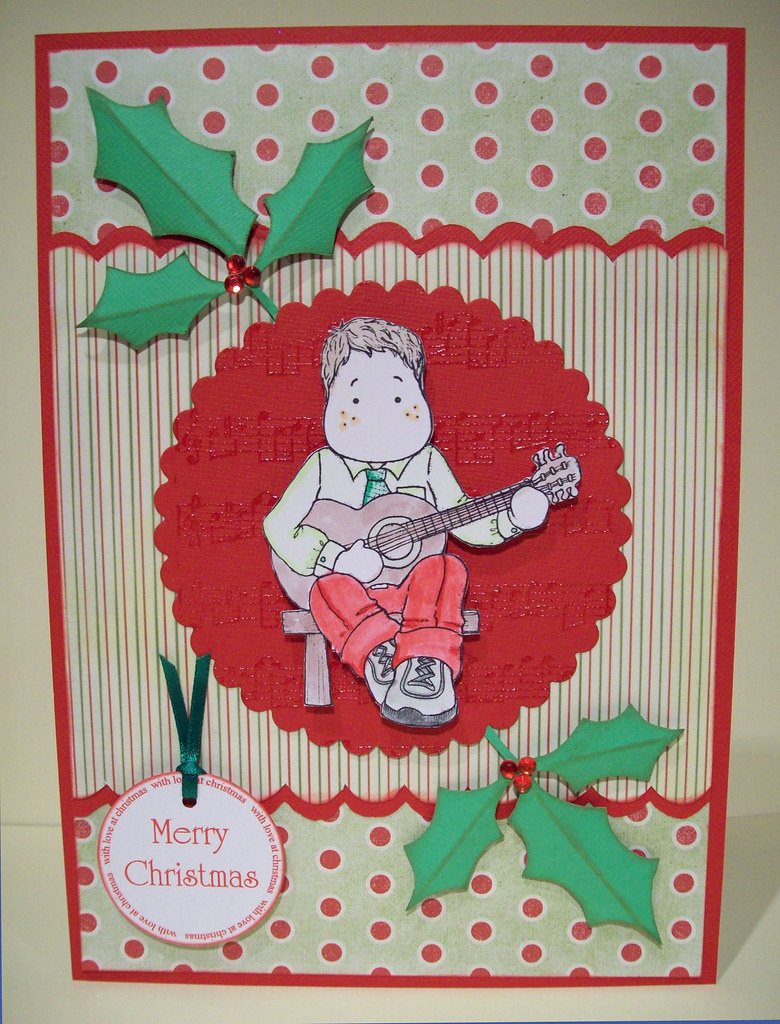
I was originally inspired to make this card when I saw the new stamp from Magnolia with the Silent night music background. As I already have a sheet music stamp I thought I'd save myself some money and have a go at using it! I've stamped it onto red doodlebug card in embossing ink and embossed with clear embossing powder. I then took the Guitar playing Edwin and attached him using foam pads. The sentiment is one I've made myself using paint shop pro and Ive cut it out using my nestabilities and then inked the edges. This is also stuck down with foam pads. The stripey paper is from the Papermania set A Wonderful Christmas Time. The spotty paper is a download which I've recoloured from blue to red spots. I am really pleased with this card. Its got to be one of my favourites! I hope you all like it too.
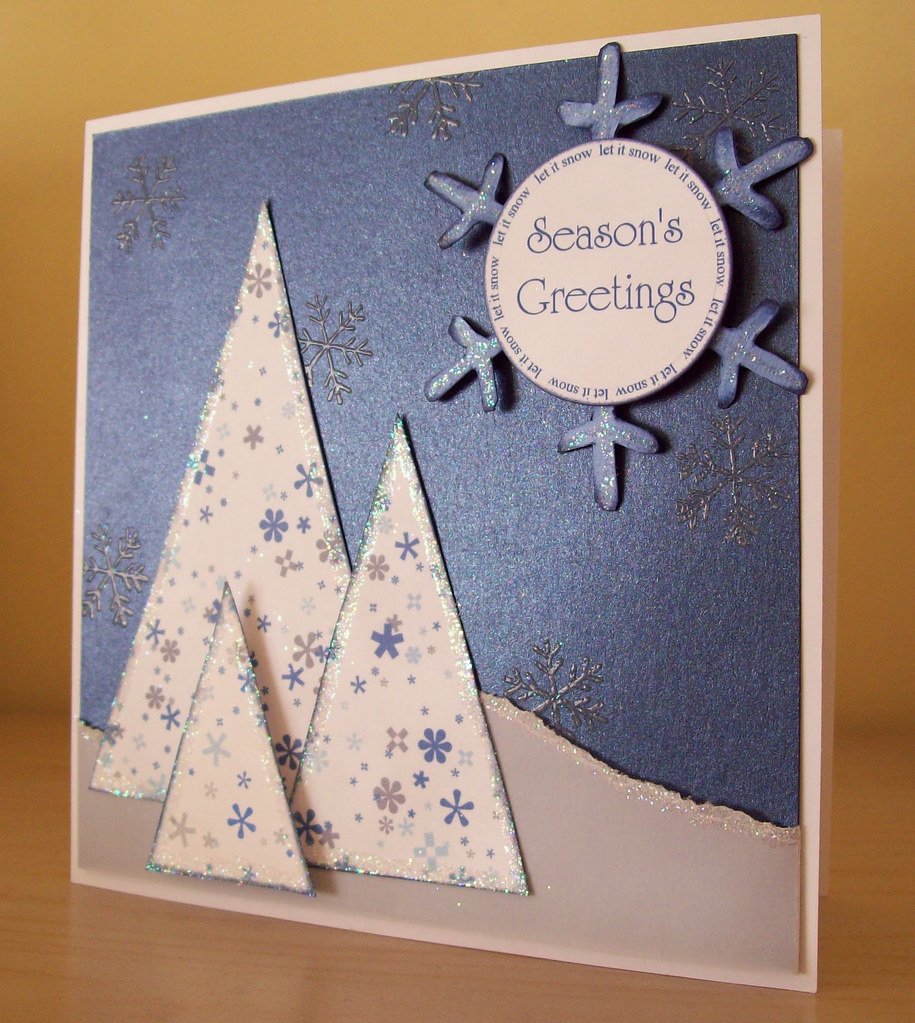
And onto my second creation. This is one I made yesterday and this is the card I was looking for on Sunday but couldnt find! It all started with a sheet of Vellum which I'd torn and decided to use it as a layer of snow. I've taken a sheet of Doodlebug Whimsical Winter Asterisks paper and cut out of it 3 different sized triangles. I have inked all the edges in navy blue ink and then I'ved gone round the edges and also the edge of the vellum with my glue pen and sprinkled Glamour Dust to give them a snowy effect. I have to say that there is glitter everywhere now. I'm sure I will be finding it for months to come! But I love the Glamour Dust. I really wanted something that gave this effect last year but I only had quite a bulky glitter. The snowflakes are stamped onto a pearlescent navy card in white ink and then embossed with clear powder. The snowflake stamp is from another one of my Dovecraft/Studio G 99p stamp sets. I have covered the large blue snowflake I spent ages cutting out, in glamour dust too and then stuck the sentiment, which is another one I have created in paint shop pro, in the centre and mounted it on foam pads. In all, I made about 6 of these last night.
This card was so difficult to photograph! I must have taken about 100 photos last night and yet all it needed to show it off was a little bit of sunshine!

Monday, 10 November 2008

Forever Friends

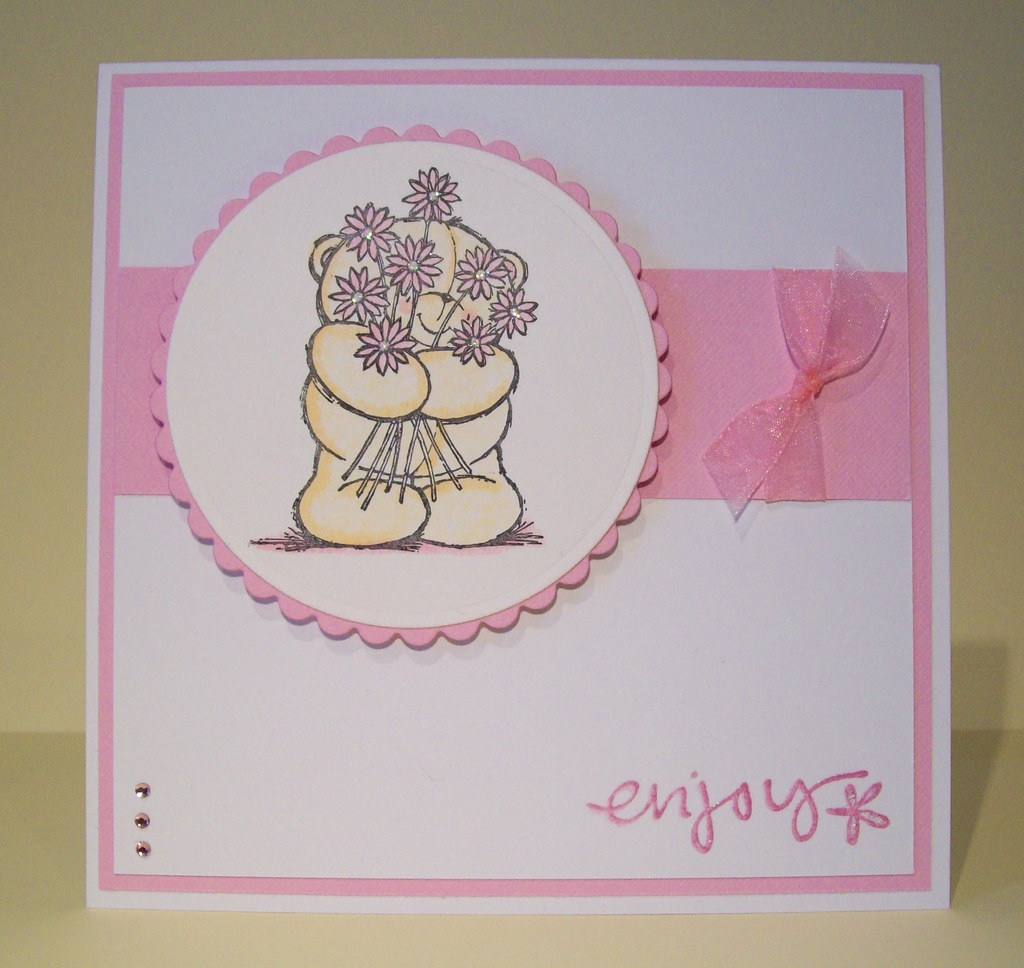
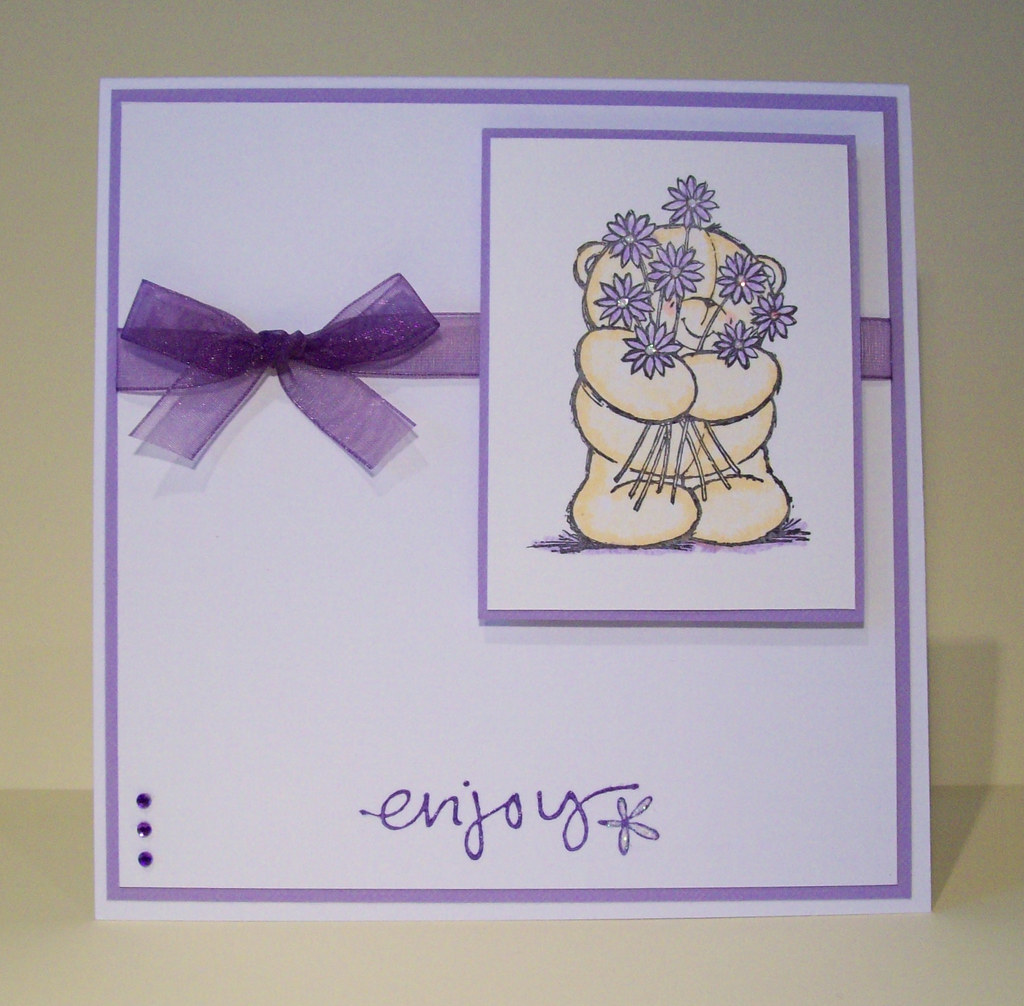
I've been having a play with my new Forever Friends stamps. I really love them and have spent hours just sitting colouring lots of stamped images in! Here are a couple of cards I've made using them, which I decided to keep quite simple. I wish now that I'd have used my embossing folders on the horizontal strip! next time I will do!
I think this one is my favourite. I really love the lilac and I think the ribbon bow finish it off really well. The stamp is from a 99p set from Studio G (Dovecraft) called Daisy Sentiments. I have lots of these 99p stamp sets they are great!

I've also been asked to make a sympathy card for a man who was a keen motorcycle enthusiast and they wanted some kind of a bike on the card. I've not been asked to do one of these before so it was a bit of a challenge coming up with the idea! I wanted to keep it reasonably simple for fear of it looking too much like a mans birthday card.
I found the image on Google and I edited it in Paint Shop Pro to give it an aged newspaper effect and also a sketchy pencil drawn effect, which is not very clear to see from the picture. I worked from the colours of the image and found a nice sheet of metallic DCWV card in Champagne and combined that with the white card. I've embossed a strip of white card in the cuttlebug script embossing folder and then I've stamped a sentiment in a bronze ink which happens to co-ordinate perfectly. The sentiment stamp is from another set of the Studio G 99p stamps. I like this one!