Showing posts with label Gifts. Show all posts

Monday, 30 November 2009

Christmas Candles & Memo Block or Post It Note Holders

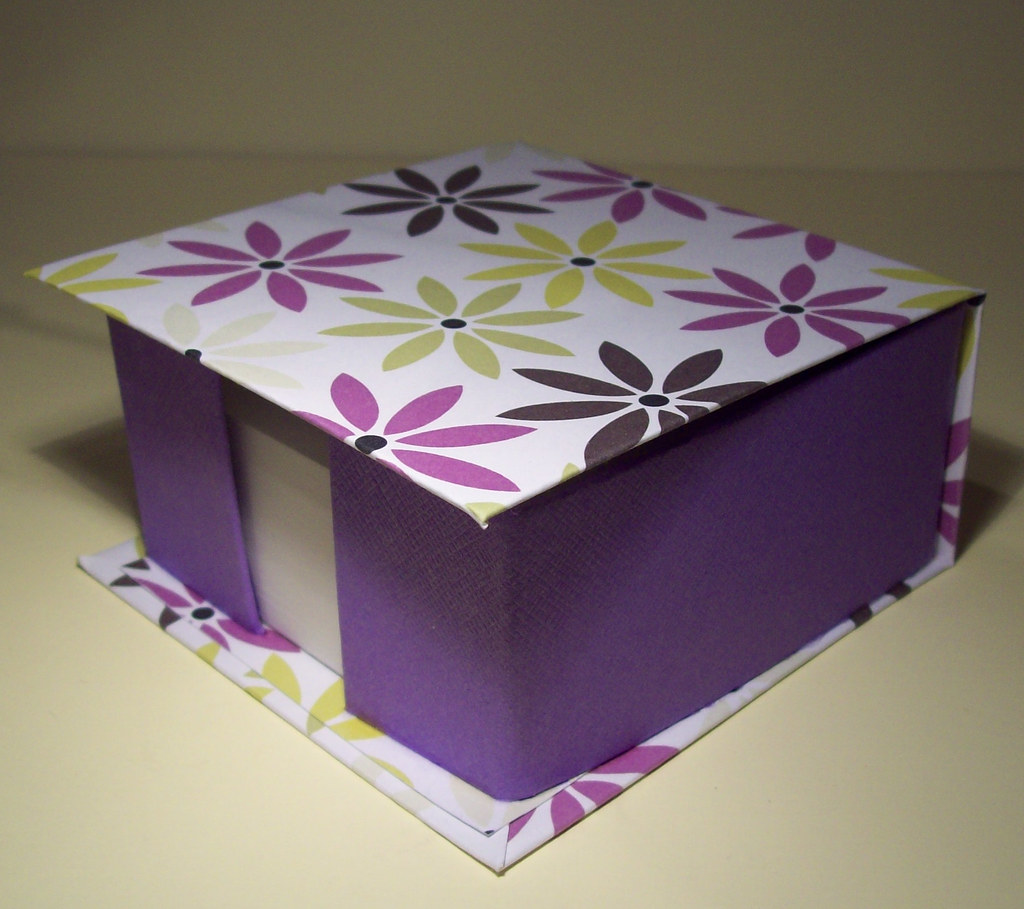
Today, I've been experimenting with a post it note box or memo block holder that I saw on Betty's Blog. She has lots of fantastic tutorials for boxes and gifts etc. Do take a look if you get a moment. I've tried to follow her instructions, but have adjusted the measurements according to the size of my memo pads, which I bought from Wilko's for 36p each! I've tried flipping the papers and cardstock on this version to give it a slightly different look.
As my first attempts they are a little big rough around the edges and could do with a little bit more refinement! However, they were really quite easy to make.
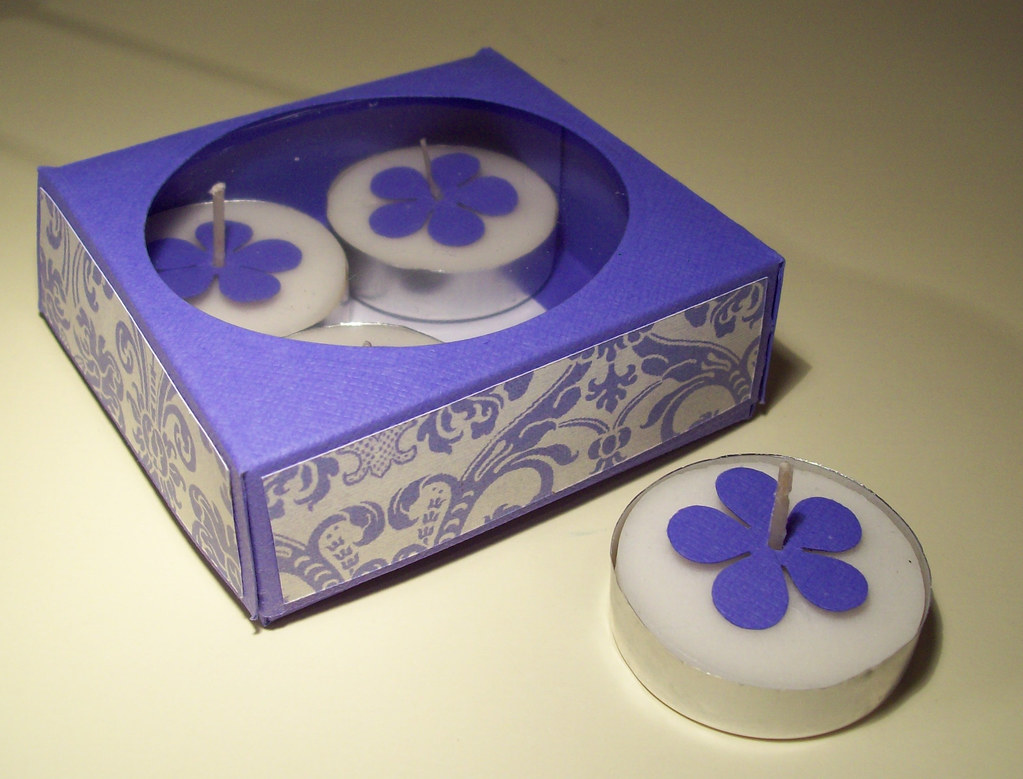
I seem to be having some sticky issues just lately!!! Firstly my bauble money holders wouldnt stay stuck down when money was placed inside them, so after a few attempts, I decided to raise the spotty pocket by using foam pads, so I'm hoping that its fixed that problem! I don't know why I didnt do it that way to start with! Pregnancy brain has well and truly set in and everything seems to be hard work at the moment! The second sticky issue was with my candle gift boxes. After about a day the acetate window fell off as the ds tape wasnt strong enough to hold it on. Then I had a thought! Why not use the glue gun that I've had sat in my draw for 3 years that I've never even take out of the box! And hey presto! it worked! I've even gone on to make a couple more boxes which are much stronger now! I also decided to add a punched snowflake to the top of each candle just to give it an extra touch! I have put a disclaimer in the box though, to remind people to remove them before lighting the candles!!!I had a go at doing a flowery version too!
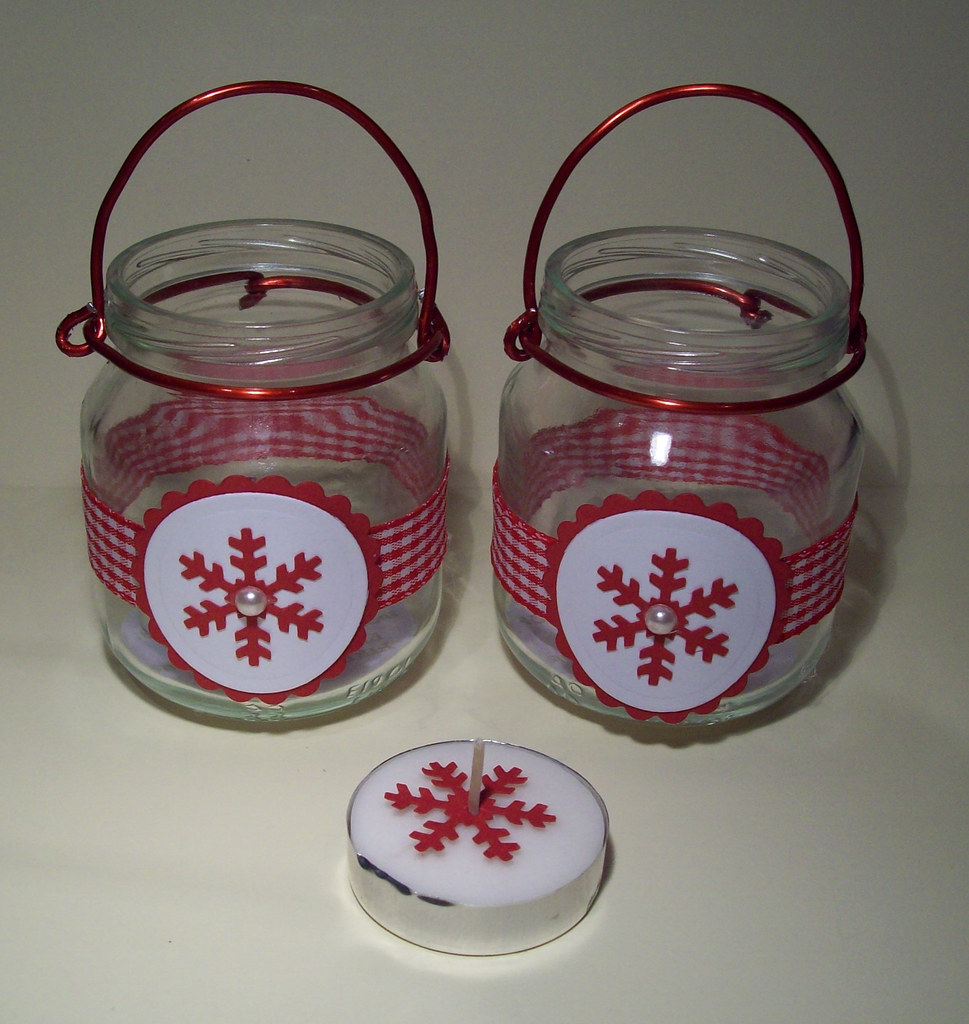
After fiddling with the wire handles on my candle jars, I got really fed up and went off to hobbycraft where I bought this much thicker and coloured wire, which made making the handles 100 times easier. I've stuck on the snowflake and ribbon using my glue gun, as I'm guessing the heat of the candle will probably just make it all fall off if I use my ds tape! Again here, I've added a snowflake to the candle.

Thats all for now, I'm not making any more cards or gifts, I've packed my craft knife away! well until after the weekend anyway, when I have my sons pre-school christmas craft fair. I have a few orders for Christmas cards from friends but I'm going to wait and see what I've got left over before I make any more!

Friday, 27 November 2009

Christmas Money!

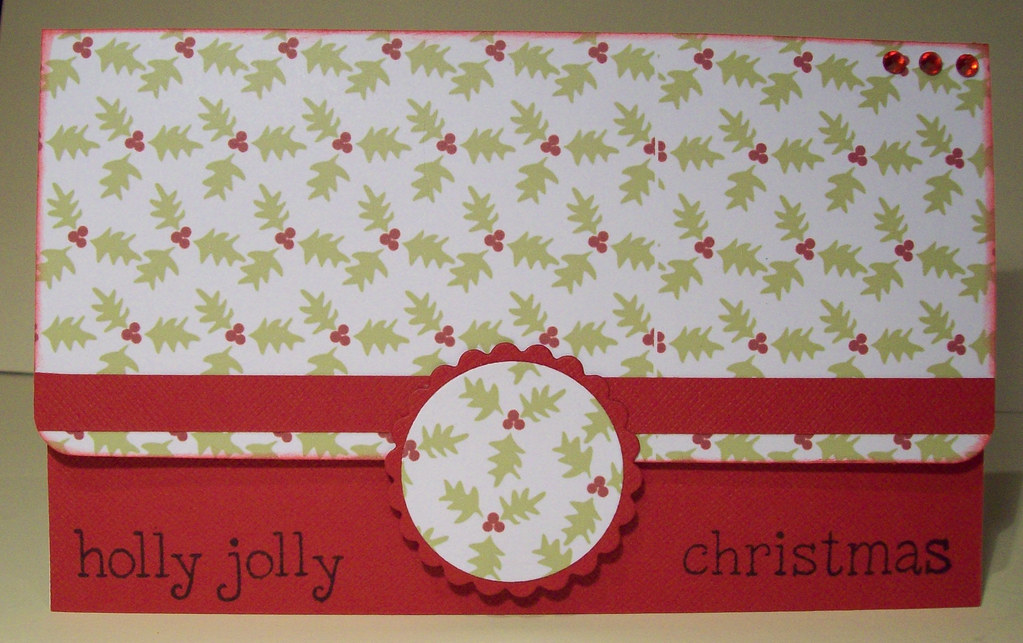
Well just when I thought I'd finished my Christmas creations! I was speaking with my Mum the other day who said she needed some Christmas Money Wallets, so I offered to make some. Its not something I'd thought of making before, but once I got started I couldnt stop! I had a browse on SCS and saw an idea for a bauble shaped money holder, which I really liked. You can find a video tutorial here! I had a couple of attempts before I came up with the one I was happy with! I made the sentiment on my pc using paint shop pro. Here is my second version. A more traditional wallet style money holder. I've had a little bag in my craft room for ages now with a small pack of sticky velcro inside which I thought would be ideal for this project! I do have some Basic Grey magnetic fasteners, but I'm far to tight to take them out of the packet! Lol! The papers are from the Christmas Lights set from Pink Petticoat. I've made a few of each, in the Olive and in the Blue stars papers and this version with the Holly too.
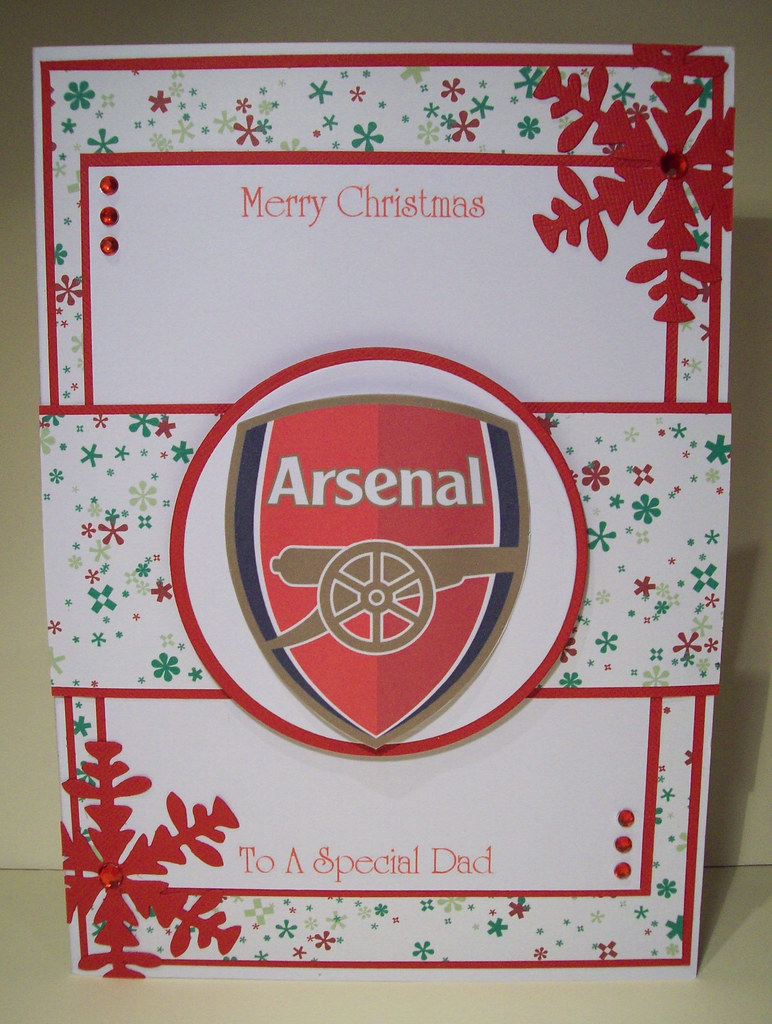
My friend asked me to make a Christmas Card for her Dad who is an avid Arsenal fan, so I suggested I incorporate that into a card somehow, and this is what I came up with. Luckily the team colours tie in with Christmas colours! I hope he likes it. I've been really busy again over the past few days. My son's pre-school Christmas Bazaar is next Saturday, which I've been frantically making cards and gifts for. Hopefully I will do as well as I did last year and all the effort will be worth it. Anyway I'm going to give myself a few days off now and have a well deserved rest! Hopefully now I can get back on track and get blog hopping again!

Tuesday, 24 November 2009

And last but not least....my Christmas Cards

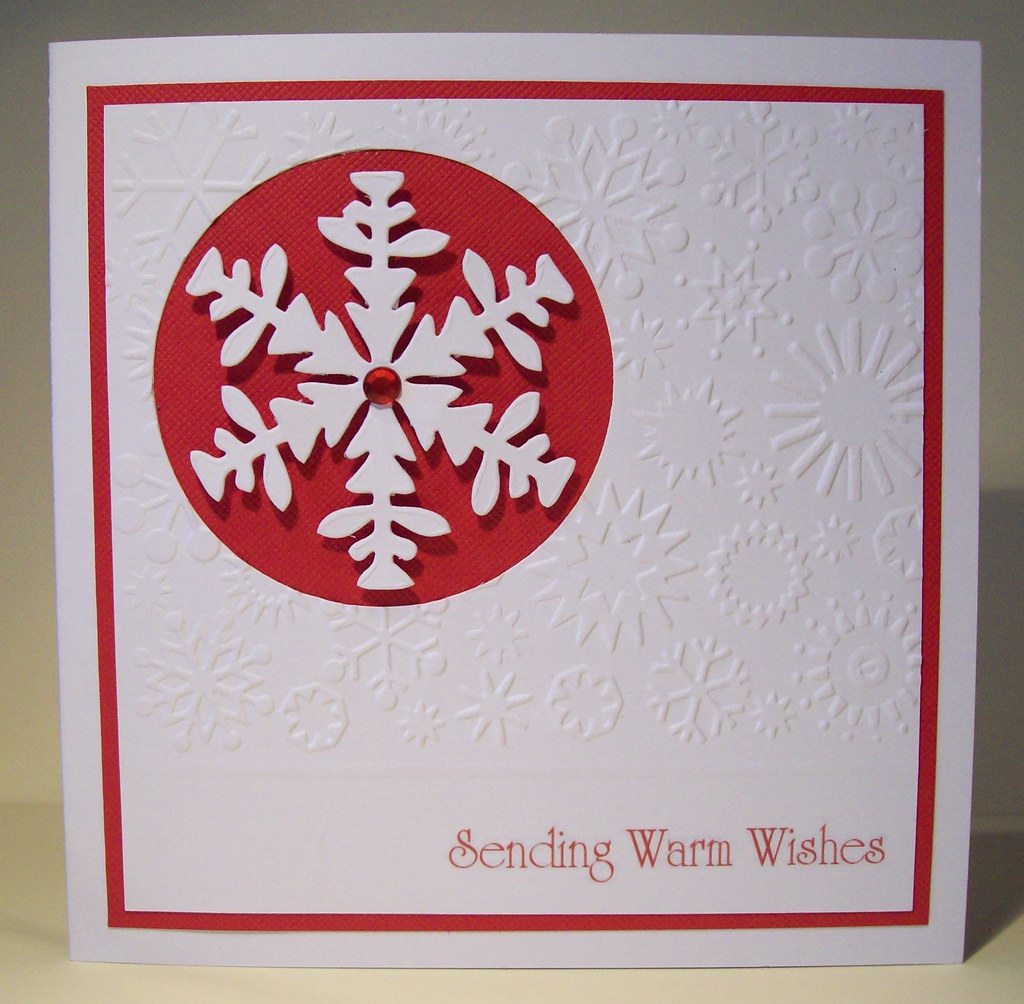
Can you see a theme running through my Christmas Cards this year??? My new Cuttlebug Snowflake!!! I wanted one of these last year! But finally went ahead and bought myself one a month or so ago and I have to say its been really well worth the money! Here I've created some really simple cards using the snowflake, my cuttlebug embossing folder and some coloured card. The concept of this card came to me in a dream! So as soon as I got up I had to make it before I forgot about it. How sad is that? dreaming about making Christmas cards. It just goes to show how much I've bee doing lately! This first one is my favourite! I'm loving red and white this Christmas. Followed by my second favourite, the Lilac one!
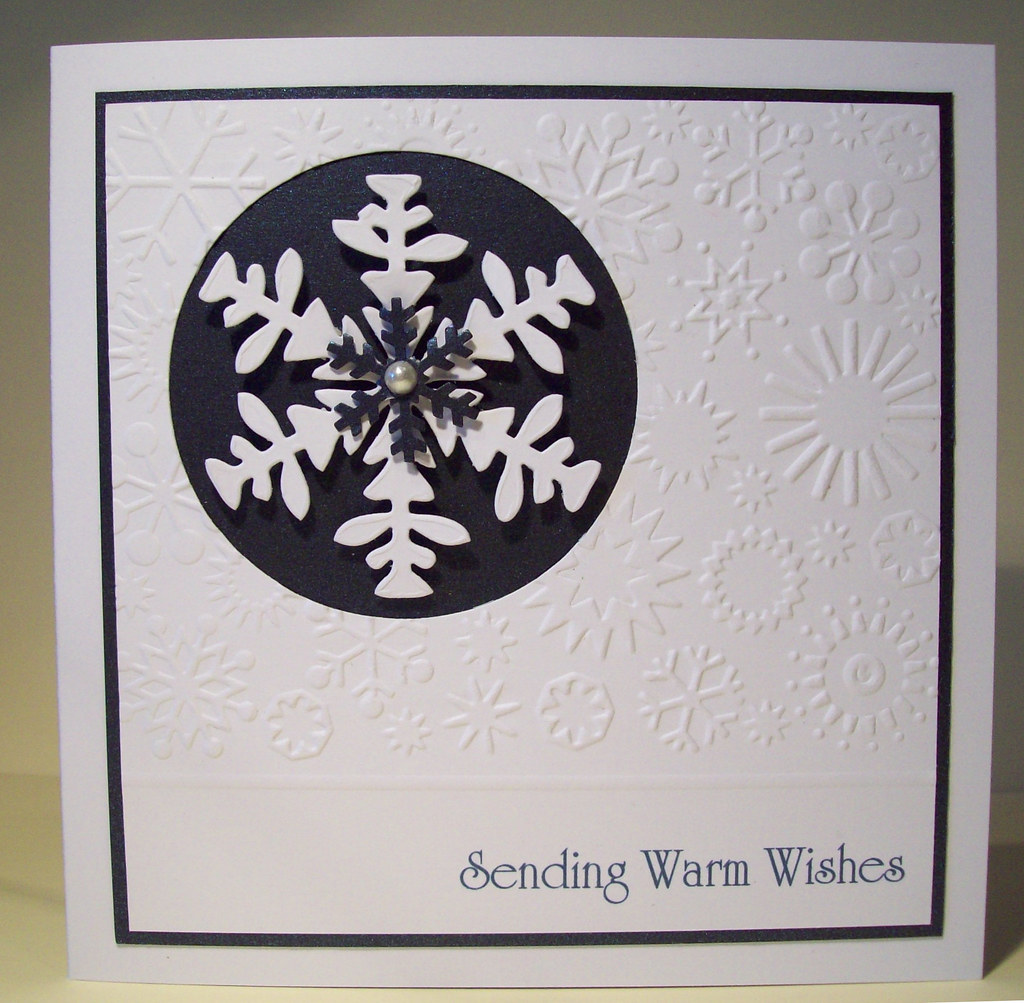
This one is in dark navy pearlescent which I think is quite striking.And a slightly paler blue pearlescent version too!
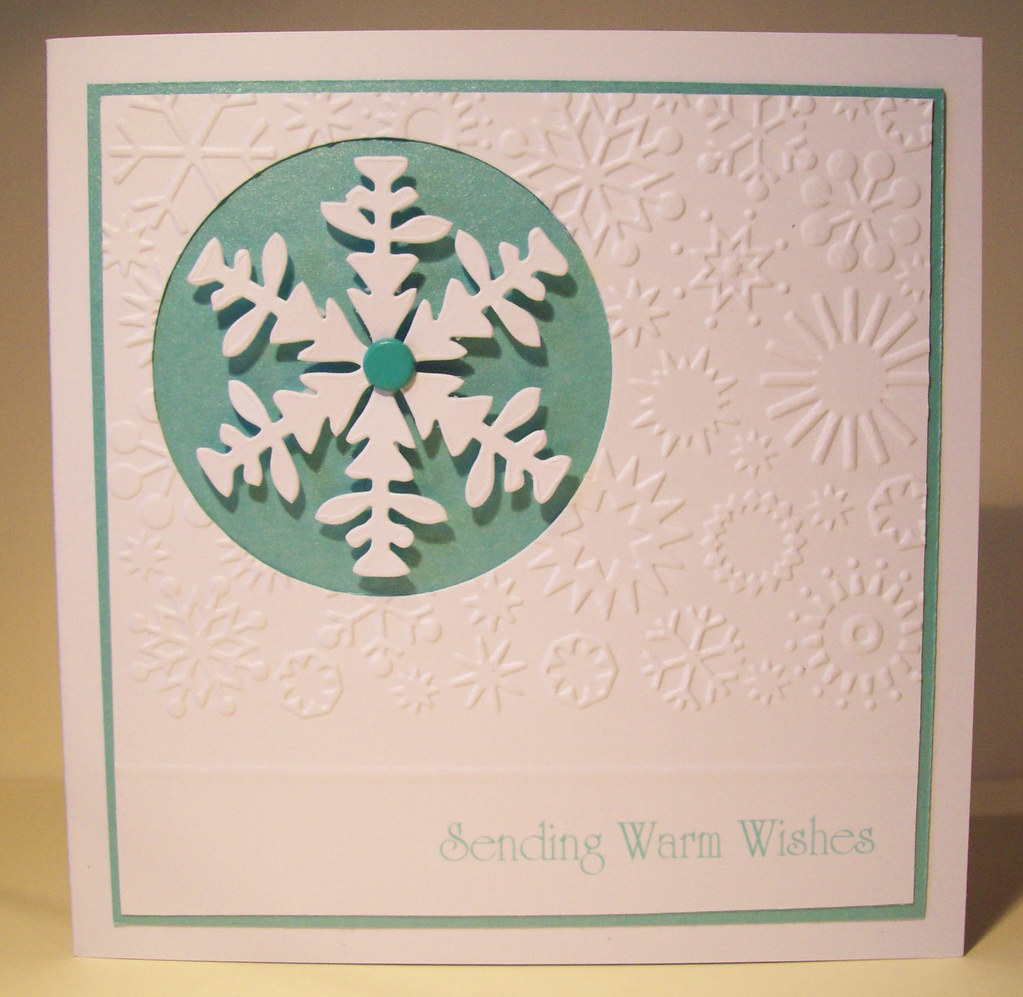
I then found some pastel green pearlescent card too in my stash, so gave that a go too!
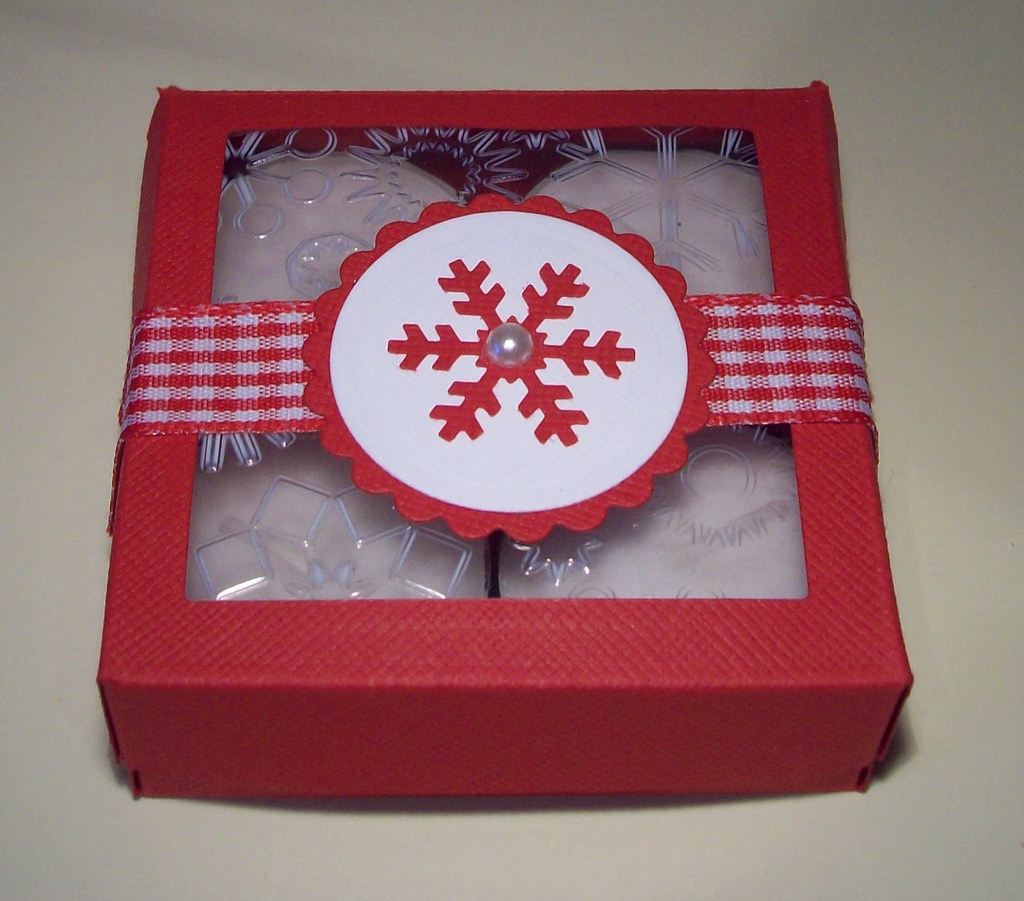
And here is a little something I decided to have a go at for the craft fair as a stocking filler. I made the box using a very made up template! and I've just filled it with 4 tealite candles. I've used my nestabilities to cut the square in the lid and have then embossed some acetate with my snowflakes embossing folder.

My next task is to make some money walletts, so I'm off for a browse to see if I can get inspired!

Wednesday, 11 November 2009

Christmas Snowflakes

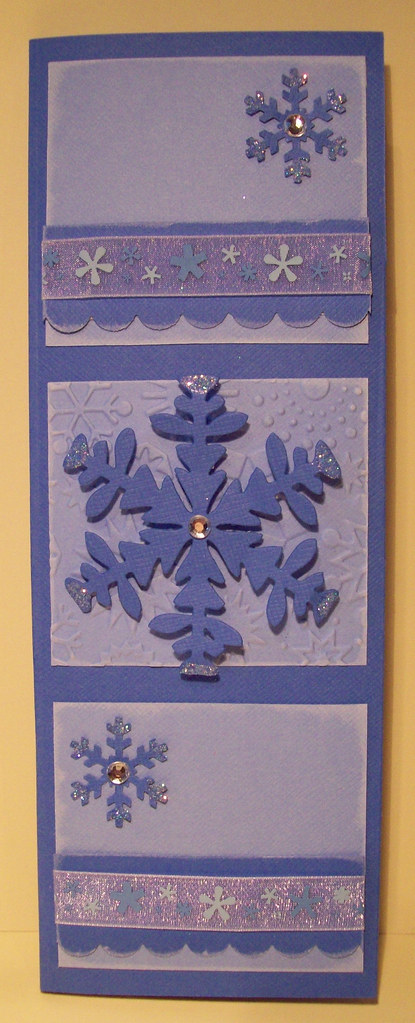
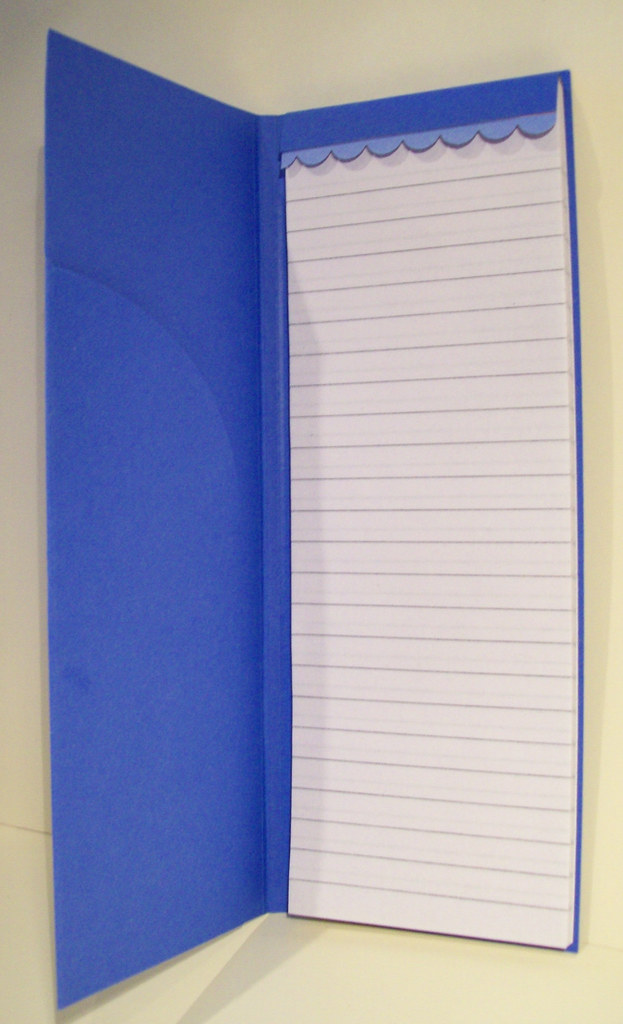
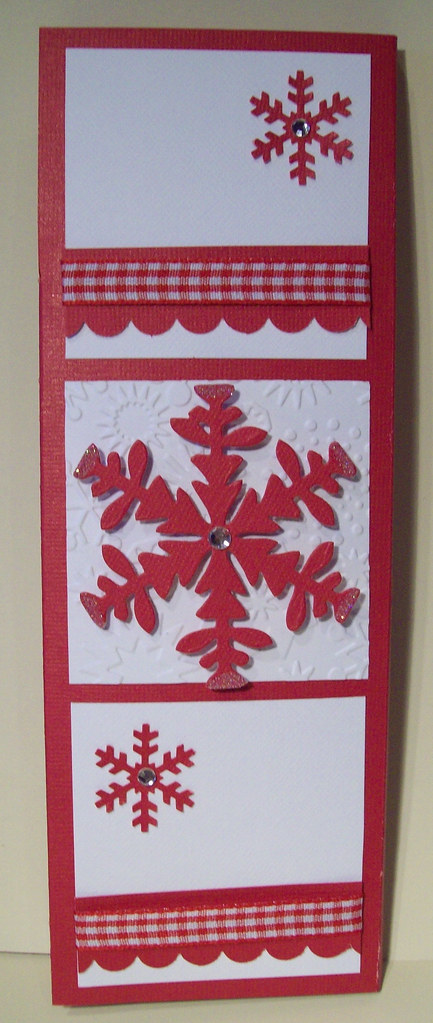
Well I don't have any new Christmas cards to show today! I've spent the past few days "bulk making" some of the cards I've already done, ready for a couple of craft fairs I've got coming up soon. So I thought I'd take a break from that and have a go at something different! I had some of this tall slim notepads left over from last year and decided to do something with them. I spent most of the day working on this first one, but now its finally done I like it! So I decided to use the same layout for the others but just changing the colour scheme.

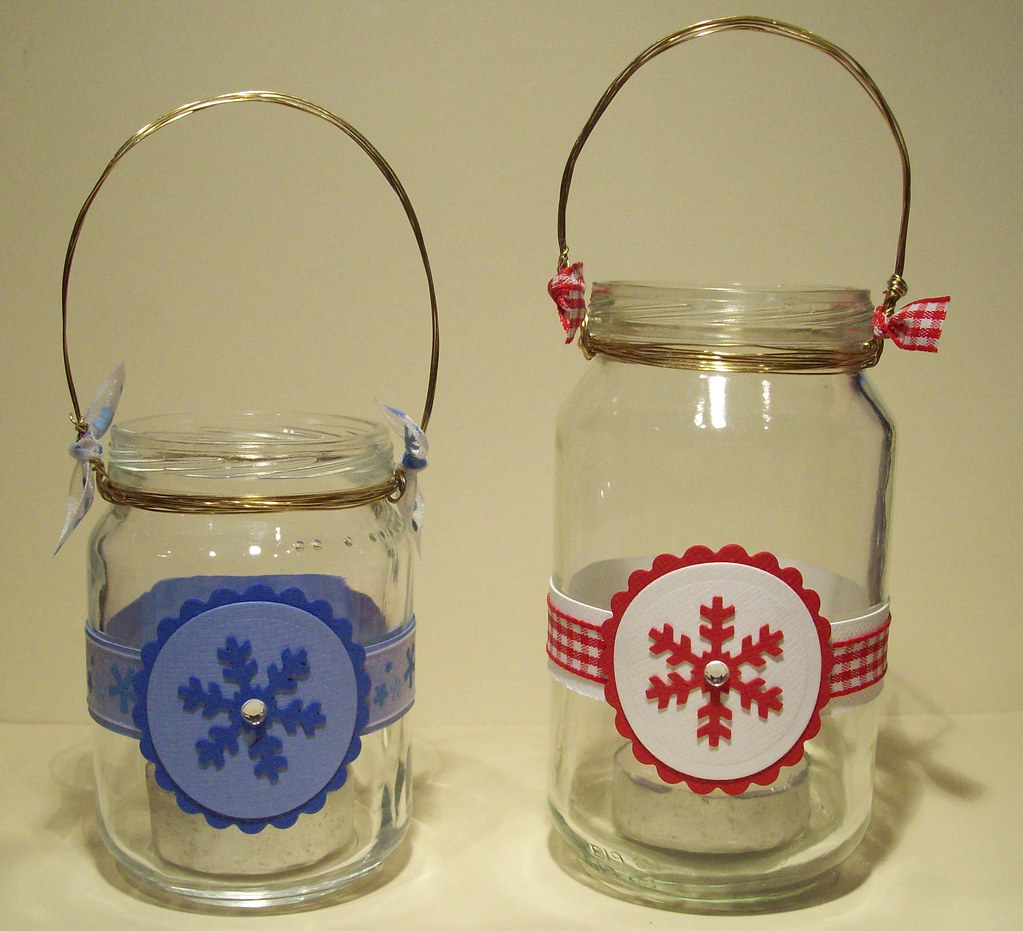
It opens up like a book and inside there is a small wallett flap for you to tuck things into! I've also decorated the top strip to finish it off.And the Red & White version! I'm not sure which one I like best, but I think this red/white one is quite striking. I think I may do a few cards like this too. Today I had a sudden flash of inspiration! It doesnt happen very often, so I thought I'd better get on and make these before I completely forgot I'd even had the idea! They are simply tea light holders, using re-cycled baby food jars. I saw one on the Elzybells blog back in the summer which had little flowers stuck all over it so initially I wanted to stamp some holly or christmassy images and stick them all over the jar too, but it turned out to be way too fiddly so I decided to use the same snowflakes as the notepads above! I've created a little handle using some craft wire and finished it off with some ribbon and adhesive stones. I have to collect some more jars now as I think they'd look nice in pairs or a set of 3 maybe.

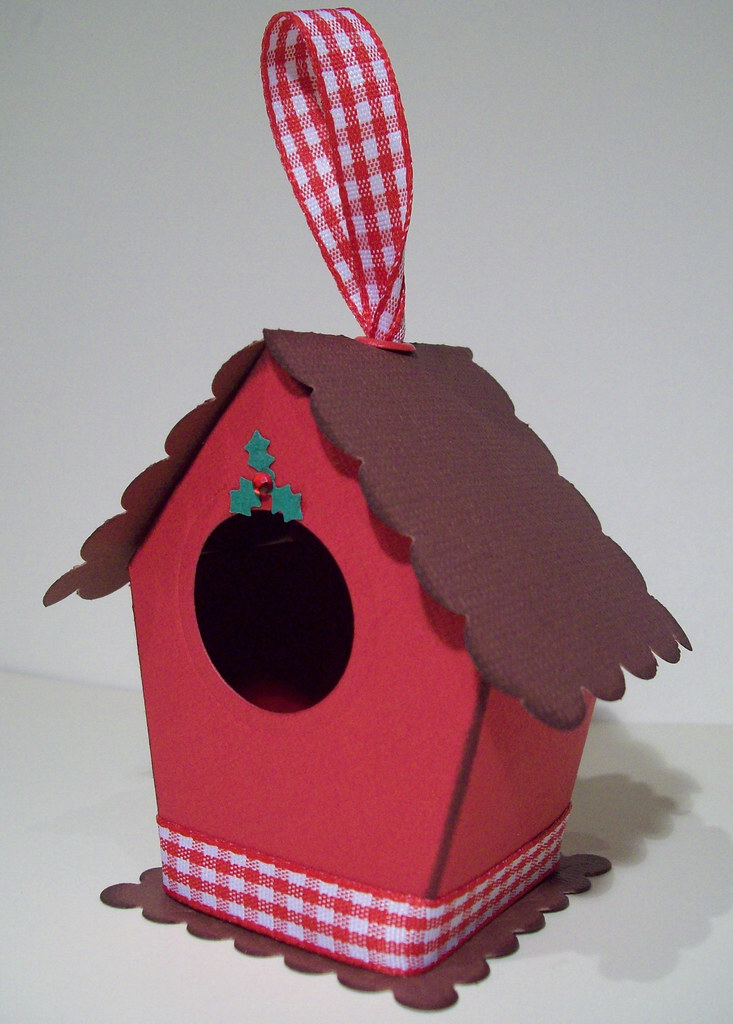
And finally! a little birdhouse tree decoration. I've had this made for some time now, but kept forgetting to photograph it. It was inspired by the Papertrey website, who have a free template, for personal use. You can find it here! Its such a sweet little touch. I might have to make a few more for my tree.

Friday, 23 October 2009

wooohoooo.....two posts in one day! I've been busy

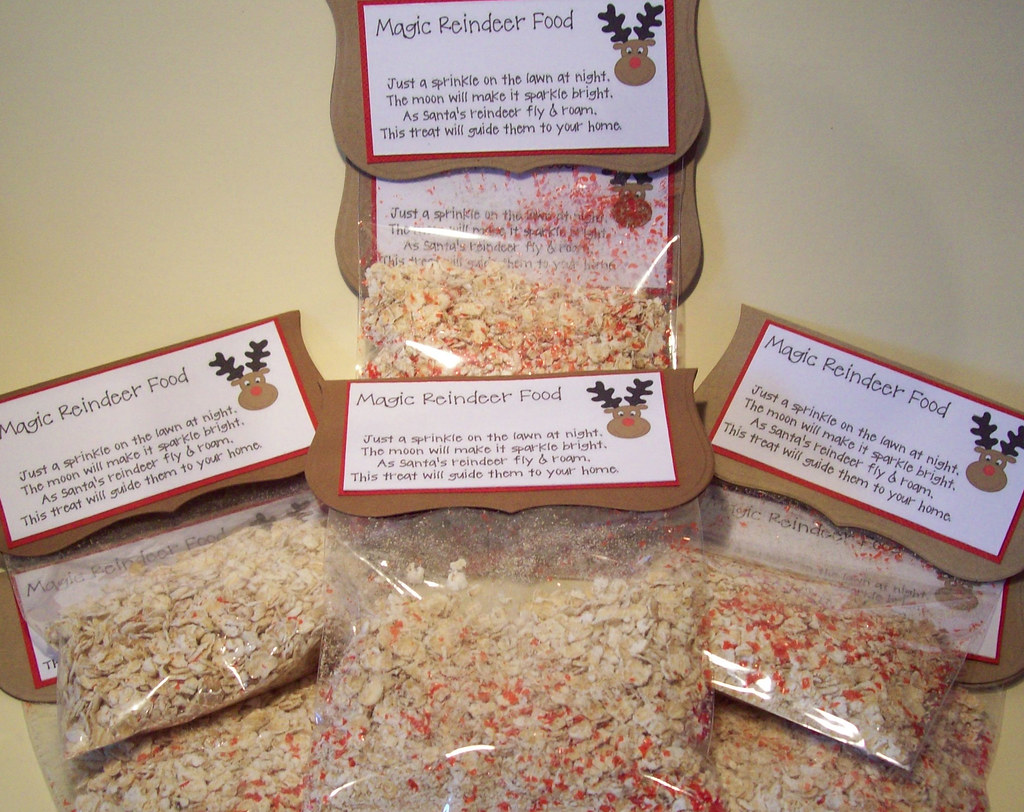
I've been having a play today. These are a a few creations I was inspired to make after seeing this fantastic blog full of really useful video tutorials! Its a really great resource! take a peek if you havent already discovered it! First up is a bag of Reindeer Food. I've used some basic porridge oats mixed in with some red edible glitter. I've never really considered making these before, but they are so simple and I'm sure kids will love them! The little reindeer is the template that I used for the reindeer card below. I've just resized him in psp and drawn the rest of his face on! The little poem is really sweet.And the rest of today's batch!
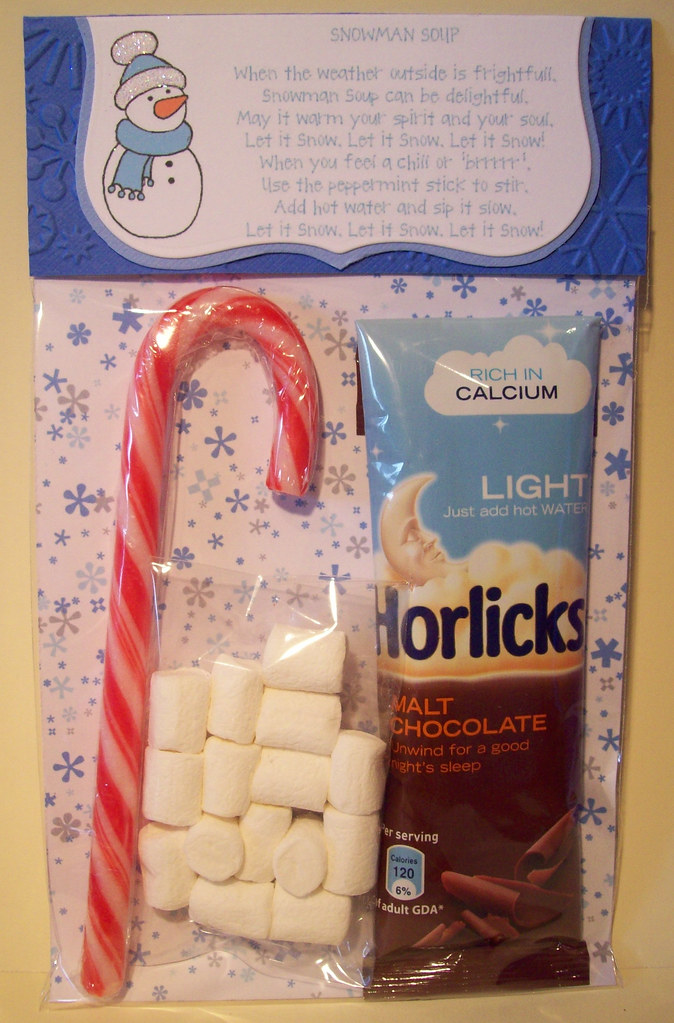
My second and favourite project today was this Snowman Soup! I actually bought a bulk box of these hot chocolate sachets the other day. I have tried one or two of them, but I bought them with this recipie in mind! I've added a few white marshmallows and candy cane. I have lined the cello bag with the Doodlebug Winter Asterisks paper and have printed the snowman and sentiment from my pc. The top strip has been embossed with the cuttlebug snowflakes folder. This i the final version after having made a few attempts, this was the one I settled for.
Yummy!

Saturday, 5 September 2009

Its gonna be a long one! grab a cuppa!

Sorry for the long post...I've been such a bad blogger lately. I just dont seem to be able to keep up! In all honesty, i've not actually made many cards recently and the ones posted below have been made over the past couple of months. I thought it would be easier to put them into categories, so here goes!
Girly:This card was made for my mum's friend, who wanted something pink with butterflies. What made it easier is that it was for her 85th Birthday, so I started with my trusty old number style card and embellished with butterflies and lots of adhesive stones. It was quite a difficult card to photograph with the mirrored butterflies.
This card is for my friends little boy and girl to give to their auntie. The request was for something pink and princessy with an image of a little boy and girl on it. I've stamped the Edwin and Tilda images but then scanned in the Tilda image to the pc and re-sized her so that she is slightly smaller than her big brother! I love these papers so much, very girly and sparkly! they are from the raqnge Fairest of them all by Imaginisce.
This card is for the same lady as the one above. Her sister has paid for her to have ice skating lessons for her birthday and wanted a card to match. I found a template on the internet for an ice skate and decided to use this papermania paper in the background as it has a swirly pattern, hopefully made to look like it has been skated on! I've added some extra glitter too! I'm really pleased with how this one turned out.
I was asked to make this card for a family who have recently lost thier teenage daughter. The lady asked for something with rainbow's and angels, but I couldnt find any angel images that I felt were suitable, but in a flash of inspiration I thought I'd use butterflies instead. The background image is one I found on Google. I'd be quite touched if I'd have received this card when I lost my little girl, and hope that the family that receive it feel the same too.
For my Mummy:
Tomorrow is my mum's birthday. I like to try out a new idea or project when it comes to my mum's birthday. I like to give her something a bit more special, something that's had a bit more effort put into it. This is my first flowerpot card. I used the tutorial found on Joanne's blog, which you can find here. I love Joanne's blog, its so inspiring and has many ideas for "no tools" flowers.
I found that placing the flowers was the most difficult part. I spent a very long time moving them around, trying to get them in the right place, but in the end had to settle and just stick them down where they were before it drove me completely insane! I tend to do that all to often with my cards! Not bad for a first attempt, but there are definately things I will do differently next time.I've made another slightly different version for my son to give to his Nanny tomorrow. I've used a different stlye of flower punch and less flowers. This one was a lot quicker and easier to put together. Hopefully she will like them both. I wonder how long it will take her to realise how to find the message though! lol. Also I have added a little stand to the back of each of the flower pots so the stand up nicely.
I've bought my mum a nice boquet of flowers, which she had delivered today, and to go with them I bought her a small box of choccies. I've been wanting to make a little treat box for a while now, so today I set about making this one for her. I saw a box recently on Mandy's blog, which was shaped like a bird box. I thought it was really cute, and after a lot of searching, I still couldnt find a template anywhere. I've made this box myself based on the measuremenst of the choccies inside. I'm quite pleased with it. It's not quite how I imagined it would turn out, but a good first attempt. I've made the lid so that it just lifts off with the ribbon threaded through the top of the lid. And finally, I made this card for my step-dad to give to my mum. I'd been working on this little paper pieced cake stand a few days ago and thought it would be ideal for my mum. The cupcakes are actually from one of the Pink Petticoat Lola Rose images which I've printed and cut out and then have heat embossed the tops with clear powder, to make them look like they have frosting on them, and then just coloured the topping in red. The teapot is also a Pink Petticoat image. The cake stand is made by simply using my Stampin Up Scalloped edge punch and a swirly punch for the legs. I'm really pleased with it! I've been looking around for a stamp with a nice cake stand on, but now I dont think I need one anymore!
Craftwork Cards Inspired:
I've had these little Craftwork Cards sentiments in my draw for quite some time now, and I really love them, but I dont use them as often as I should! They were my starting point for this card & candle gift set. I love the shape of the background on this card, not sure what the shape itself is called but I know there are a set of nestabilities out there like this, with my name on them!!!! one day I will own them! but for now I just drew my own template out of card and hand cut the shape. I've gone round the edge with my quickie glue pen and then sprinkled on some glamour dust for that bit of sparkle! I've then gone round the edge of the shape with my pokey tool and pierced the card. Then just a few adhesive stones to finish.
I love these flowers. They are quite large and were a freebie with one of my magazines a few months ago! The papers are from Pink Petticoat. I've used a few pins to firmly attach the card/paper and ribbon to the candle.
This card was inspired by Julie who's blog I came across whilst looking through the Craftwork Cards blog. I've spent a long time looking over her blog and her wonderful inspiring creations. I love the use of a single colour on this card, but I decided to add silver edges to the embossed squares and flowers and a touch of silver ribbon too.
I fancied having a go at one in colour too, and this is what I came up with. Something for the fella's this time!
Something for the kids:
I'm always really inspired by Kerry's blog and was particularly inspired when I saw a card with this layout! I had this Edwin image coloured in and sitting in my box for a while so decided it was about time he was put to use. I found he co-ordinated quite well with these Basic Grey Abrosia papers.
Using the same layout again, but this time with Tilda, whos so cute! and some more Basic Grey papers. I think this is the Bittersweet yummy chocolatey collection. Such a simple, yet striking layout.
This card is for my friend to give to her little boy on his 2nd Birthday. I've layered Thomas's face with 2 layers of foam pads and have layered the middle of the cloud with 2 layers of foam pads but have stuck the sides down with tape. The tunnell is hand cut/drawn and the train lines were downloaded from the internet and printed onto clear ascetate. I'm really pleased with how they turned out. I think I may try this with tyre treads for car cards too if I can find some to download!
Weddings & Anniversary's:
This is a copy of a card I made a few months back, only this time in Sapphire Blue! I really love the simplicity of this card and have since made another one for a friends wedding recently.
This card was made for a couple who recently got married in Canada. My friend asked me to make it incorporating a Canadian theme somehow! As soon as she said that, I instantly thought of the Maple leaf and decided to copy a card I'd made in the past with the images of Tilda and Edwin sitting inside. I was really pleased with how it turned out.
I made this card for my Mum and step-dad's wedding anniversary last month. It was a bit of a last minute card, but I was so pleased with it. I've used a stamp that came free in a magazine and have stamped it using sliver ink and heat embossed the hearts. Finished with a nice silver bow and a few heart shaped adhesive stones.
This is a card I was asked to make recently. The lady had seen one of my cards with the champagne glasses on and had asked for it to be personalised with the names/dates. She also wanted to incorporate light turquoise too. I've used this pistachio card from doodlebug. I hope its the right colour for her. Its the nearest I had to light turquoise! I've added a few punched flowers and adhesive stones to finish. Again, with all the mirror card used, this was a really hard card to photograph!
And last but not least! Hubby and I will be celebrating our 6th Wedding Anniversary tomorrow. We've actually been together twice as long! It took him a while to propose! The colour scheme for our wedding was Ivory/Gold and I like to make our Anniversary cards in gold to match. Not that I guess he would make that link though. Again the hearts on this card were a free stamp from a magazine, which I've stamped in gold and heat embossed. I've embossed a strip of white card with my swiss dots folder, added a strip of gold ribbon and edged it on some matt gold cardstock. The sentiment is stamped in gold too! There is A LOT of white space on this card, not something that I'm all that comfortable with, but I know its the sort of card that my hubby likes! Hope he likes this one too!

Well if you got to the end of this post, thank you for stopping by and reading. Hopefully I will update a bit more often in future!