Showing posts with label Nestabilities. Show all posts

Friday, 27 November 2009

Christmas Money!

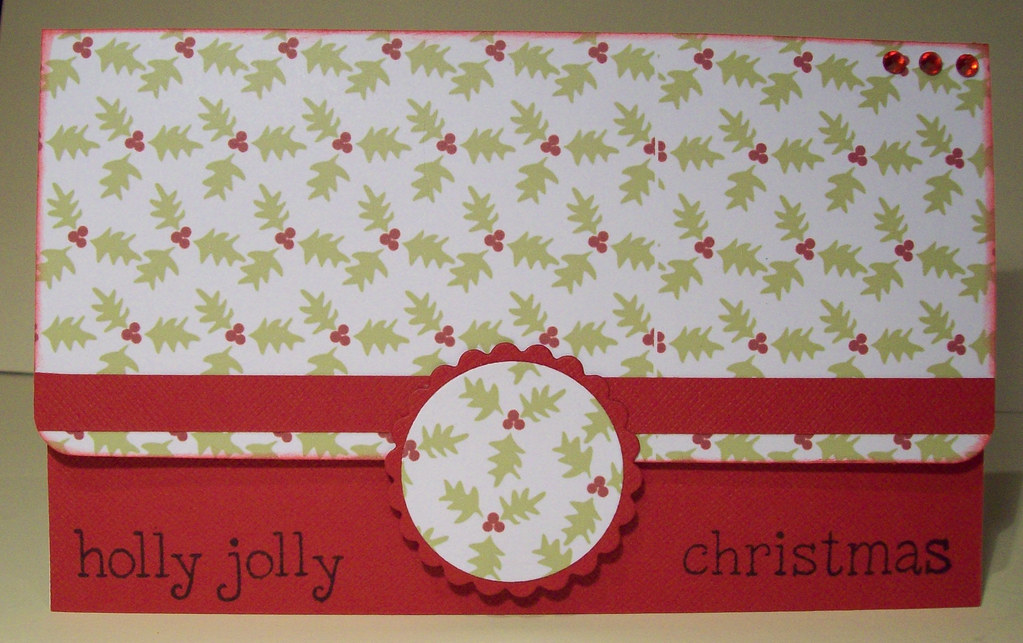
Well just when I thought I'd finished my Christmas creations! I was speaking with my Mum the other day who said she needed some Christmas Money Wallets, so I offered to make some. Its not something I'd thought of making before, but once I got started I couldnt stop! I had a browse on SCS and saw an idea for a bauble shaped money holder, which I really liked. You can find a video tutorial here! I had a couple of attempts before I came up with the one I was happy with! I made the sentiment on my pc using paint shop pro. Here is my second version. A more traditional wallet style money holder. I've had a little bag in my craft room for ages now with a small pack of sticky velcro inside which I thought would be ideal for this project! I do have some Basic Grey magnetic fasteners, but I'm far to tight to take them out of the packet! Lol! The papers are from the Christmas Lights set from Pink Petticoat. I've made a few of each, in the Olive and in the Blue stars papers and this version with the Holly too.
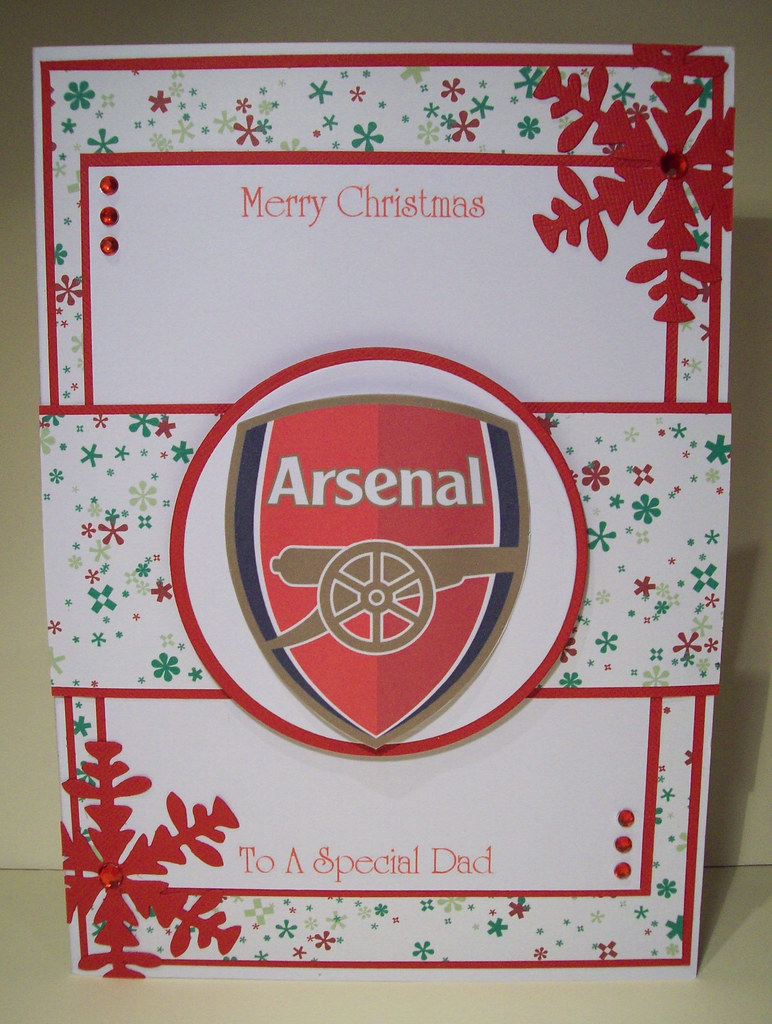
My friend asked me to make a Christmas Card for her Dad who is an avid Arsenal fan, so I suggested I incorporate that into a card somehow, and this is what I came up with. Luckily the team colours tie in with Christmas colours! I hope he likes it. I've been really busy again over the past few days. My son's pre-school Christmas Bazaar is next Saturday, which I've been frantically making cards and gifts for. Hopefully I will do as well as I did last year and all the effort will be worth it. Anyway I'm going to give myself a few days off now and have a well deserved rest! Hopefully now I can get back on track and get blog hopping again!

Monday, 27 July 2009

A Few for the Kids!

Hi everybody, I'm sorry its been so long again since I updated my blog...I just dont seem very with it at the moment so am taking the opportunity to blog today and hopefully catch up while I'm feeling in the mood! I've had quite a lot of requests for cards just lately and really haven't had a lot of time to just have a play. I'm all up to date now though so I'm hoping to get playing with some new ideas and textures soon.
This first card is my favourite of the childrens cards! She's a little cutie! I downloaded the Prima Ballerina set from Cuddly Buddly a very long time ago and this is the first time I've ever used her, I'm ashamed to say! I really like her though. The papers are also cuddly buddly. I've kept the card reasonably simple and have layered the ballernia's dress to add a bit more depth.
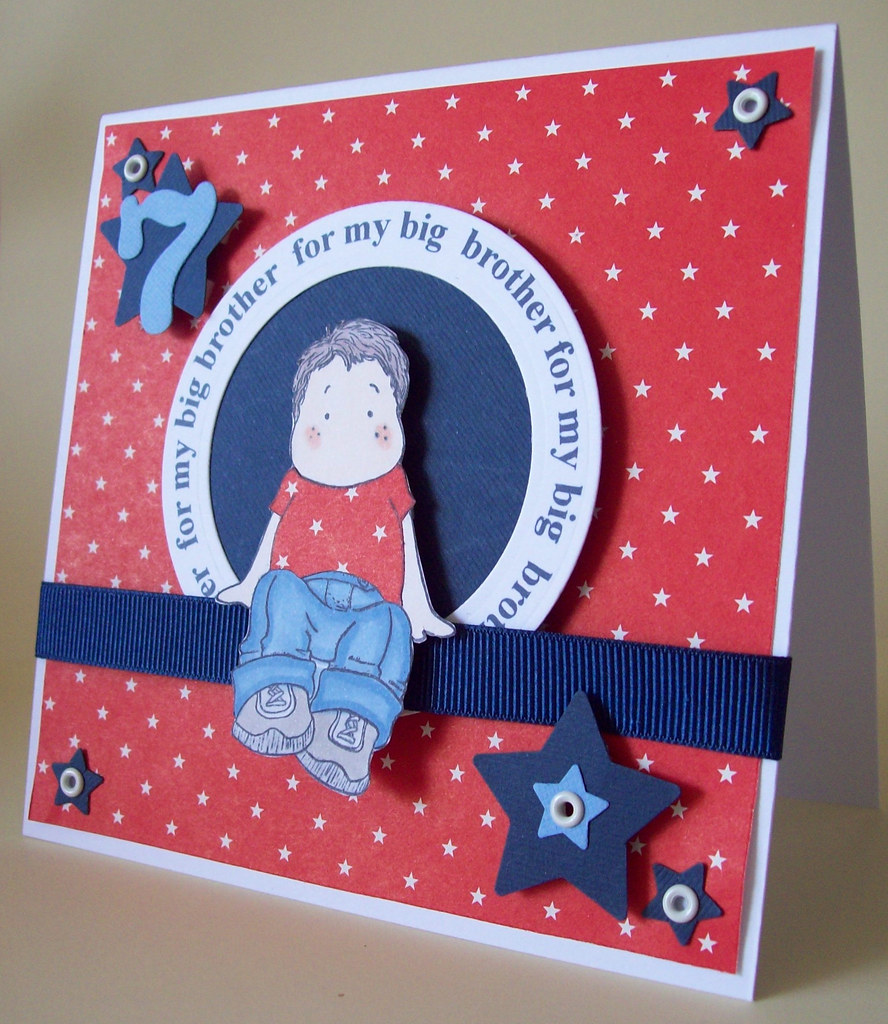
My second favourite is this Edwin card. The paper is an old scrap I had in the draw. Not sure where it came from but its what started me off on this card! I've fastened some of the stars on with small eyelets and foam pads. Again, I printed off the sentiment using PSP and have cut it cut using my nestabilities.
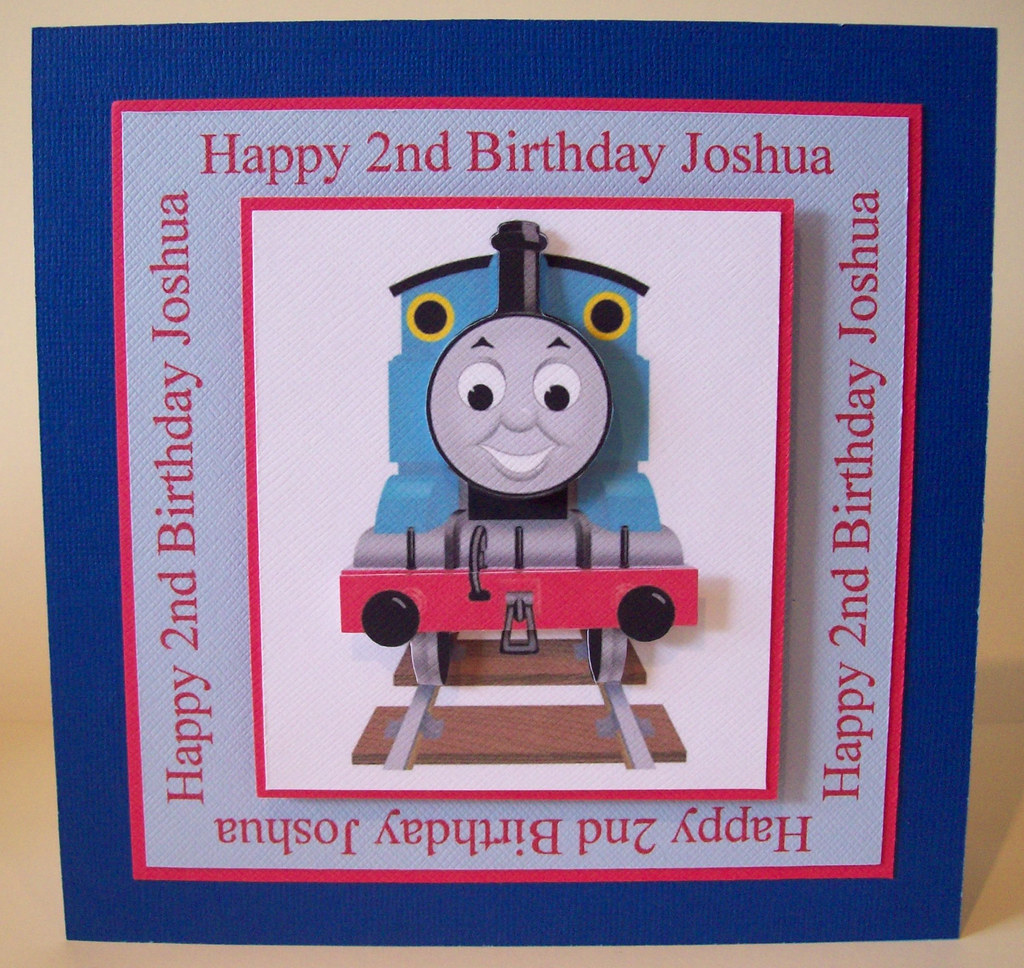
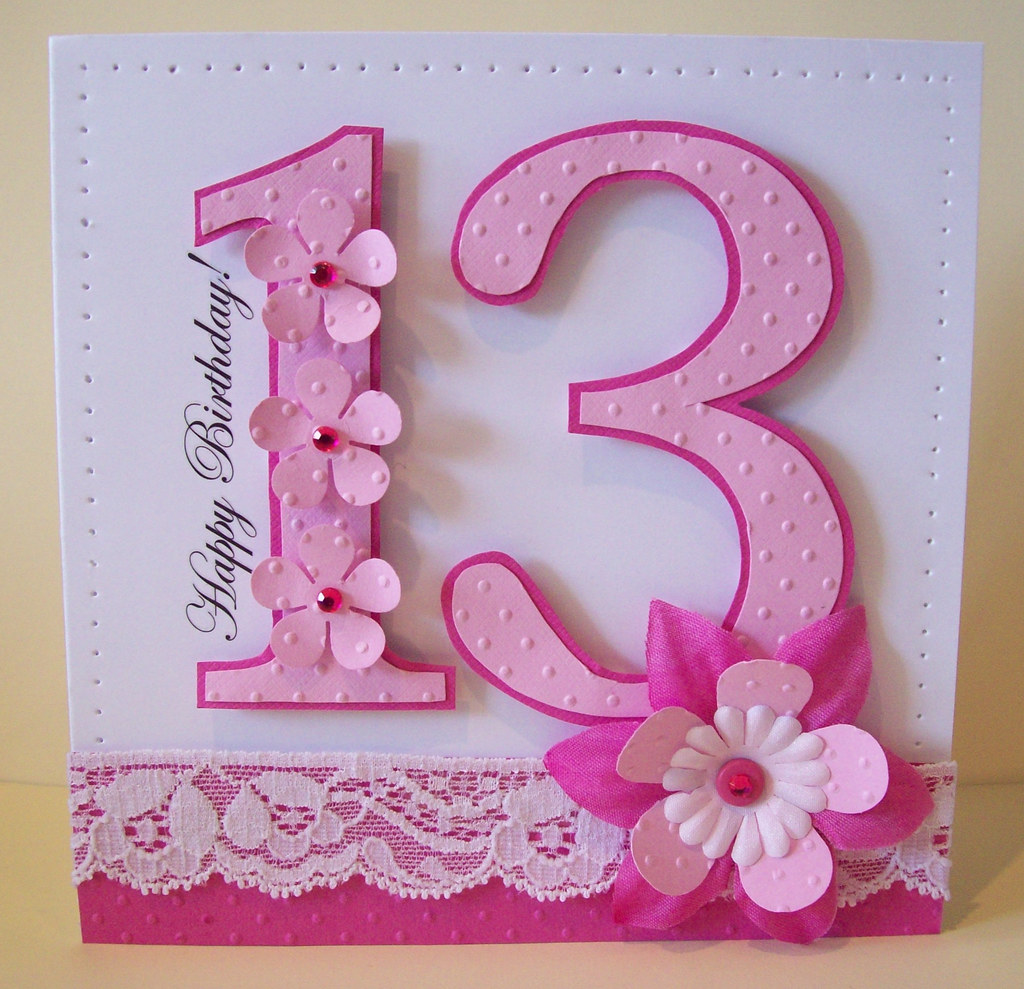
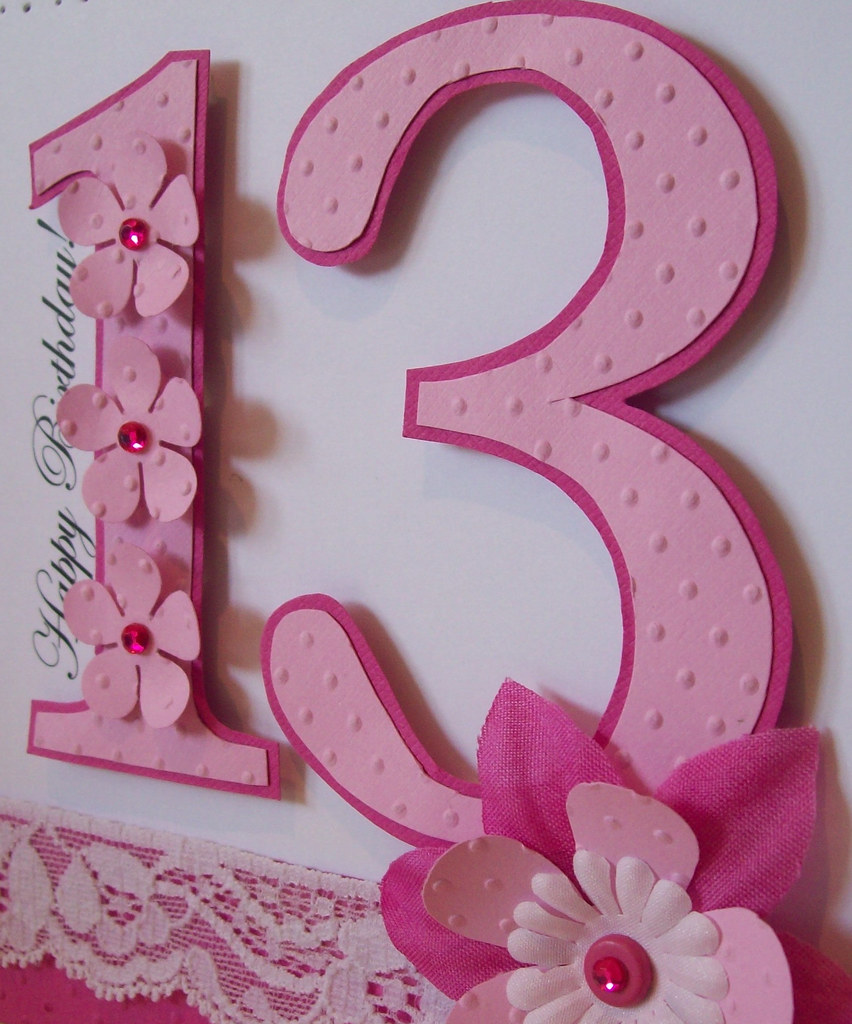
Here is a Ben 10 Card, I was asked to make....my litte boy's not quite into Ben 10 yet so I didnt have many ideas. I did a Google image search and came up with this picture, which I thought would look good if I layered the arm giving it a bit of depth. I created the sentiment in PSP and printed it directly onto the co-ordinating cardstock. This card was for the same lady as the Ben 10 Card. She liked the layout of the first one so I said I'd have another go with this card. The Thomas Image was Googled and I've layered the face and bumpers using foam pads. And finally, this card was set as a bit of a challenge! I was asked to make it for a special needs, blind teenager. The challenge was to make a nice touchy feely card with textures! I hope I've acheived that here! I started off by cutting out the numbers and embossing them with the swiss dots folder. They are then mounted on contrasting pink card and have been stuck down with foam pads. My thought was that she might be able to feel the shape of the numbers and also the texture of dots. I've added a few embossed flowers also using foam pads and some adhesive gem stones. To the bottom I've added another strip of embossed swiss dots card with an added strip of lace. I have recently inherrited a huge basket full of lace and trims, which I'm hoping to use a lot more on my cards from now on! I'm pleased with the result of my first go with them! And to finish I've layered up 3 silk/paper flowers.
Thanks for stopping by and I promise I will update again soon! I do have some more cards to show you, so as Arnie would say "I'll Be Back!"

Sunday, 26 April 2009

Hey Cupcake!

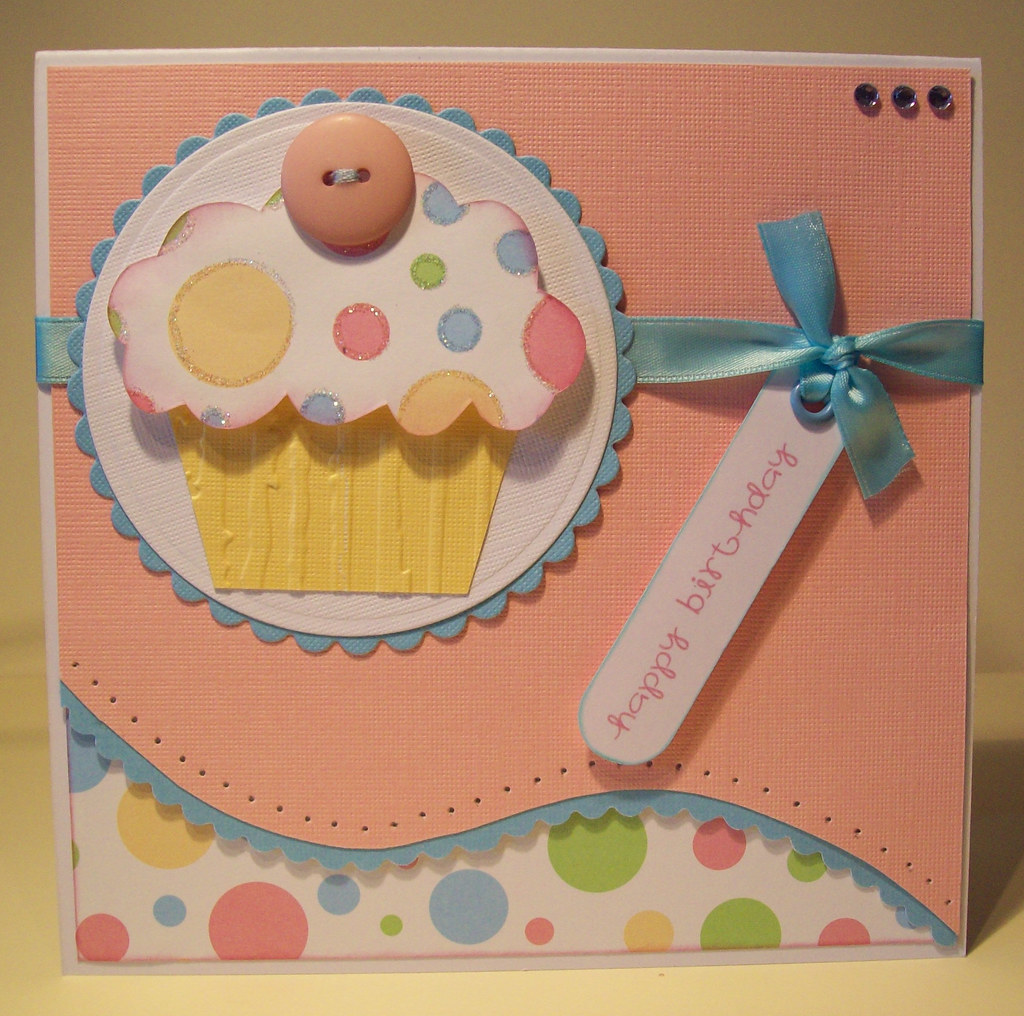
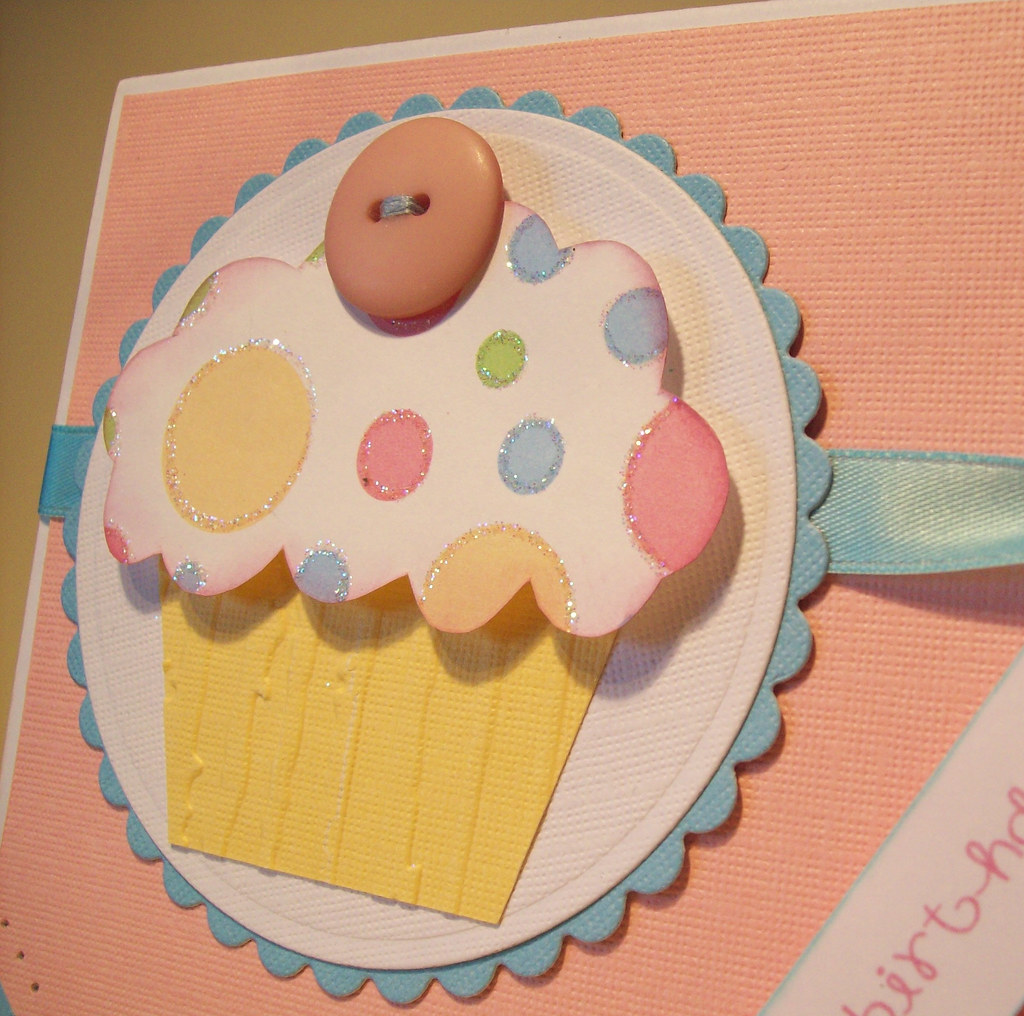
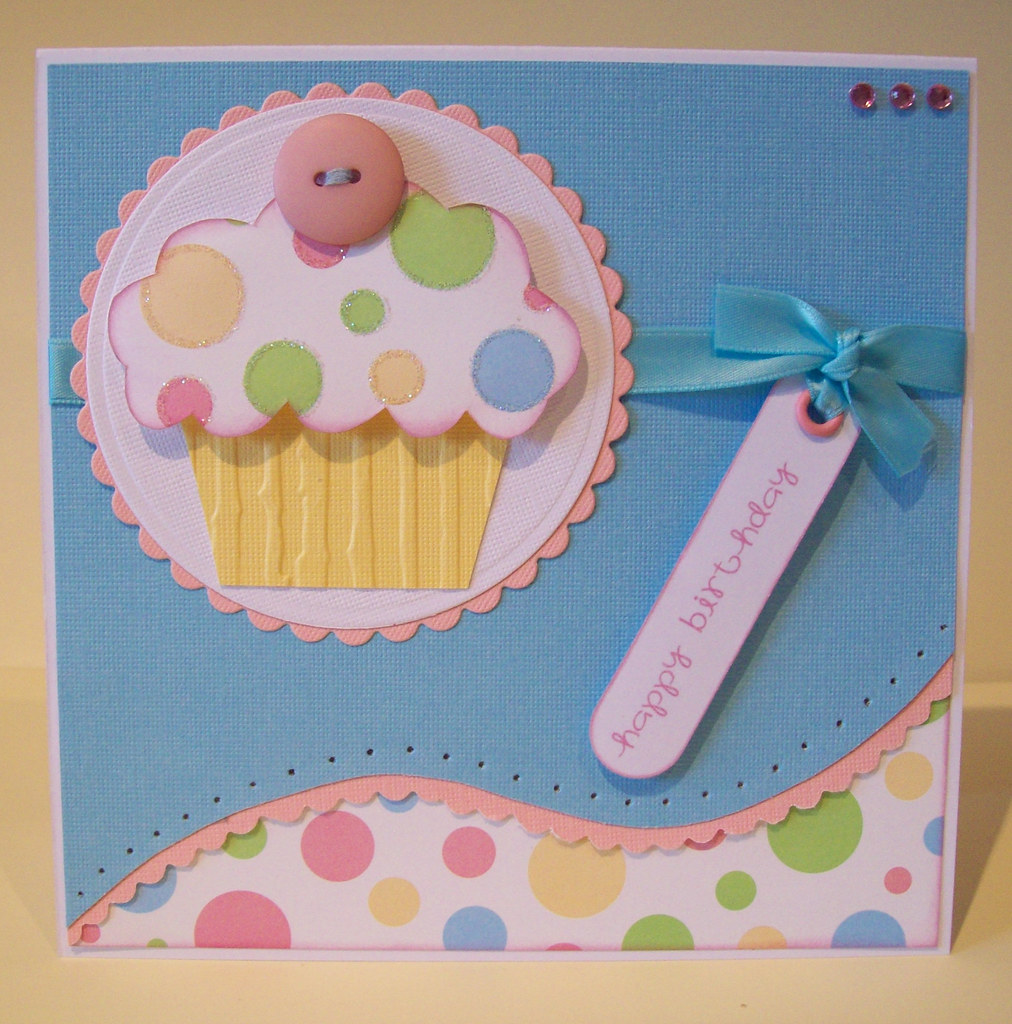
A quick flick through my Stampin Up catalogue inspired me to make these cards. The papers and card are all from a DCWV baby stack. To make the cupcakes Ive cut out the bottom part and embossed with my cuttlebug folder. I've inked the edges of the topping of the cupcake and have also drawn around each circle with my glue pen and then added some glamour dust, before mounting it on foam pads. I've then topped it off with a pink button. And a slight variation on the first one! I've used my scalloped edge scissors to layer the curved edge.

Thursday, 23 April 2009

Baby Baby!

Hi everybody! Hope you have all had a lovely week! We've had some lovely weather here and I've found myself relaxing in the summer house a few times this week! when I really should have been doing other things, but it was too nice.

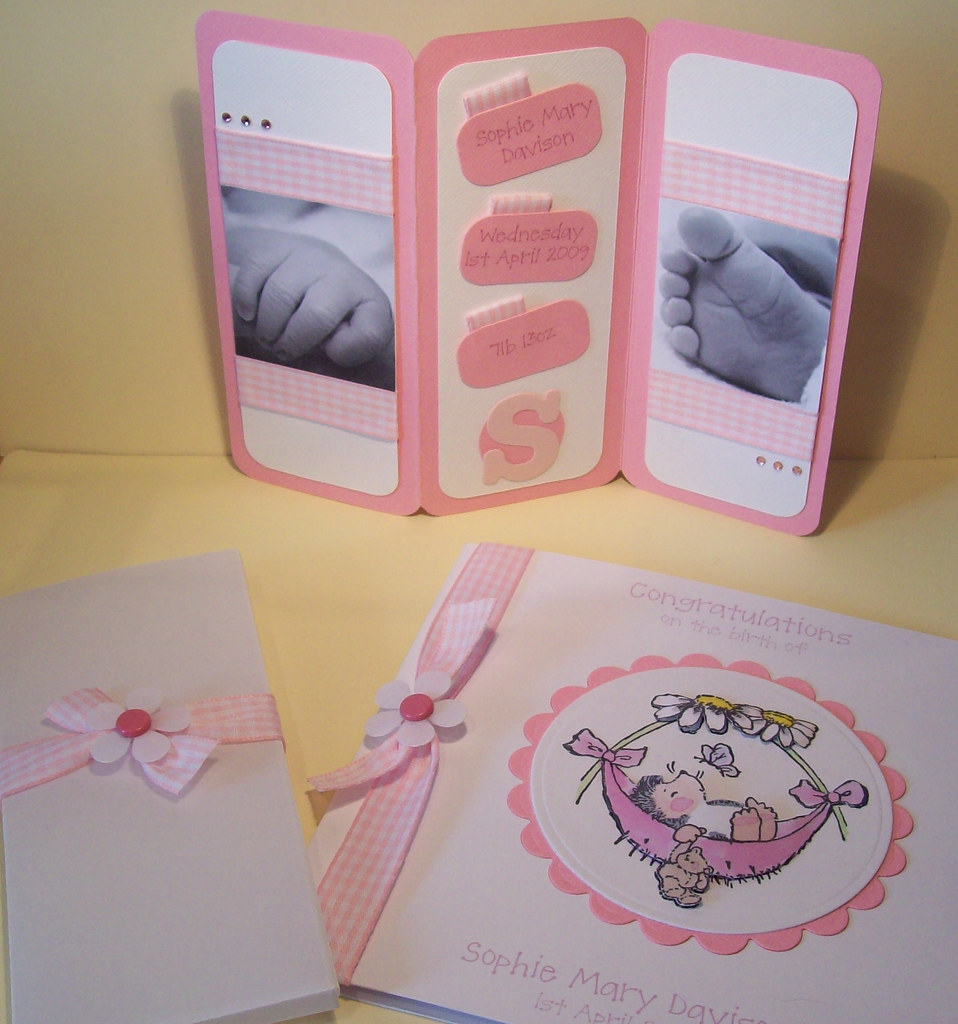
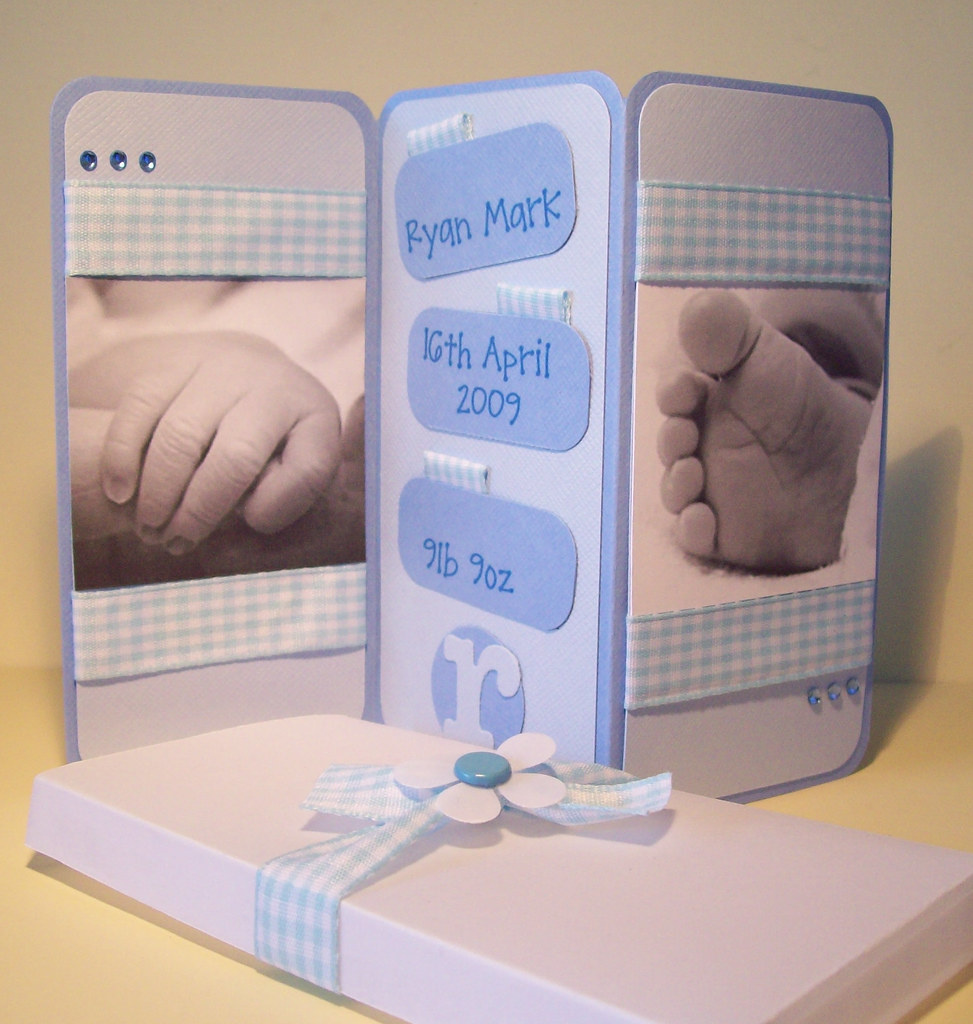
Two of my friends have had babies in the last 3 weeks, a little girl and a boy and I wanted to make each of them a nice gift rather than buying something. I've made my little new baby keepsake that I've made a few times now. I made a 3 page concertina card which slides into a
wallet/envelope made from a heavy weight vellum. So here is the pink one! Actually its the first pink one I've ever made, all the others have been for boys, so it made a nice change.
I've also made a matching personalised card too using the cute Penny Black stamp. I really love this little hedgie, he's so cute!


Back Soon!

Wednesday, 22 April 2009

Tinker & Co DT Cards - Elisia Paper Pack

Here are my first few cards that I've made for Tinker & Co as part of the Design Team. The paper pack is called Elisia and you can buy it here! I really love the colours in this set, and the flowery flourish is absolutely gorgeous!
This first card is my favourite of the set. Its made using the Joy-Fold layout. I've used a combination of the three paisly papers from the set, combined with some black card. I think these colours contrast really well. The flourish element has been printed onto acetate and then cut around the edges before being fastened with a small brad through the centre of the flower. A few adhesive stones and some organza ribbon to finish and voila!

I've made this one using a sketch I used a couple of weeks ago, and have used some of the more floral papers from the pack this time. Again the flourishes are printed onto acetate and fastened with a brad.
This was quite a simple one to make, again using the blue paisley paper layered onto white cardstock with inked edges. I used my nestabilities to cut out the squares and layered over the printed flourishes so that they overlapped the square. I then just stamped the sentiment and added a few adhesive stones to finish.
And finally, using my favourite layout of the moment! I paper pieced Tilda's dress using the pink and black spotty paper, which was really quite fiddly, I'd not done this before, but I love the result so it was worth it! I love the pink & black combination, one of my favourites.


Yo can buy this kit from Tinker & Co along with a huge range of other digital kits too.


Wednesday, 1 April 2009

I've gone a bit overboard with the Urban Prairie

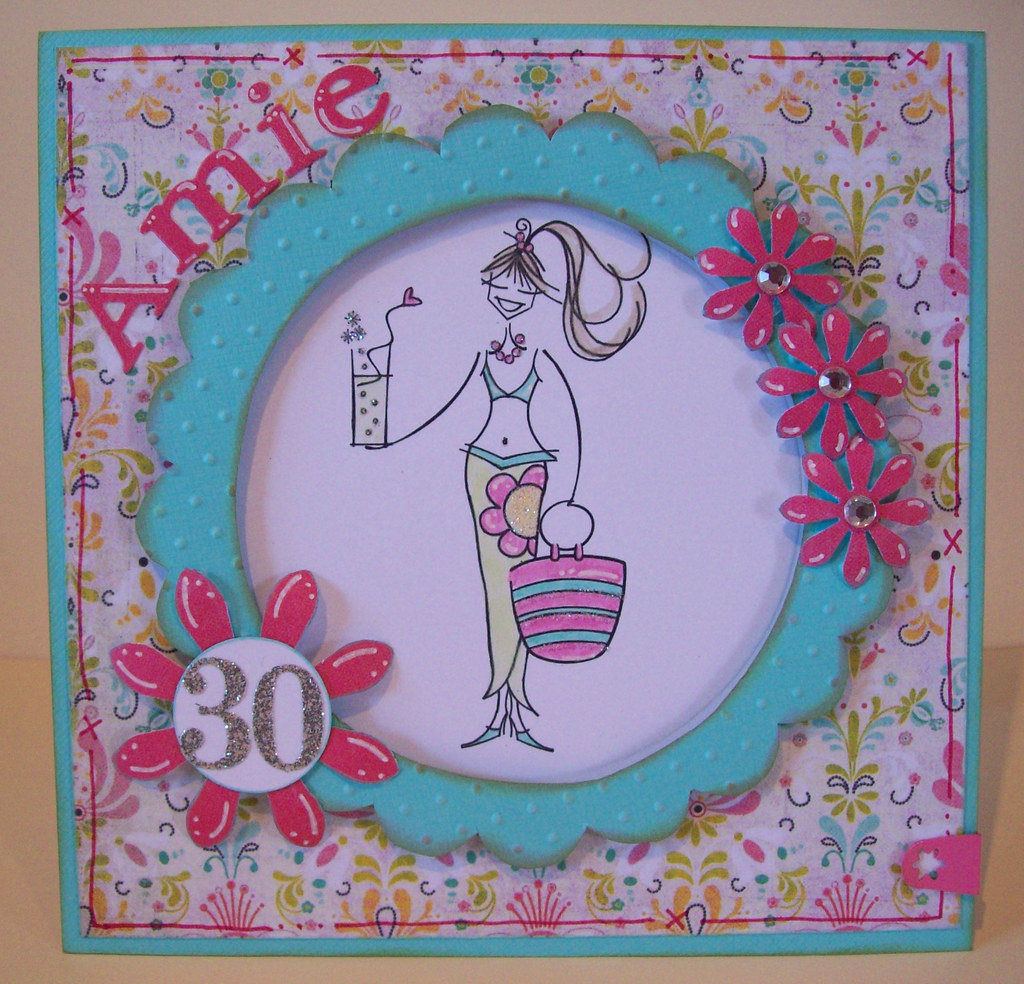
A couple of weeks ago, I treated myself to the Urban Prarie paper pack from Basic Grey and I really fell in love with it. Its full of very bright spring like papers. Subsequently I've made quite a lot of cards using them! First up is another joy-fold card. Not one of my best cards, but something a little different. And another view! This next card is one I've been asked to make for a lady who enjoys all things sparkly and pretty and also loves her holidays. I decided to print off this beach babe lola from Pink Petticoat. Ive had this set for a while now and never made a card with her before. I've doodled this card quite a bit. I think I got carried away! The numbers are making memories glitter stickers, they sparkle much more in real life!I made this one a few weeks back when I was having a surge of inspiration. I've used the aqua card as the base, which is not something I normally do. I usually just layer the coloured card onto a white base card (i'm stingy and dont like to use up too much of my coloured card!) but thought as this was a colour I don't use all that often that I'd use this instead.
The image is a Magnolia Stamp with a computer generated sentiment. The flower is one of my doodlebug flowers. Its lovely. All glittery and shimmering!
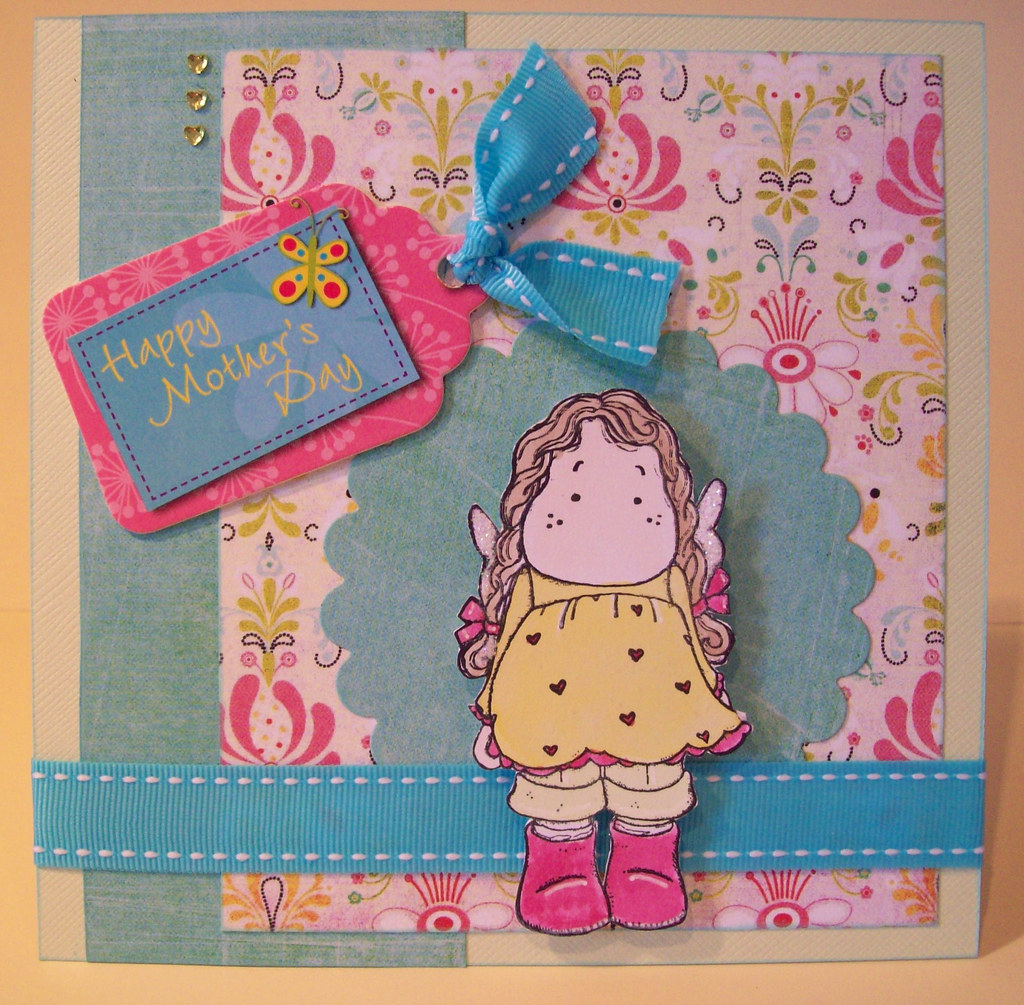
I was trying to make some quick mothers day cards for a couple of orders I had and already had a couple of magnolia images coloured in. The little tag sentiment is one from a free set that came with a magazine last year! I knew I would use it eventually. It co-ordinates perfectly!
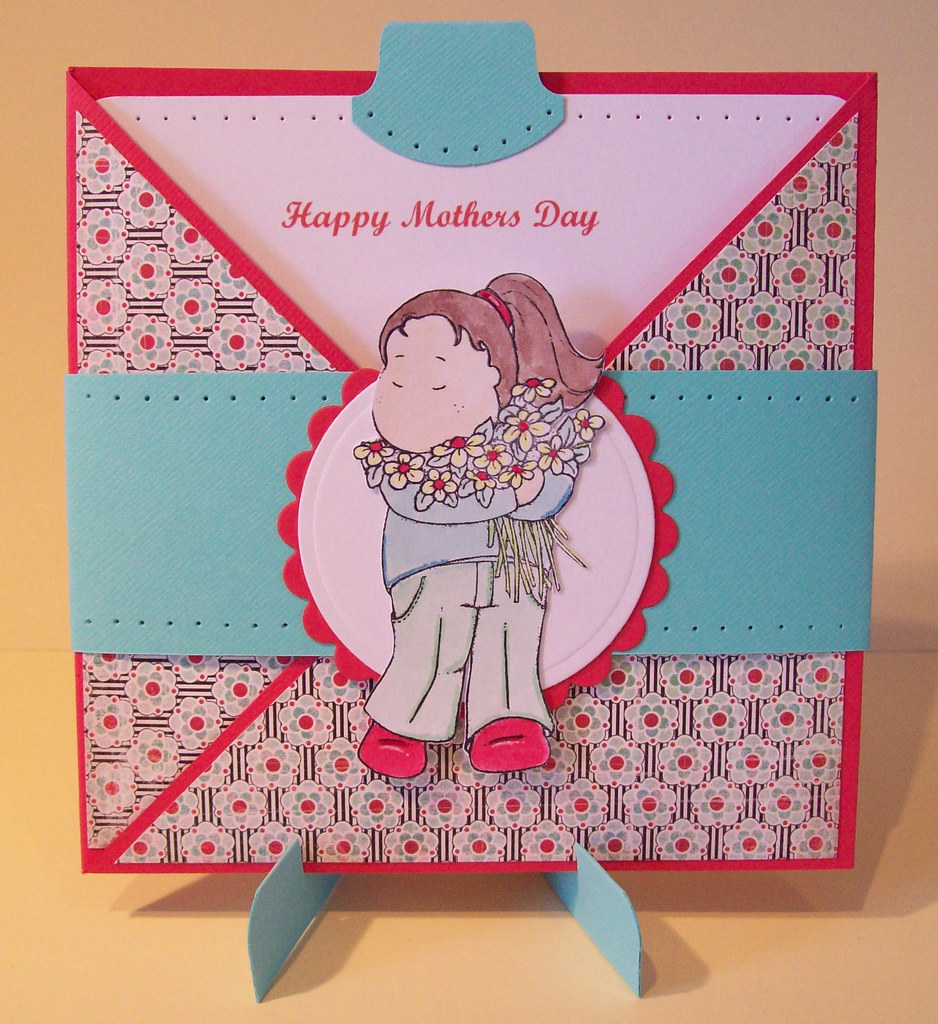
And another criss-cross card, I'm really loving these at the moment. This one was made for mothers day, but can easily be changed for any other occasion as the white card can be removed and replaced. I really like the colours on this paper. Red and this turqouise seem to go really well together, I may have to combine these two again.
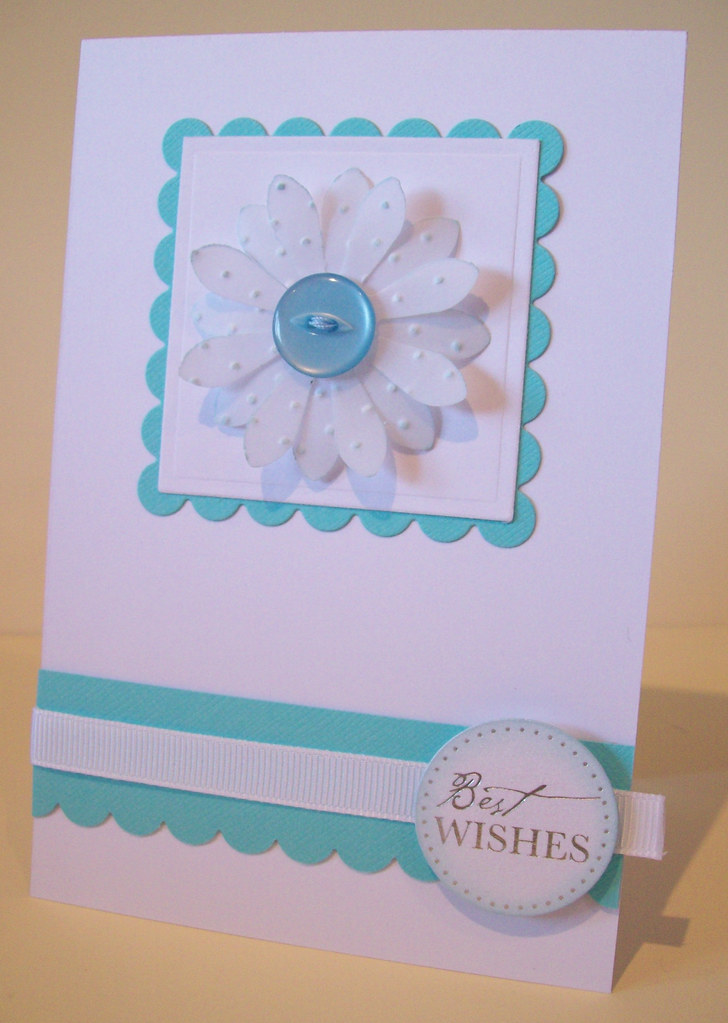
Finally, this is a card I made when I was experimenting the other day. I saw a card with a vellum flower in a magazine which inspired me. The vellum i've used is quite thick. I've embossed it with the swiss dots folder and then inked the edges. I'm not really sure that this was the card I intended it to be, but it works as a simple quick make!

Saturday, 21 March 2009

Happy Mothers Day!

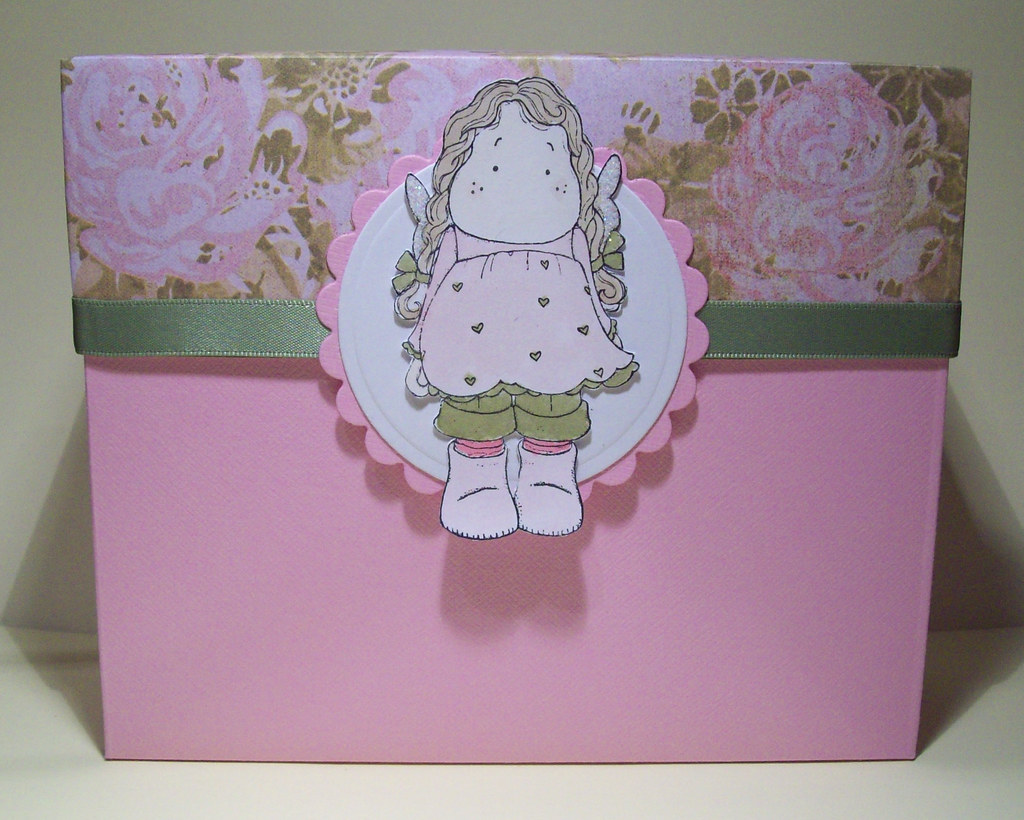
Happy Mothers Day everybody! My hubby bought me a nice cup of tea in bed this morning and I was given a lovely bunch of tulips and a little magnetic bookmark that my little boy, Adam made at pre-school. I've then spent the morning at my Mum's this morning out in the garden as the weather is lovely again, but a little cooler than yesterday! My parents are coming round so we can have tea together tonight, so I'd better get the oven on soon! I've been dying to share these with you, they are what I've made for my mum for Mothers Day and now she's got them its safe to post. Knowing that she comes on and reads my blog now, I have to be a bit more careful! I decided to try out the criss-cross card and this was the first one I made. The papers are Basic Grey, Sugared Collection and Doodlebug Tickled Pink cardstock.
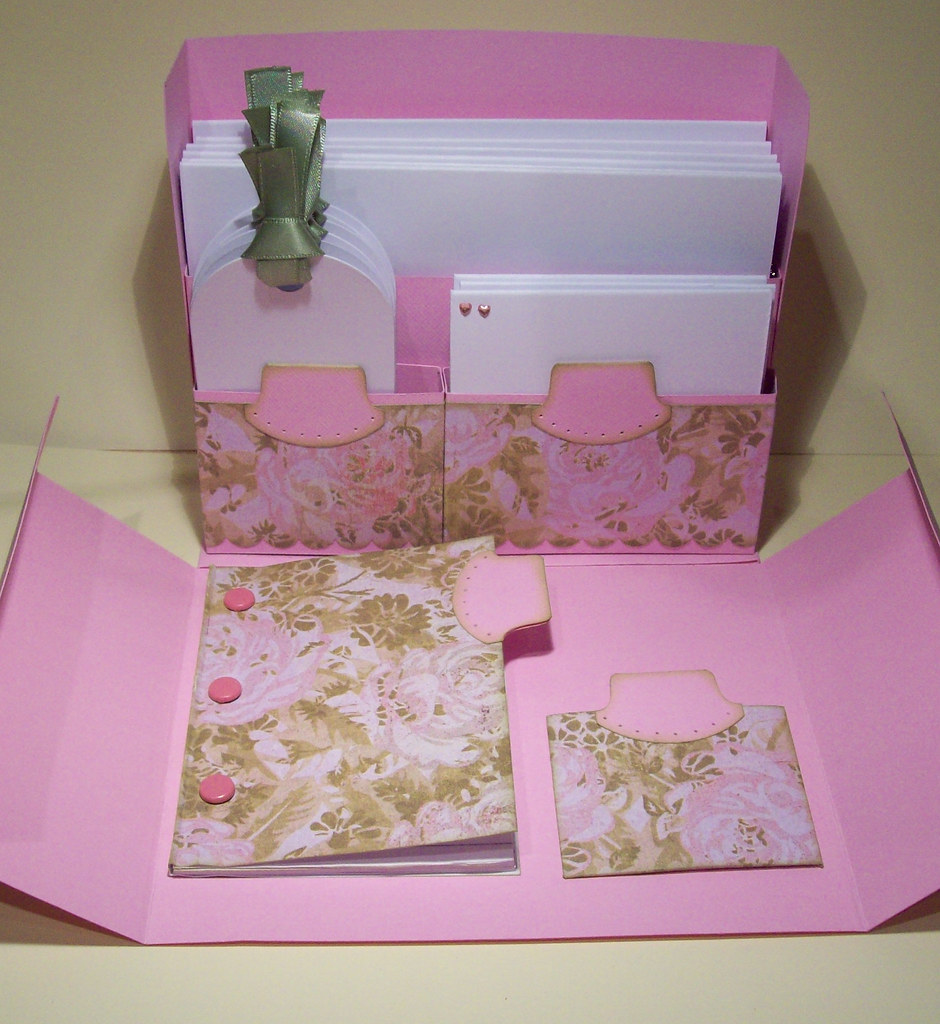
I decided that I would have a go at making her a gift this year instead of buying the usual flowers & chocolates. I spent a bit of time over at Splitcoast Stampers looking for Ideas when I came accross the Stationery Box in the Gallery and thought it would be perfect! I've used the same card and paper as I did on her card and also the same Tilda image.
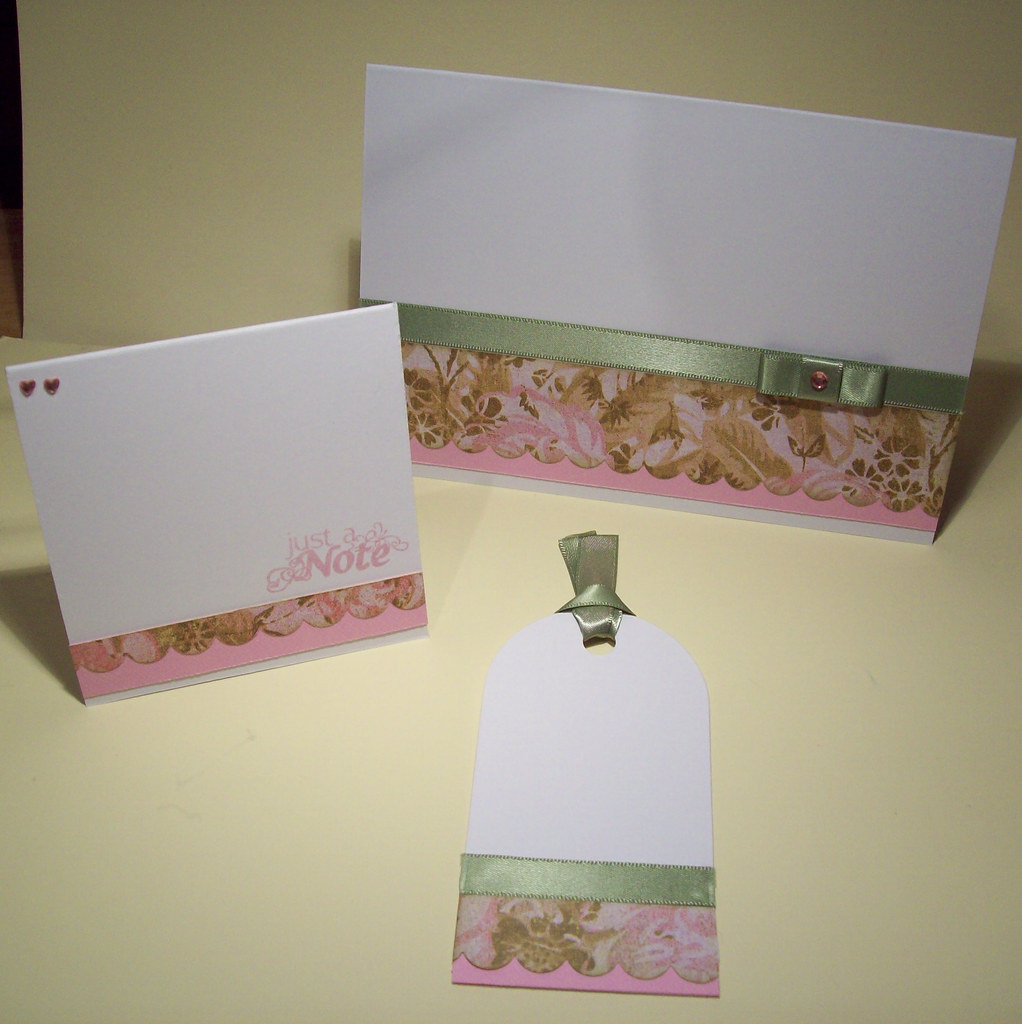
Inside I've made 6 notecards, at the back, 6 matching gift tags and 3 small love notes. There is a little holder for stamps and a small notebook. Here are some instructions if you want to have a go at making one. The lady has also done a video tutorial which is about 20 mins long, but really useful. The box itself was suprisingly easy to make, it was the contents that seemed to take the most time.
I'm really pleased with how it turned out, and Mum likes it too which is the main thing! Hopefully I'll be making a few more of these as gifts now I've done the first one.
Also, just a quick Thank You to everybody who has entered my blog candy and for all the lovely comments I've been receiving. They are all very much appreciated!
Hope you all enjoy the day, and the rest of the weekend!

Sunday, 15 March 2009

Not really sure where to start.....

.....so here is as good a place as any! I've had quite a productive card making week this week. I've spent quite a lot of time looking through my Stampin Up catalogue, not that I can afford to buy anything, but it doesnt cost to dream! And that led me to spend a lot of time over at Splitcoast Stampers. I've tried a couple of new techniques, for me anyway, and I'm actually really pleased with the results, which makes a refreshing change.

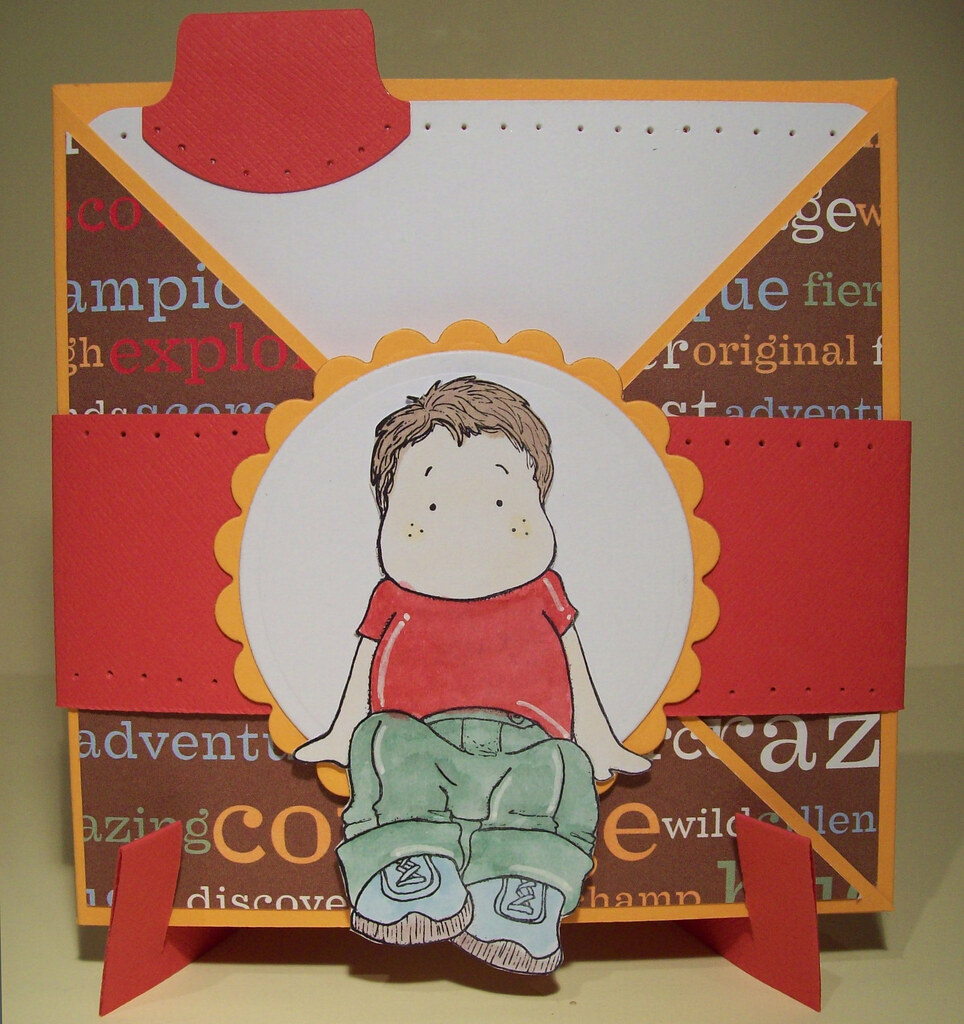
First of all I've made a criss-cross card. I've also made a little stand for the card as I think it looks better when its all together. I'm really happy with this card and was suprised at how easy they are to make and how effective they look. This is the first time I've ever used these papers, they are part of a making memories set I got when I was in America in 2007!
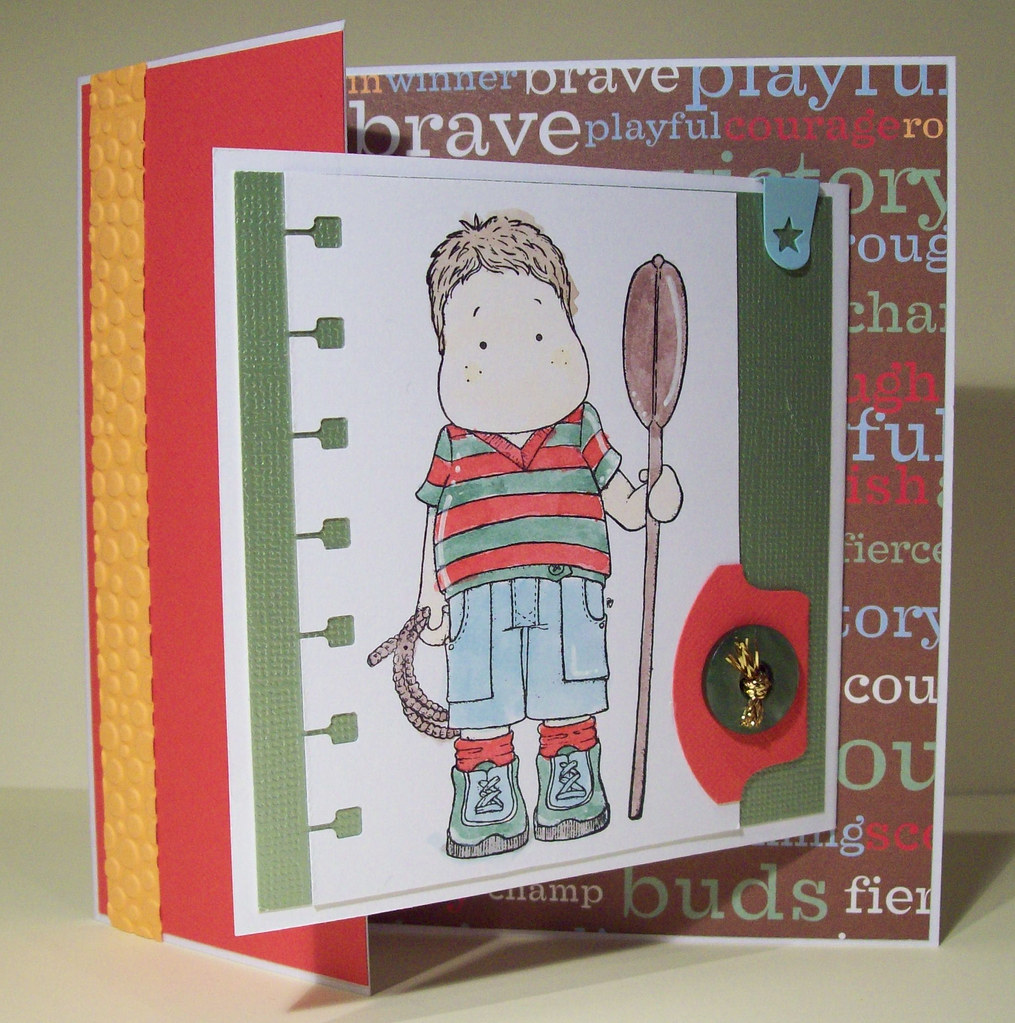
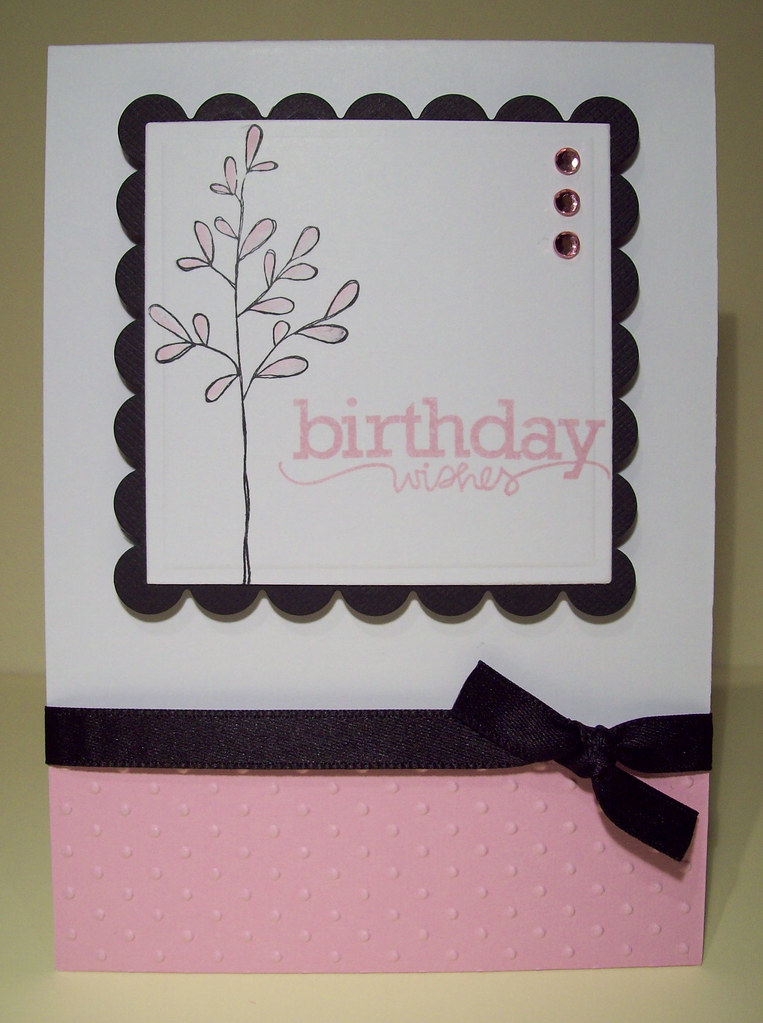
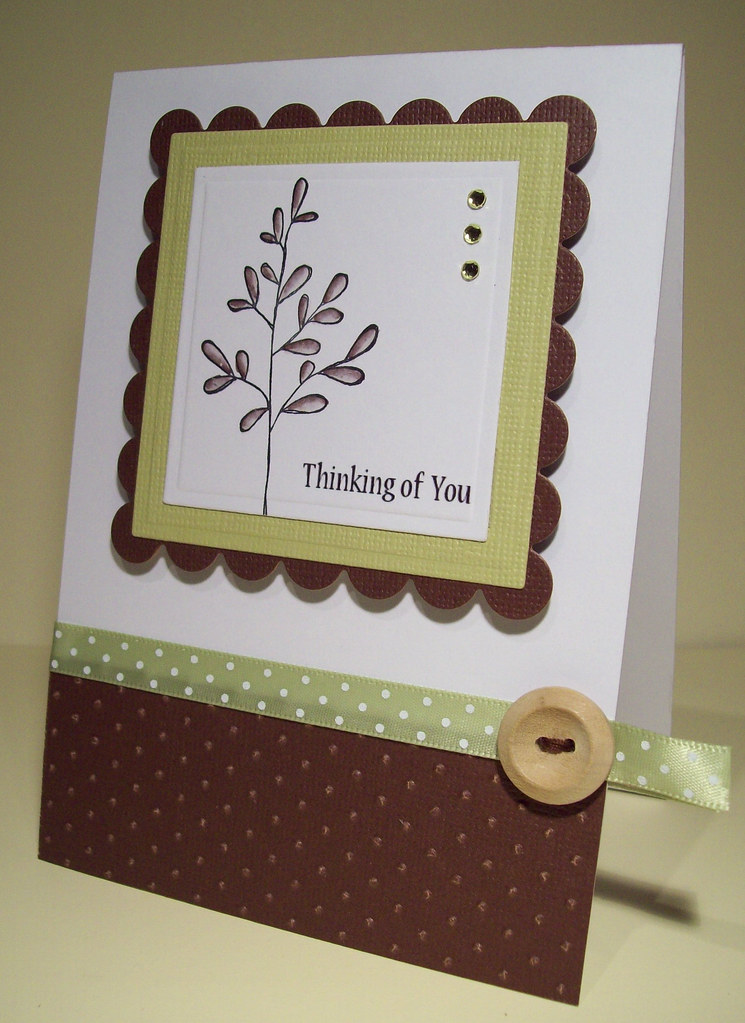
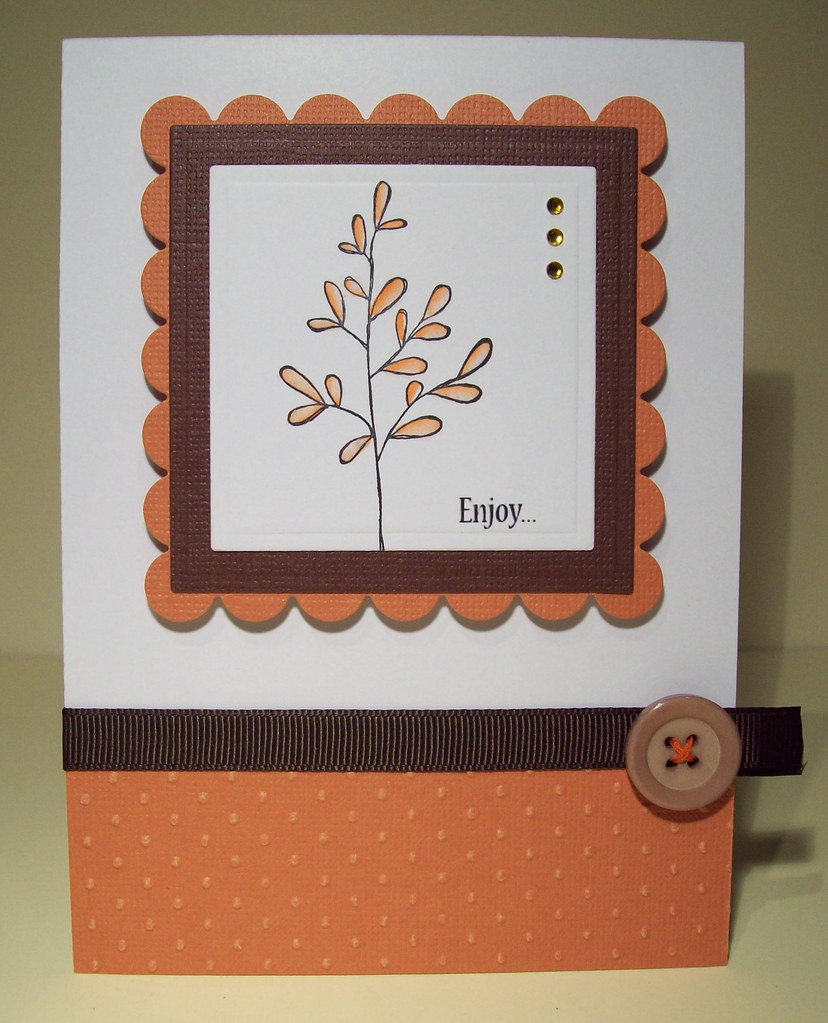
Whilst I had the papers out, I thought I'd make more use of them with another Edwin image and this time I've tried the joy-fold card. This is a great layout, and one I'm sure I'm going to use a lot more. Its quite hard to get a clear picture of how the card opens, but basically the Edwin image opens to the right and then the red panel opens up to the left. It's like a card within a card.I saw a card on SCS which really inspired me. It basically had a stamped tree/leaves image in a circle with a sentiment and that was the main feature of the card. Immediately I thought that I could re-create something similar using the magnolia stamp I got in the Christmas sale, and here it is! This was my first attempt, using a pink and black colour combination which I really like. The sentiment is from a 99p Studio G set.And here is another attempt, only this time I've printed the sentiment from the pc before stamping and cutting out the squares with my nestabilities. I really wish I had some more sentiment stamps, they are at the top of my wish list but the pc ones will do for now, it can be a bit of a pain having to print them off though. I love this colour combination of dark brown and a sage green. To colour the images all I've used is my Whispers pens and a blending pen.

And again, but this time in burnt orange and dark brown, lovely!

These cards were so simple to make and yet they are some of my favourites so far. I think I'll be using these colour combinations on a lot of my cards from now on. Also on the last three cards I decided that instead of making my usual A6 card which opens from the side that i'd flip them to a tent fold. I've made a few more in different colours, so I have a whole set of them, but these were just a few of my favourites, I didnt want to bore you with all of them!

As I said I've had a very productive week and there are even more cards that I'd like to share with you, but I'll save some for another day. I didnt realise until I started blogging them, quite how many I'd made.

Thursday, 12 March 2009

Buttons, Buttons and more Buttons

It's Sunday evening, 15th March! I actually started to write this post a few days ago now! oops! but I got carried away with more card making so it got pushed aside. I think I've used up my mojo for this weekend though, so thought I'd take the opportunity to catch up with my blog.
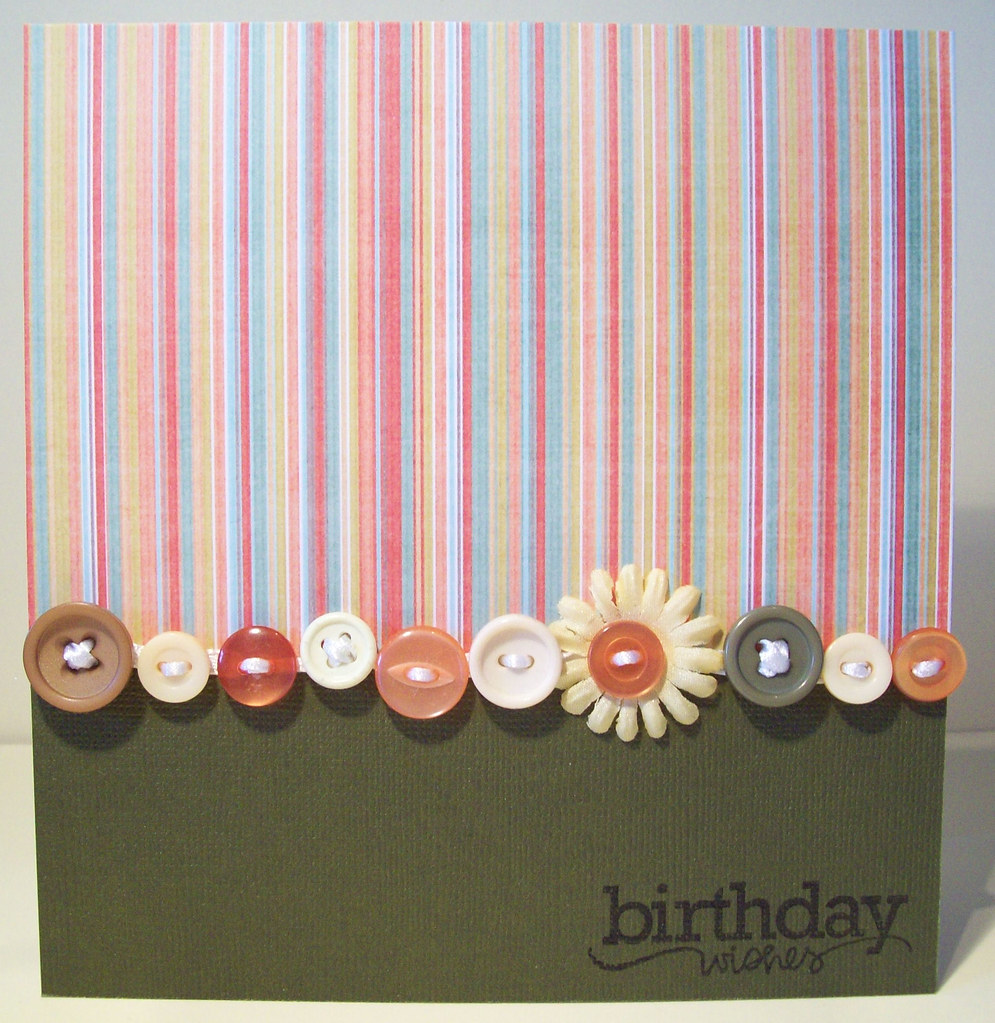
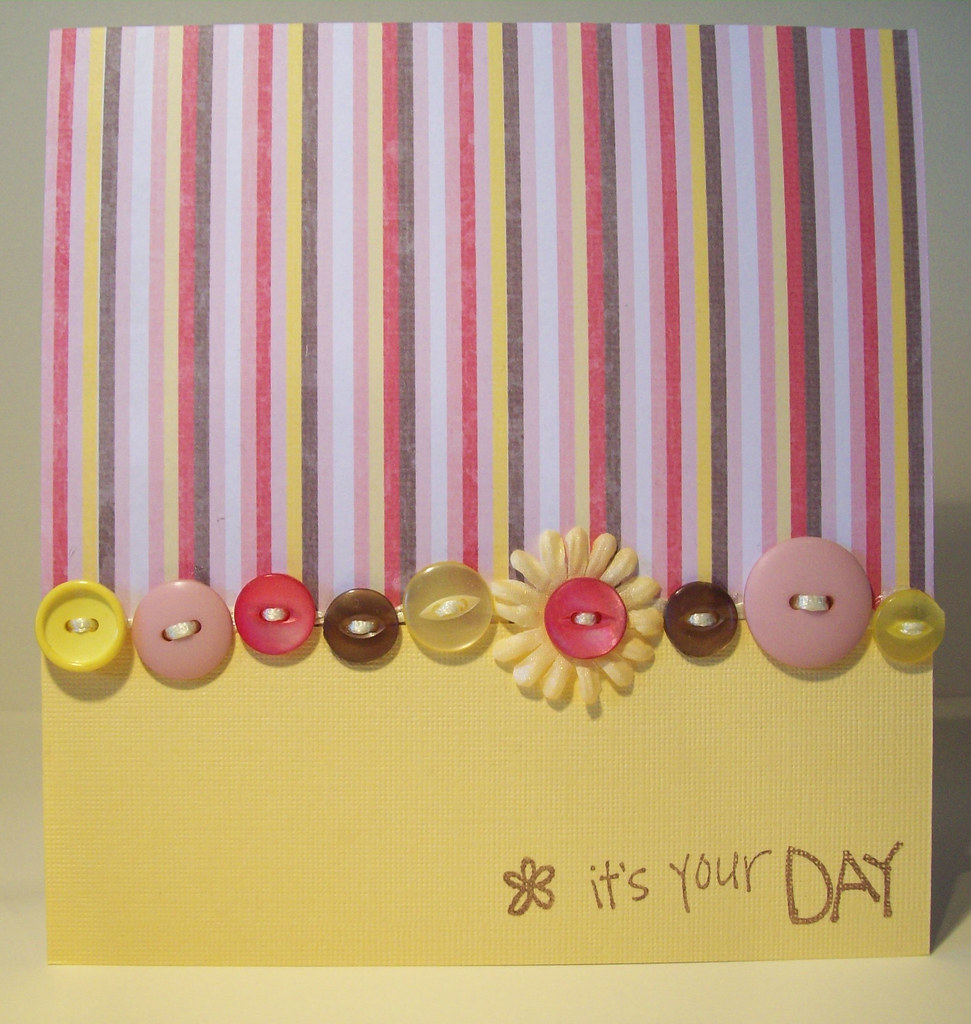
I saw a card in a magazine a year or so ago now and I kept the image thinking that one day I would have a go at that as I really liked it. After raiding my mum's button jar the other day, here is what I came up with. All of the buttons are threaded onto a white ribbon, which was a little bit fiddly but I quite enjoyed doing it. I really like the combination of the orange and greens. I've done a pink/brown/yellow version too, but I think I prefer the first one.
I'm not really sure what inspired me to make this next card, but it didnt go the way I had intended it to, but it seemed to turn out ok in the end. The papers are Pink Petticoat. I think the pink and black combination is really striking. The sentiment is one that I've printed myself using paintshop pro, and I've then added a flower and a brad to the centre.

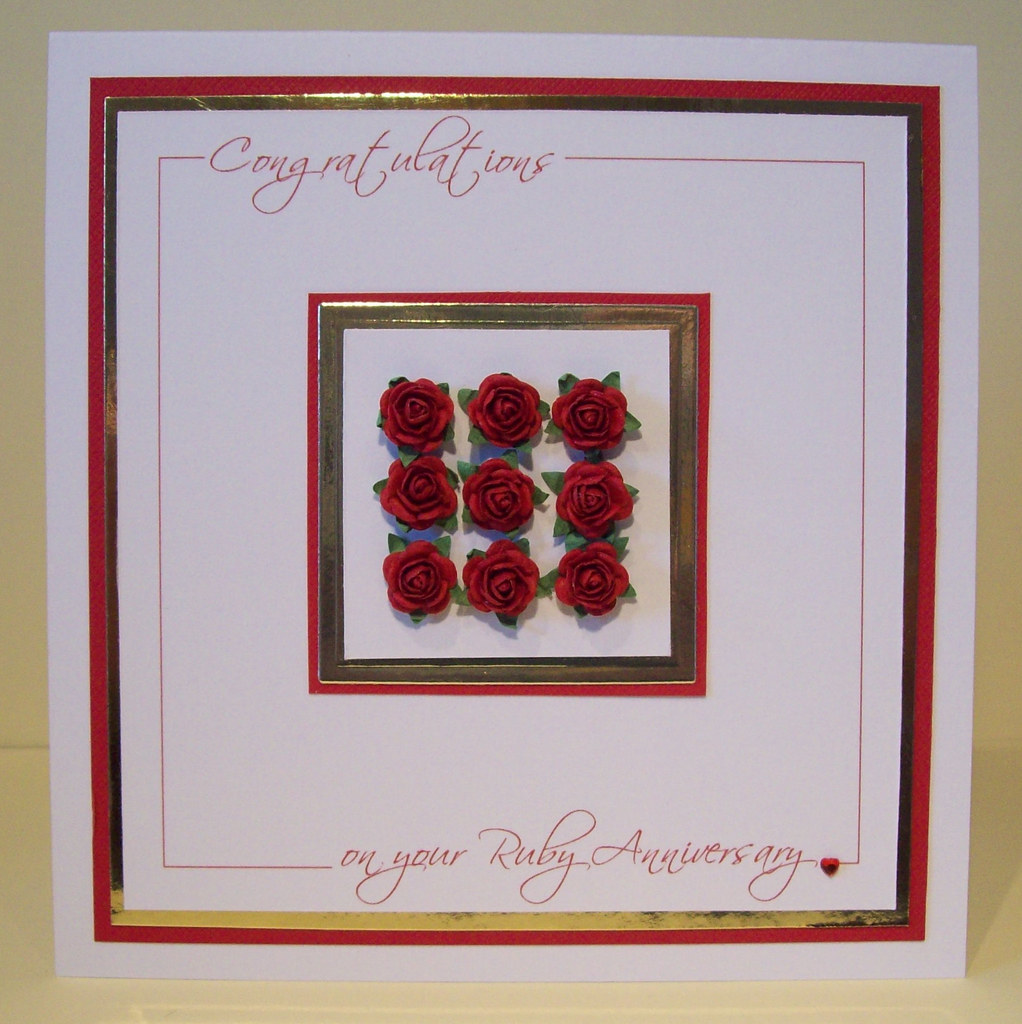
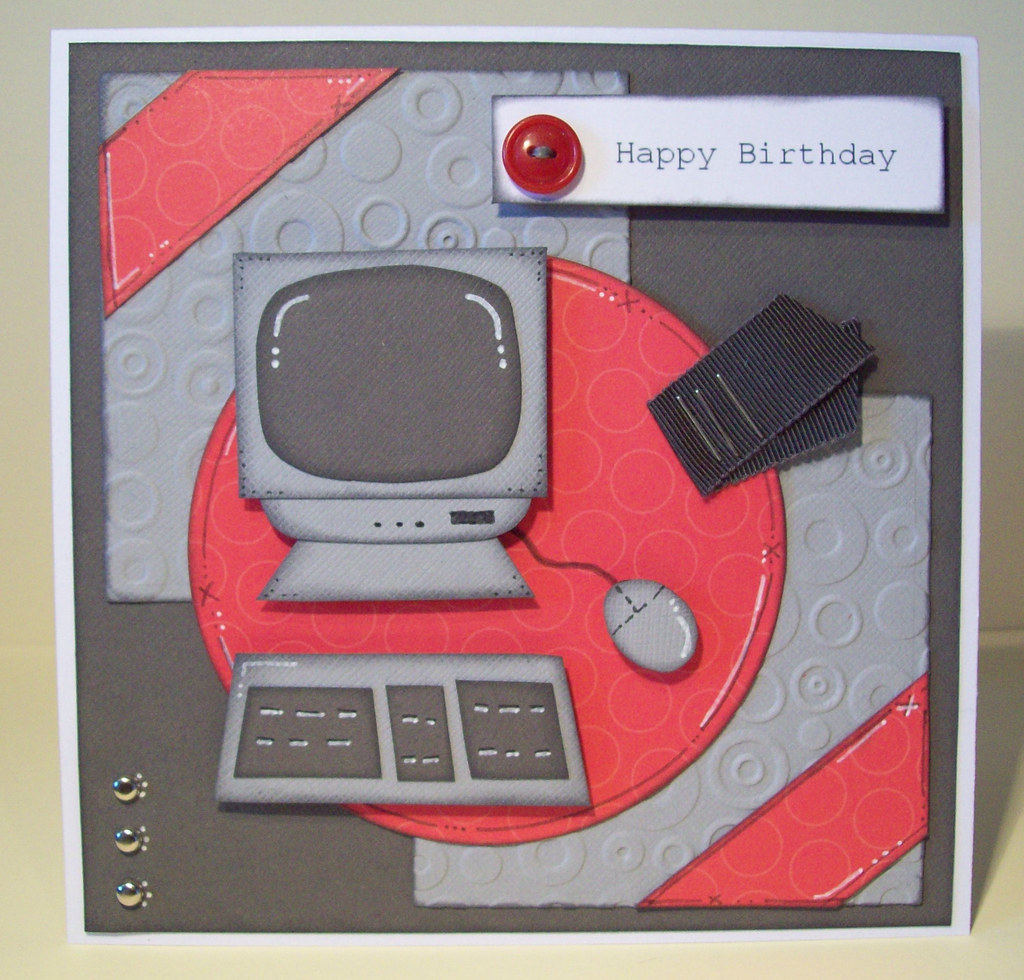
I was asked by a friend to make a Ruby Anniversary card. As soon as she asked me, I knew that I wanted to re-create a card that I made for my mum's wedding anniversary back in August. I bought these little red roses from ebay, and they are the most perfect little paper roses I've ever seen. I've layered the card using gold mirror card and a deep red doodlebug cardstock.I had a day a couple of weeks ago, where I sat flicking through some old magazines looking for inspiration, when i came across a card which featured a little paper pieced computer. And here is my version! i cut it all by hand and eye, nothing was measured! I think the grey/red has quite a masculine feel to it. This card reminds me of the office where my husband used to work and all the furniture was red and grey. It had a real 1980's feel to it! I've re-created the little computer for another card to but this was my favourite!