I've had a few Children's parties recently and here are a couple of cards I made for my son to give. The first being this cute Peppa Pig card. I've used my new hearts embossing folder which I love! The papers are from Imaginisce and are from the Happily Ever After range (I think!!) I've stuck some gem stones onto peppa's crown and have used some glamour dust on her wings.

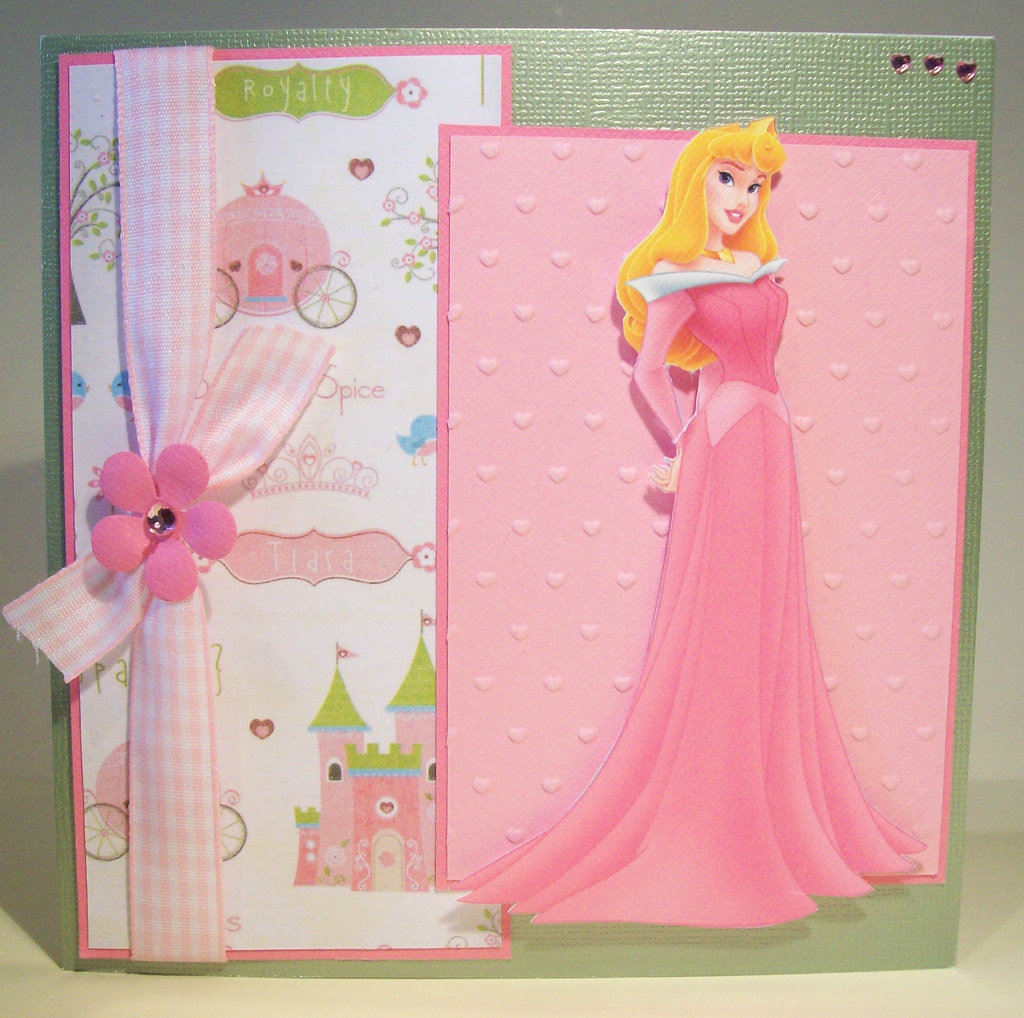
Using the same layout and paper! I've gone for a Disney Princess image this time, both of which tie in with the presents we gave! Hopefully both of the recipients were happy with them!

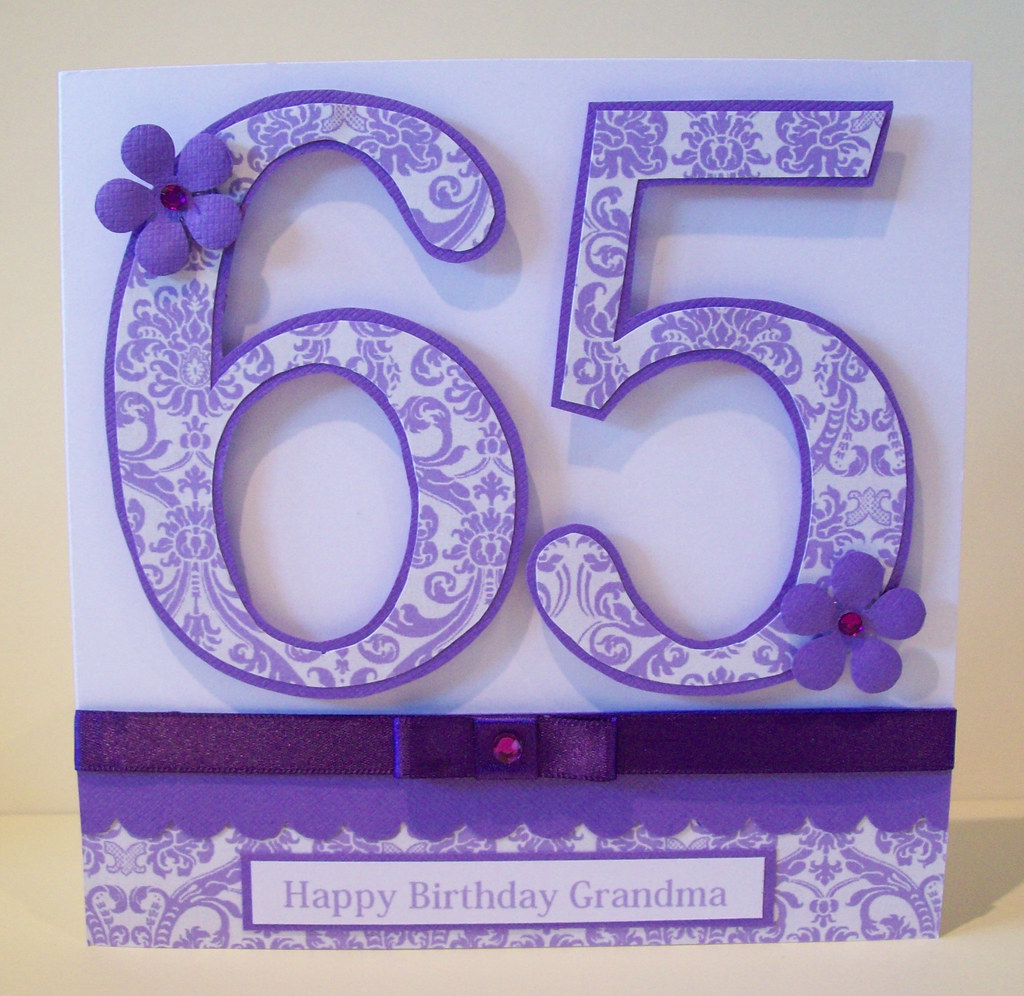
And another of my "number" cards, only this time in Lilac/Purple, which I'm quite happy with. not a colour scheme I would usually make this card in but it works!

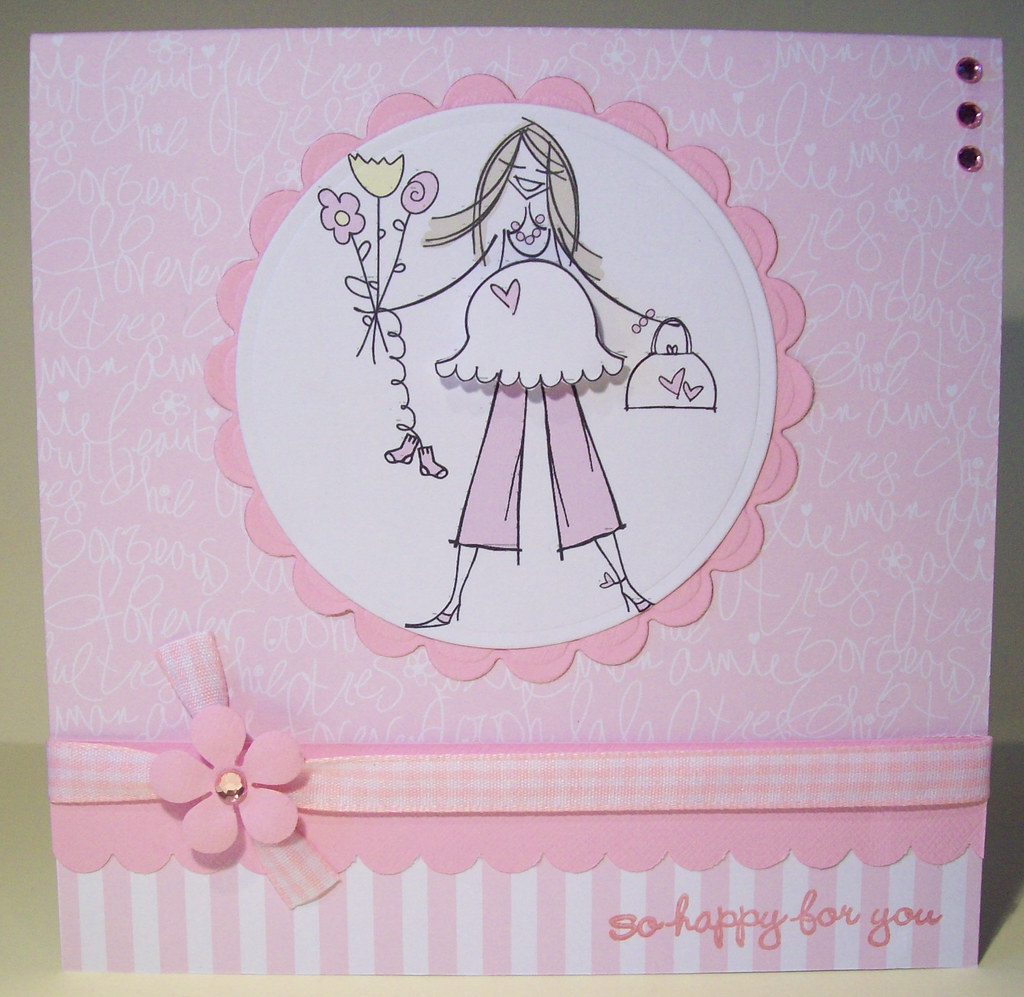
And finally, a card for my friend to give to one of her friends who has just found out that she's expecting! I dont get asked to make may of these, so I offered! I love this Lola Rose image from Pink Petticoat. All papers are Pink Petticoat too! The sentiment is part of a Hero Arts sentiment set. The baby bump is layered using foam pads to give it that extra bit of dimension!


 I've made this version of the 3 Tie's card before but using different papers. These papers are actually part of the Pink Petticoat Christmas Lights kit. I love the red/blue colour combination. Again, I've finsihed it with a Craftwork Cards sentiment.
 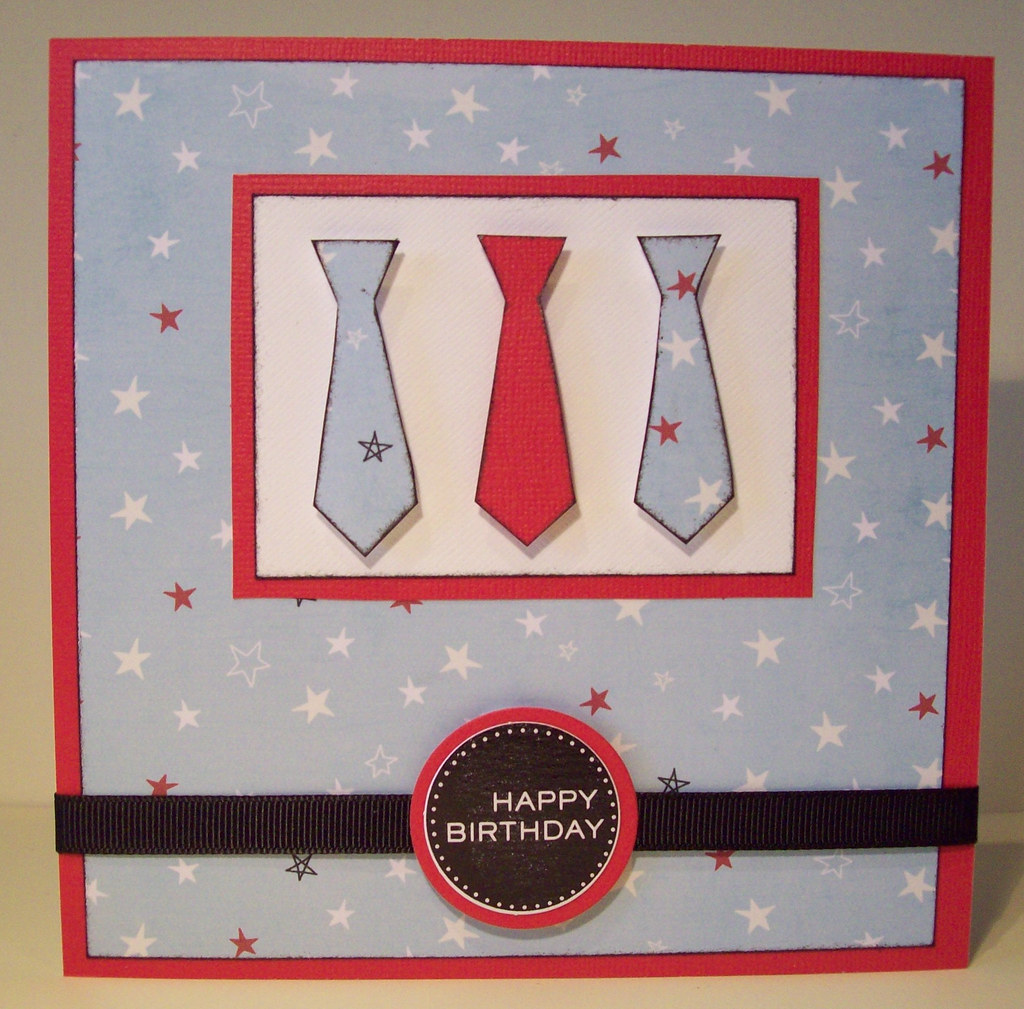 Meet Alex the Lion! I've been having fun with my punches again! My 3 year old son gave him his name! He's a big Madagascar fan! He's not quite how I pictured him before I started and is a combination of a couple of punched lion's I'd seen before. I think he's quite cute though. The background paper is Epsom again. The perfect colours for Alex!
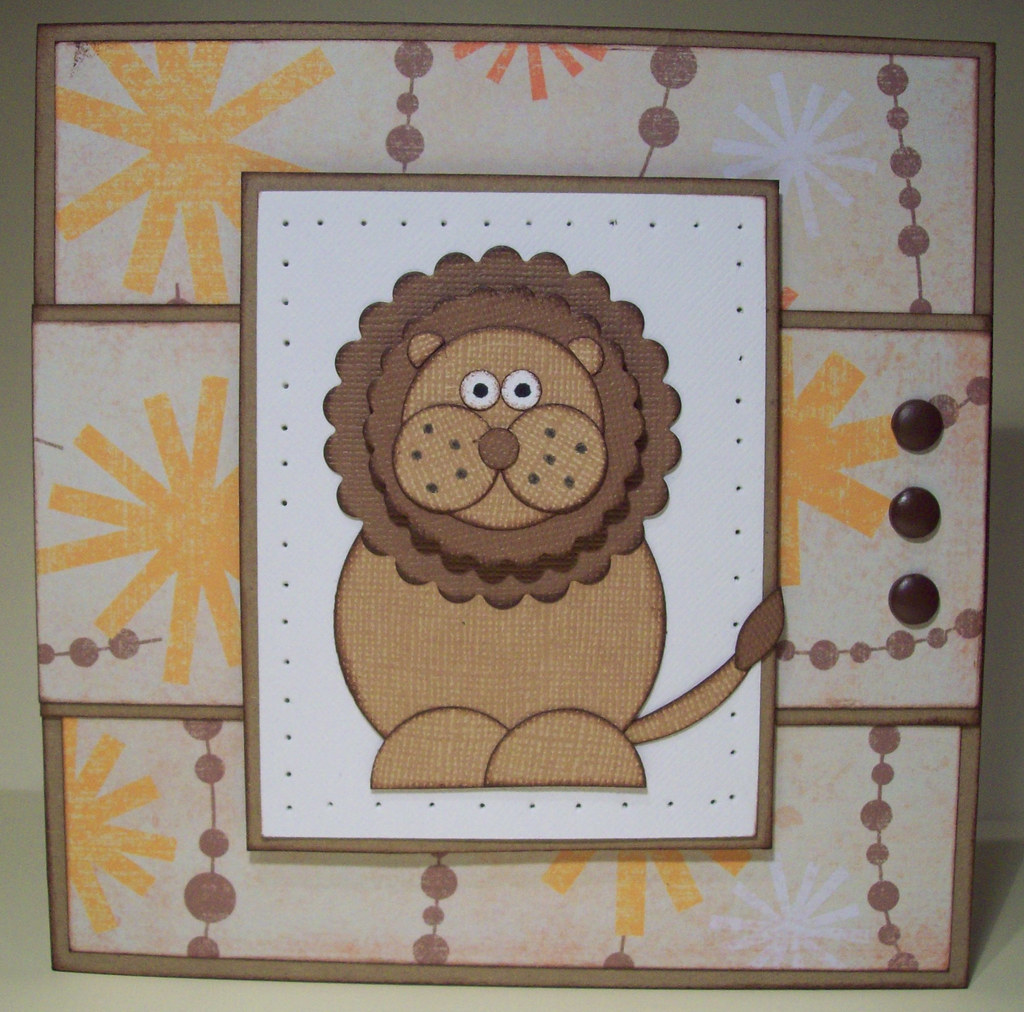 I've used the Sugar Nellie pirate with an Epsom treasure map for this card. I've torn and distressed the eges of the map and then added the sentiment using my sizzix naturally serif alphabet. I've just added some navy eyelets to tie in with the sentiment and to add a bit more colour to the card. Quite a simle one, but I think had I have added anything else I'd probably have ruined it!
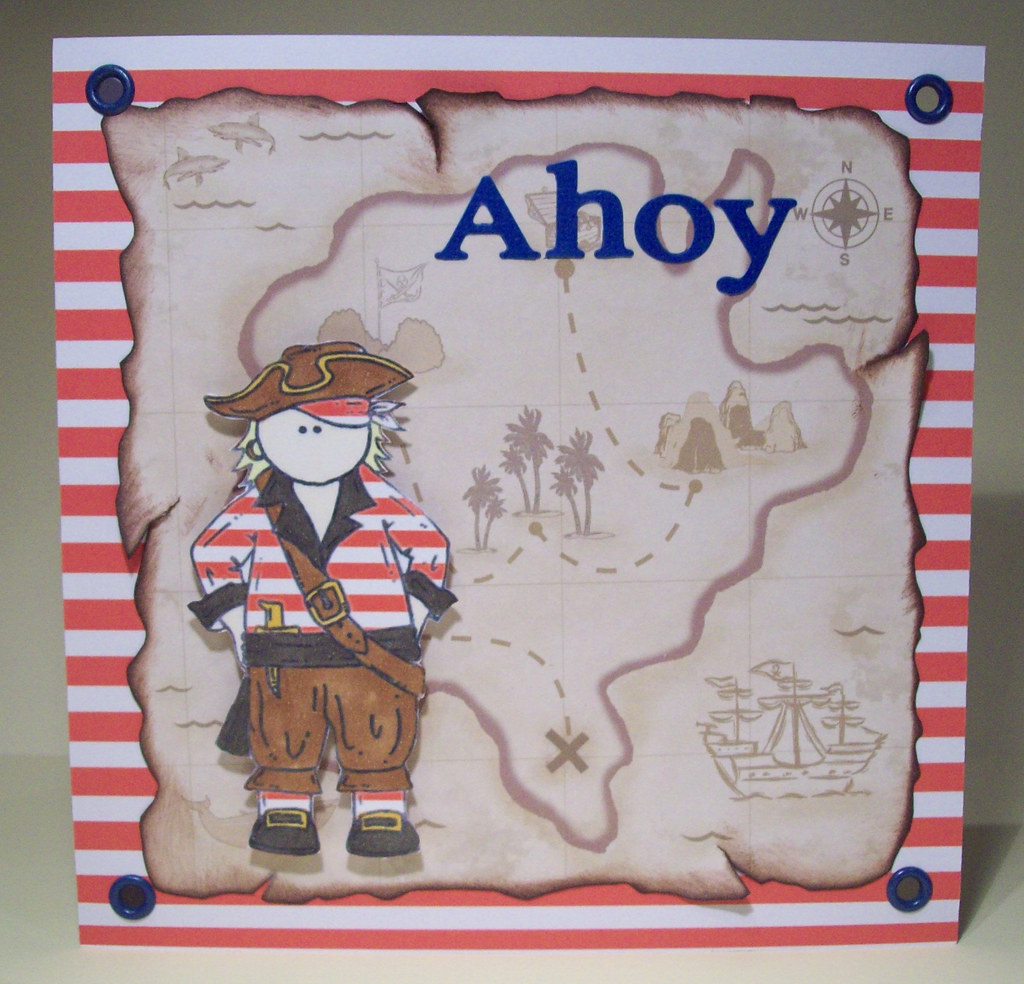


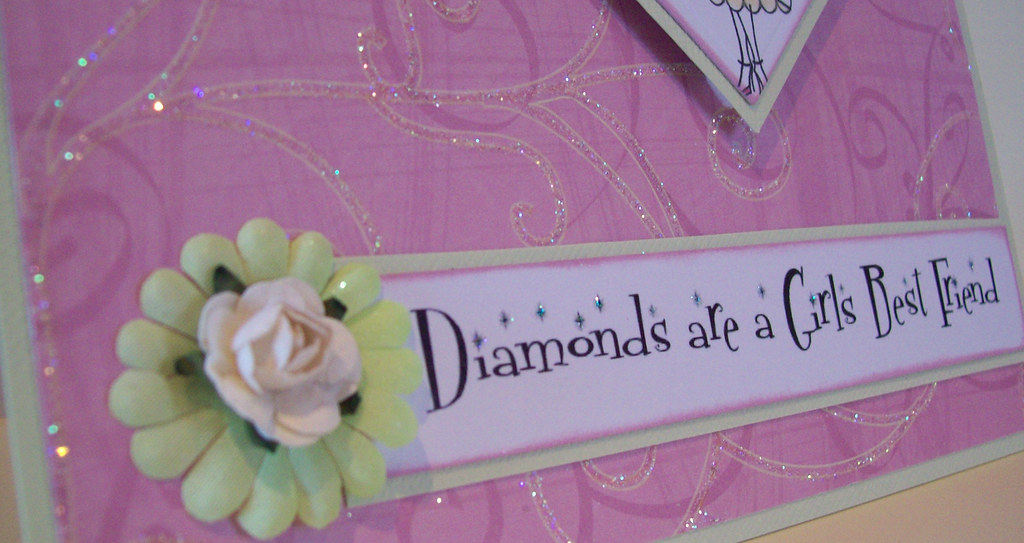
 I really love this colour combination. I stumbled across it by accident. Its kind of mint choclatey! First up is a matching notepad and pen set. These are so easy to make, and make such a lovely gift.
 And to co-ordinate (use up the papers) I've made this little handbag card too.