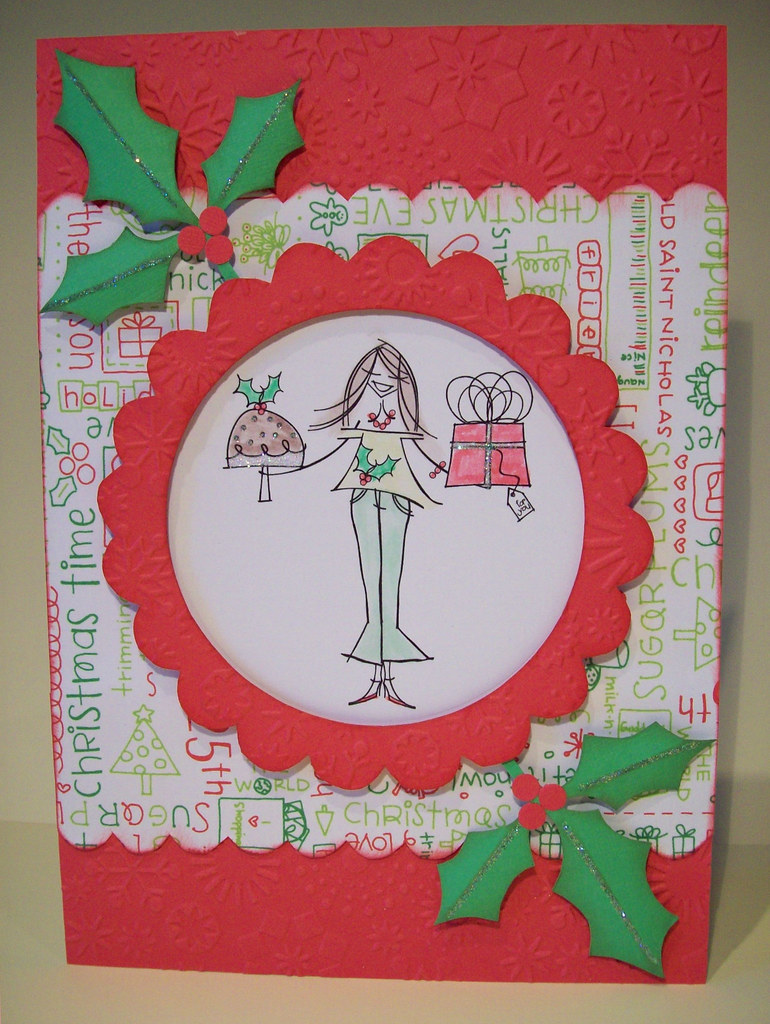
I thought I'd better come on and post something seeing as my last post was 2 weeks ago now! I seem to have had a down couple of weeks which all started on my 30th Birthday! how depressing! I'm old now. I haven't made any cards for a couple of weeks apart from one for my friends little girl. She is going to be 2 soon and loves Fifi. It was such a hard card to make. My mojo is missing, so if anybody finds it, give me a shout!

The floral paper is part of a DCWV scrapbook stack and the yellow card is bazzill. I've added glamour dust to some of the flowers, Fifi and the number 2. This is the first time I've used my Glamour Dust and I'm really pleased with the effect. Although it's not one of my best cards, I'm sure Sophie will love it.
I would like to thank Erin for passing on two awards to me I will have a look around later to see who I can pass this onto and catch up on some blogs at the same time!
I have received this award before and have passed it on already, but I'm very happy to have received it again and will proudly display it here. Thanks again Erin!
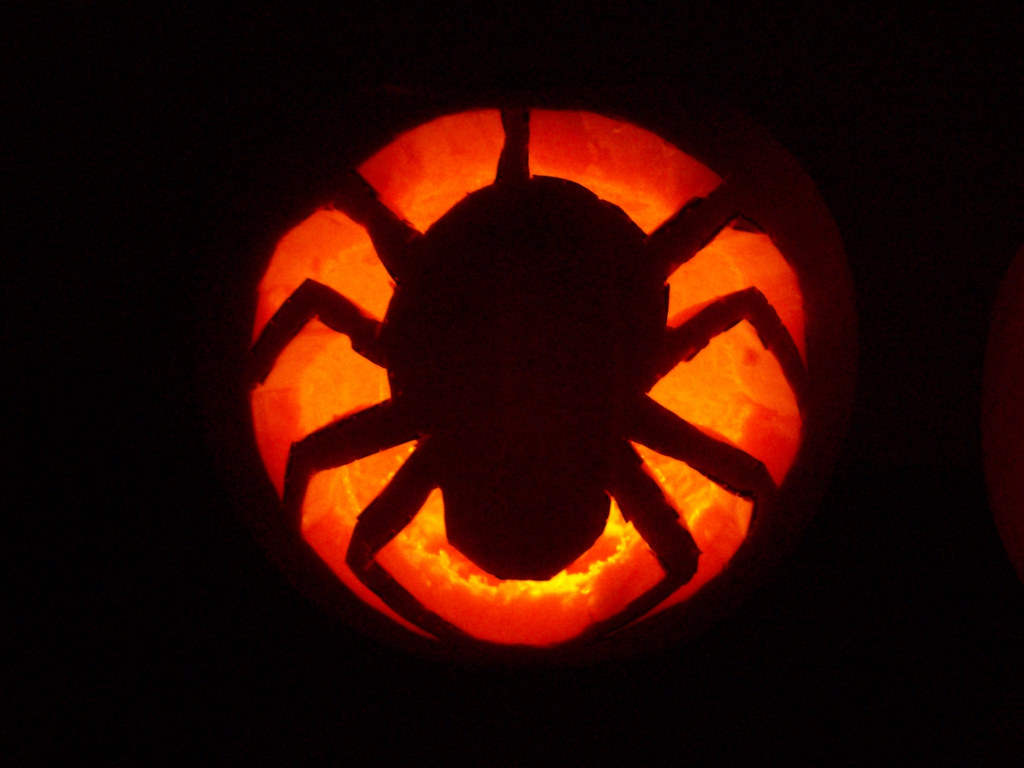
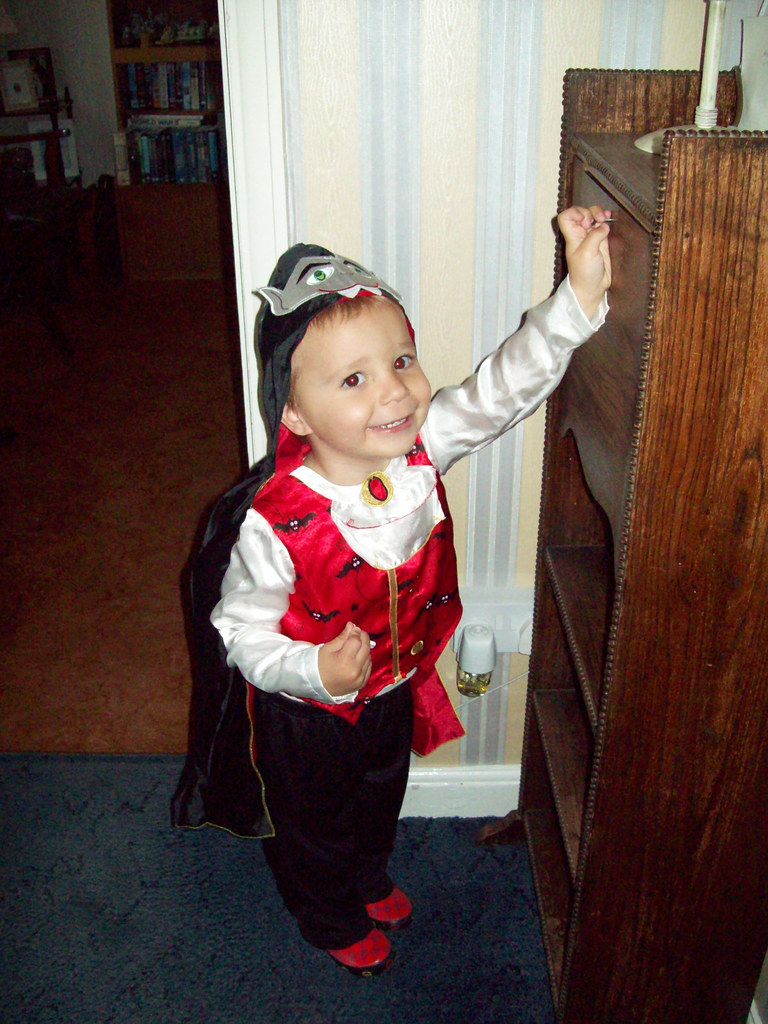
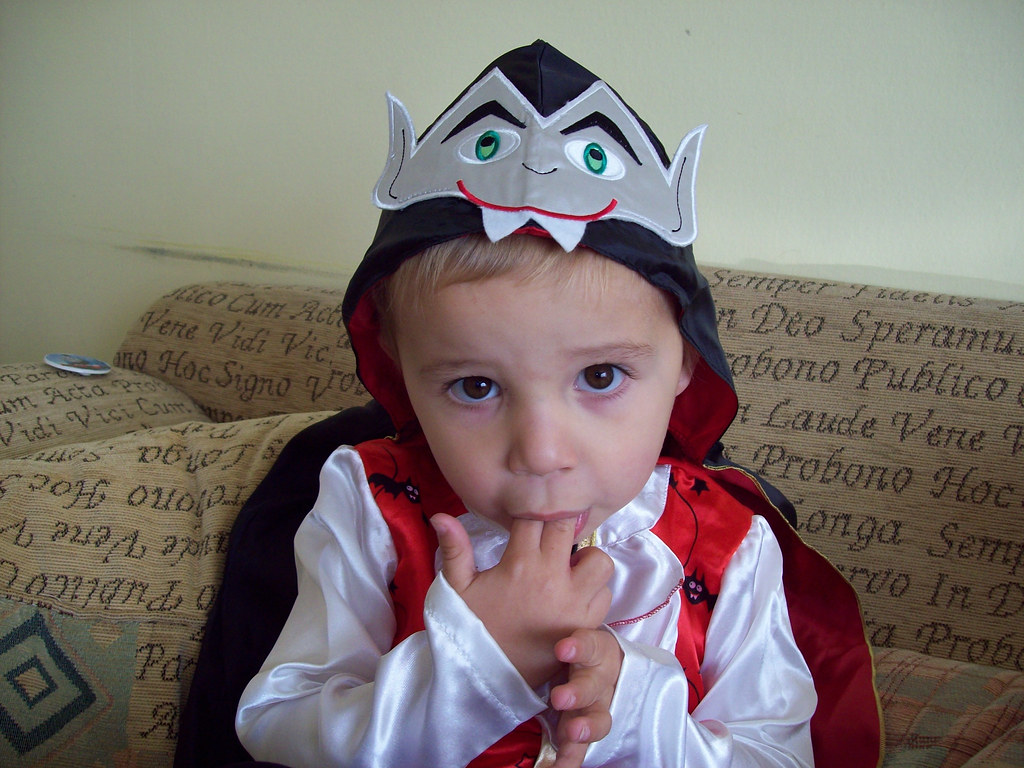
I'm looking forward to Halloween next week. I seem to be the only person I know that loves Halloween and now I have my little boy to dress up. This year I've bought him a spooky spider costume. I'm not sure I'm actually going to get him to wear it but I'll have a good try and see if I can get some photos. I bought 2 pumpkins yesterday for carving. I think I'll have a go at a spider this year and maybe a funny face too. Last year I did a ghost which turned out quite well for my first go! I really love all the Halloween images and stamps out there at the moment and would love some, but just wouldnt know who to give them to once I'd made them!
Well I suppose I'd better get on with all my jobs for the day! I'll be back soon and hopefully I'll find my mojo and get some more cards made!


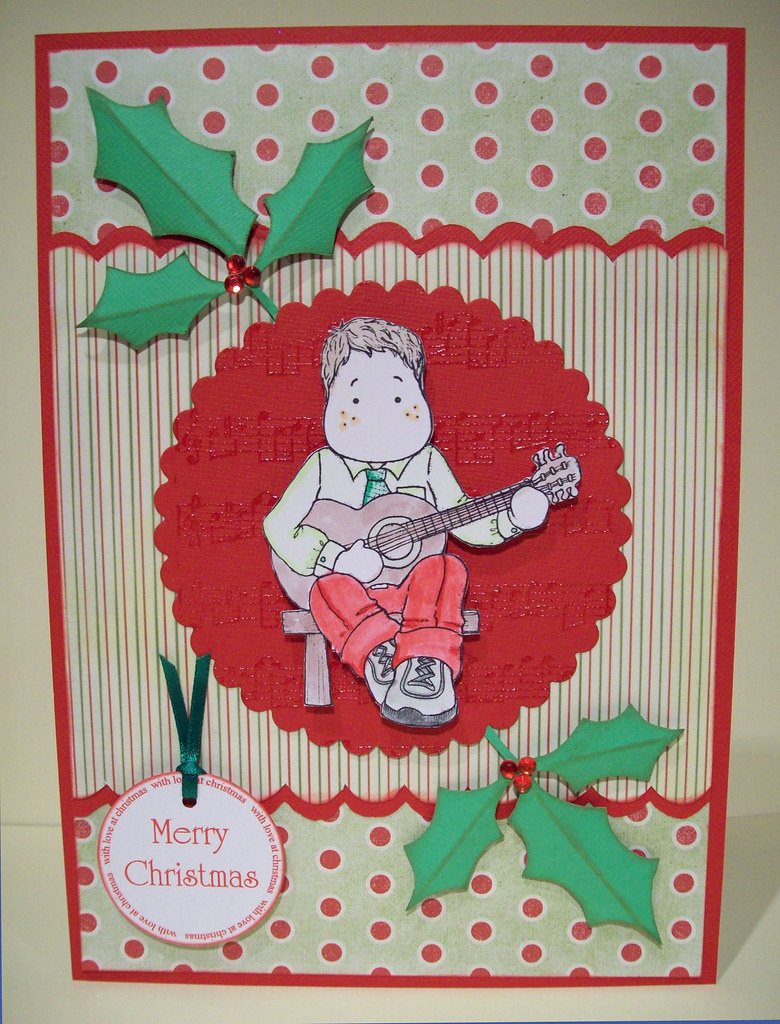
 I got the idea for this card after seeing this card on Tara's Blog! I really love the holly wreath and decided to have a go at making one myself. I've used doodlebug again! Paper & Card! and I've embossed each holly leaf with the swiss dots folder. I wasnt sure what to do with the wreath once I'd made it and one evening I had a flash of inspiration! So I went straight into my craft room and cut out circle from the card and hung a large round sentiment in the style of a hanging bauble!
 I bought the Papermania Christmas stack a few weeks back in Hobbycraft as i thought the traditional papers would be ideal for some more masculine cards. I've used the free template to cut out the holly leaves and inked all the edges. For the lettering I printed off a few christmassy words and made my own card templates so I can re-create them. I've cut them out using the same paper as the background paper. The font I've used is called Madfont and I downloaded it from DaFont
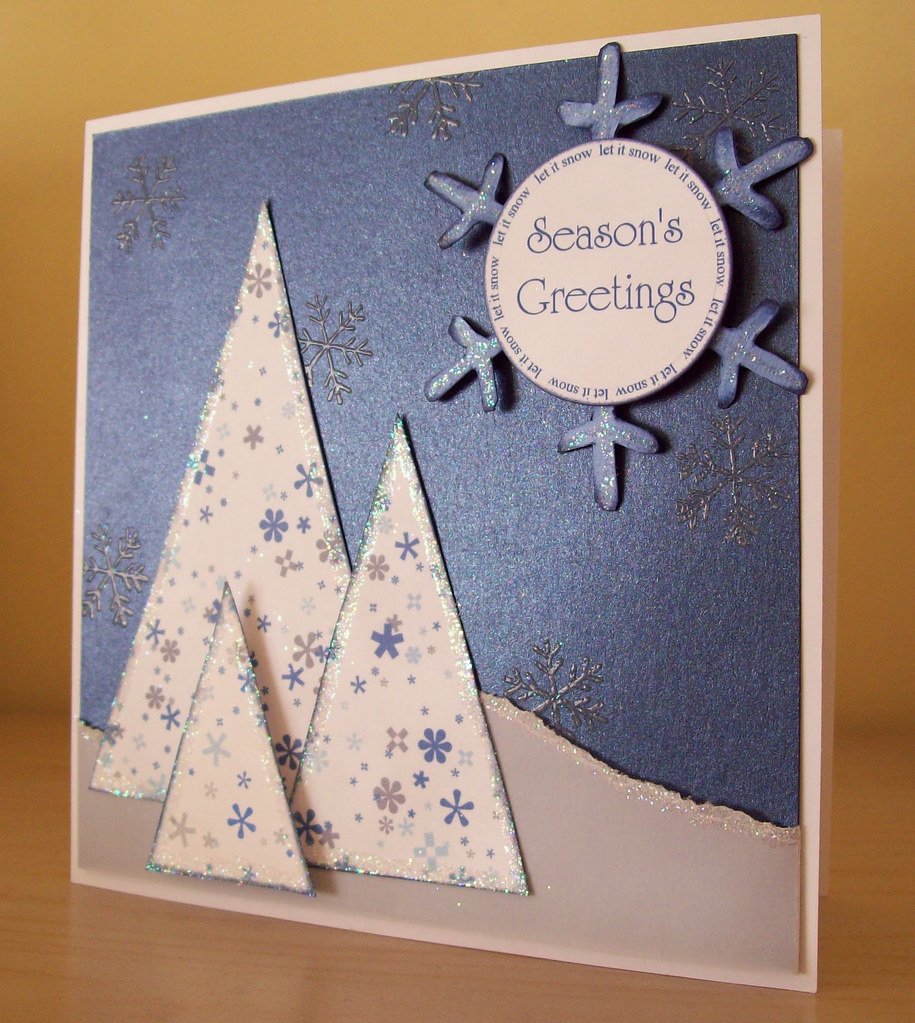
 I had the Idea for this next card when I saw the Ribbon Tree stamp in a magazine. I cut out all the different pieces of ribbon and stuck them down and then trimmed them into a tree shape. I added a small star brad to the top of the tree. Then I got stuck! and didnt know what to do with it, so I've kept it simple and a bit manly!
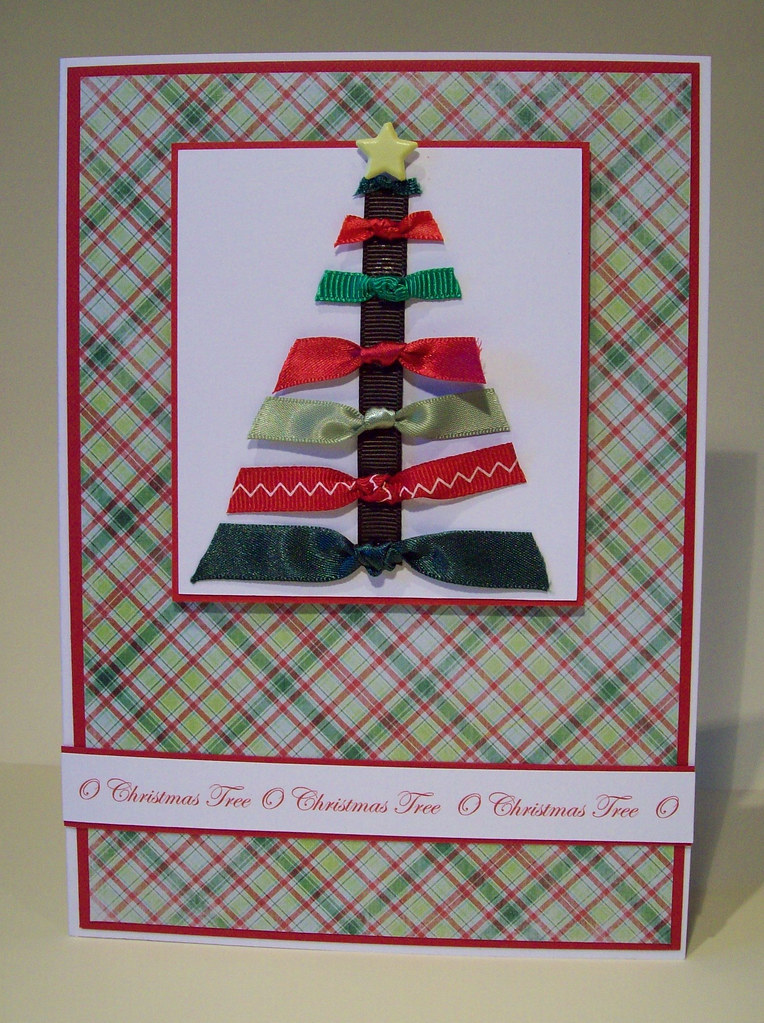 I decided to have a go at making some Christmas Baubles using the Papermania paper pack again. I've cut out the baubles using my nestabilities and finished them with some gold ribbon and a few adhesive stones. I think they have turned out really well. Very simple and easy to make.


 And for this one, I've recoloured the paper in paint shop pro as I have it in the blues but everywhere was out of stock already in the red and green! It took me a while but I got there in the end! This is a layout I used last year too.
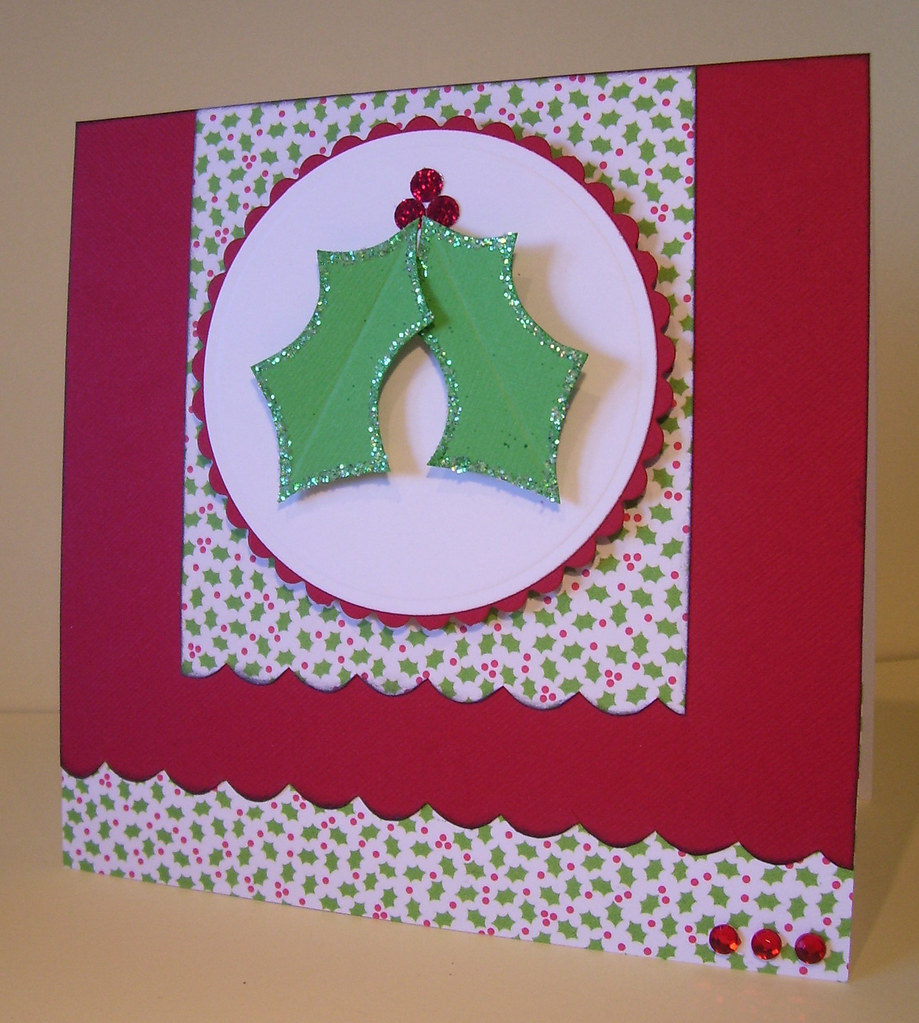