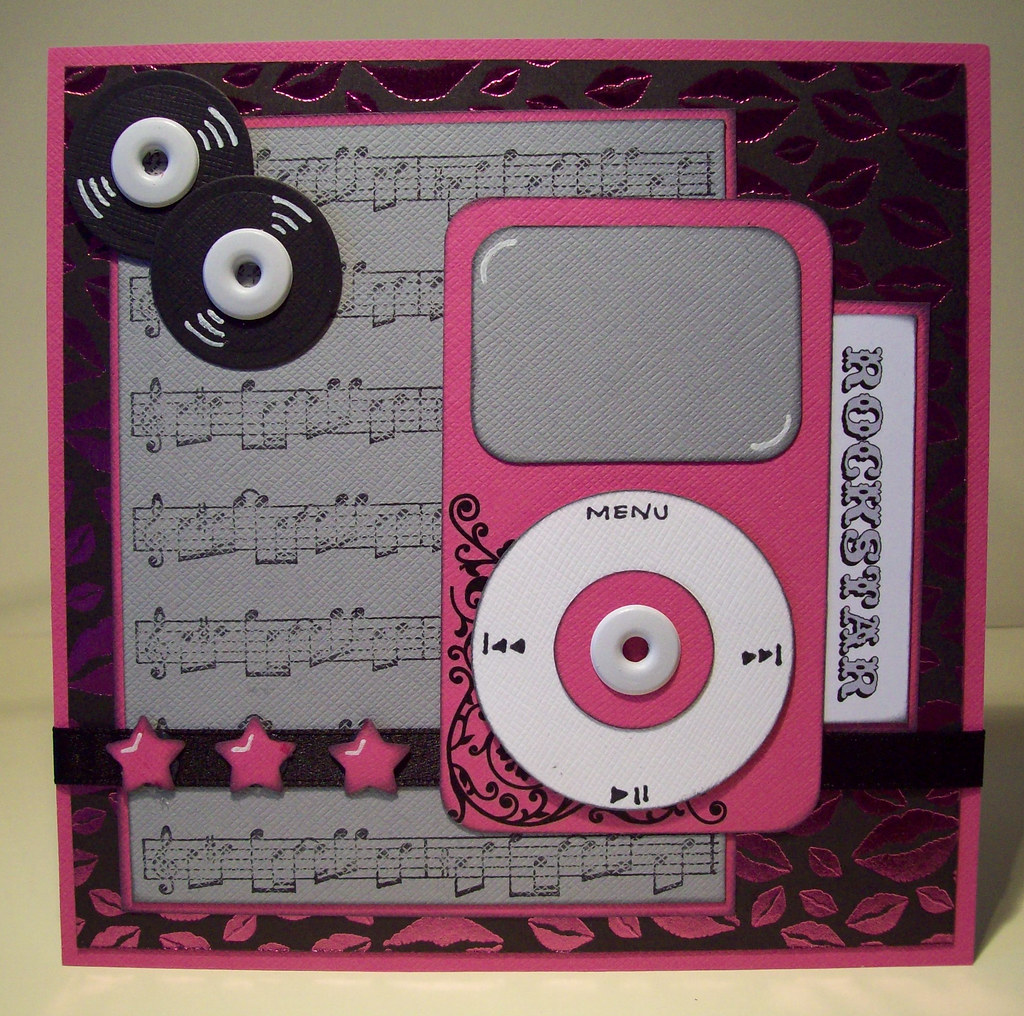
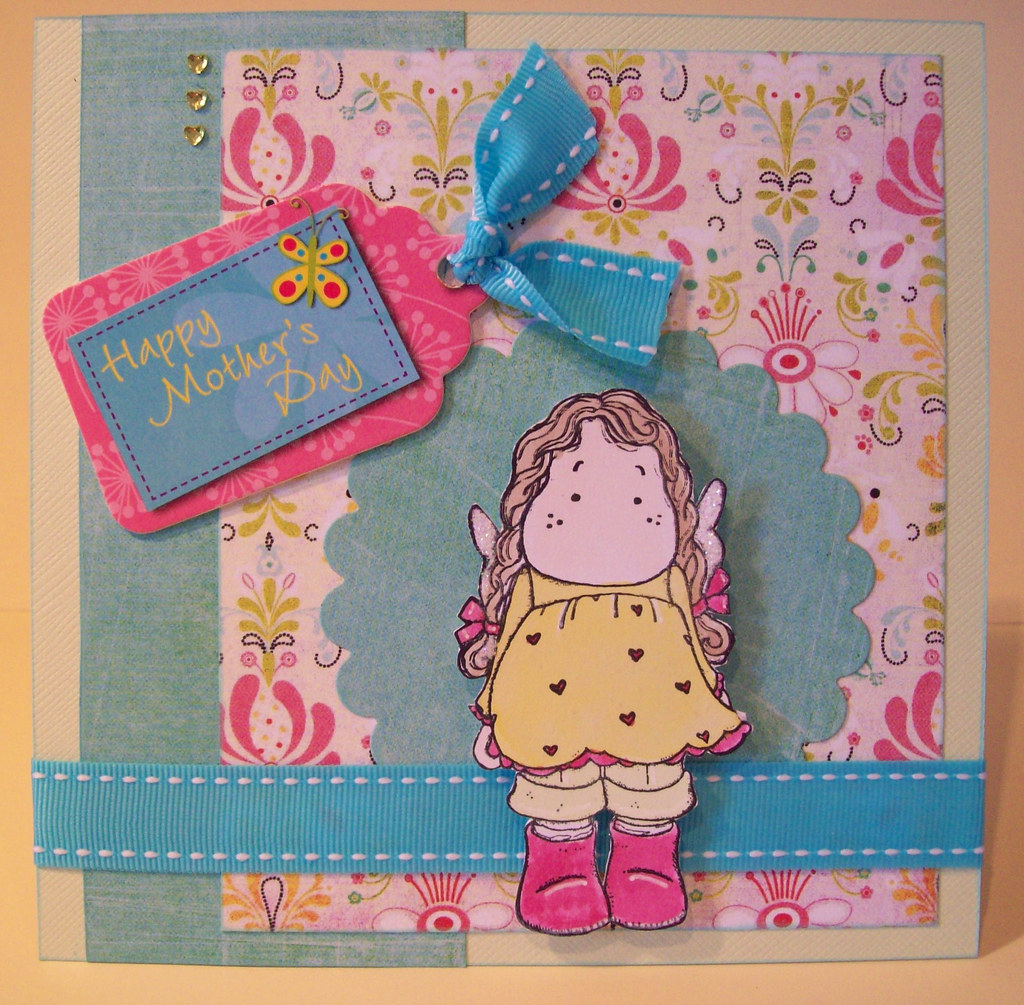
I've discovered that this is my favourite layout at the moment. Every card I make using this sketch I really like, which is unusual for me! So here are a few of them. First of all is this gorgeous Edwin! I decided to use papers from the DCWV Rockstar stack, which I have been very reluctant to use in the past and it has sat in my craft room for about a year now! Its one of those sets thats too good to cut up, but I was brave and here is the result! I'm glad I used it now. The little records are so easy to make and so effective. I just cut a few small circles with my nestablities and popped an eyelet in the centre, and then just added a few white highlighted lines.

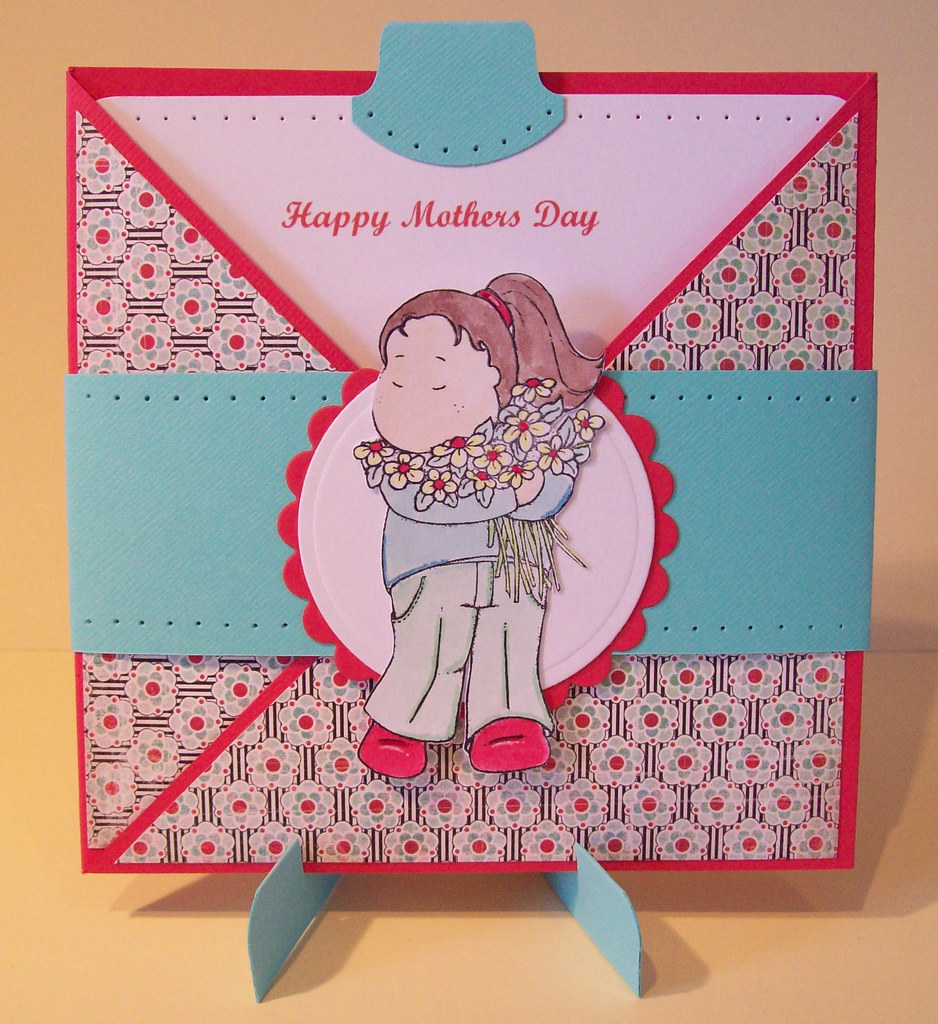
I liked the card above so much so, that I wanted to re-create a girly one using some of the pink papers from the Rockstar stack. It took me a while to come up with the idea of using the Ipod as I didn't think I had a suitable alternative to the Edwin image, until I woke up the following morning, after having made the card the night before, and realised that I have a Pink Petticoat image of Lola holding an Ipod! I will use that one next time, lol! I find the best ideas usually come after a good nights sleep, but then I have to write them down quickly before I forget!

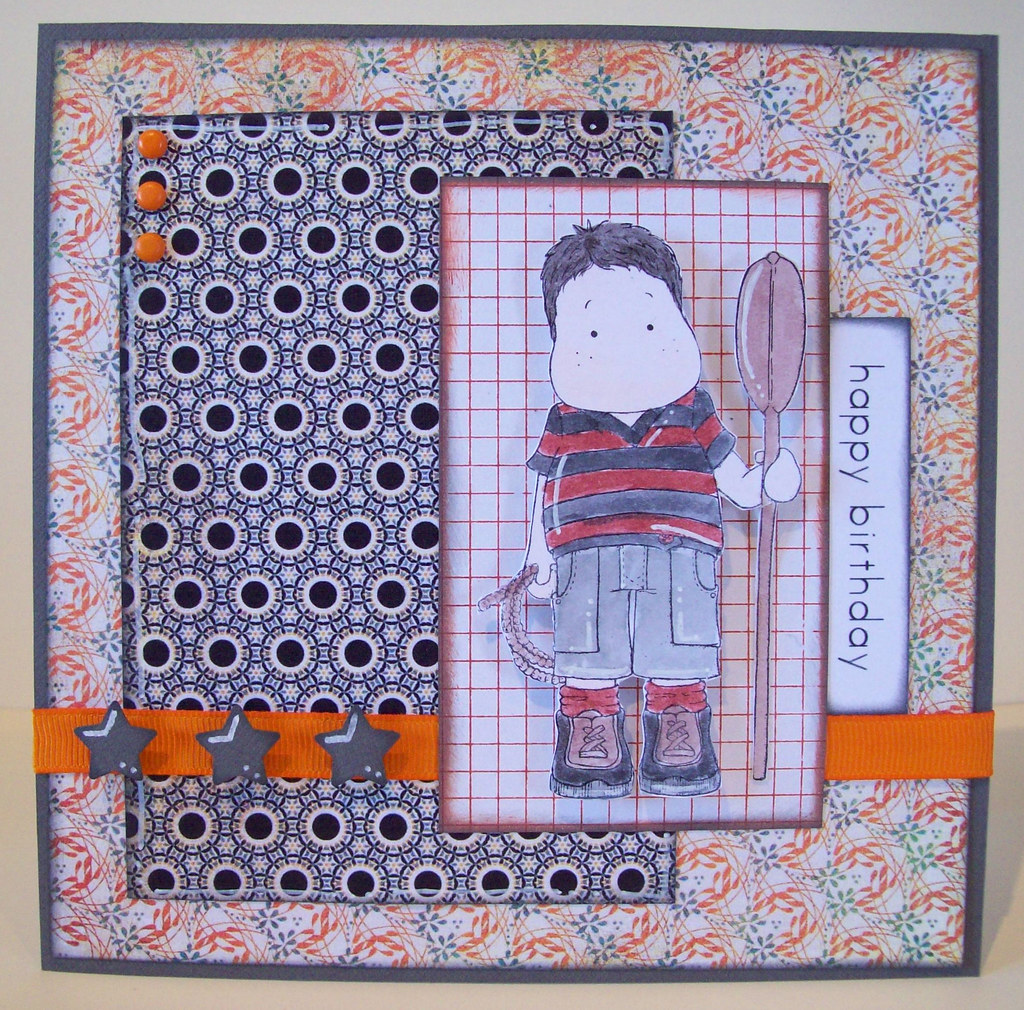
And finally, I bought these Basic Grey papers a month or so ago now, and was really inspired by the colours. I had this Edwin image already coloured and he kind of matches so thought I'd use him.


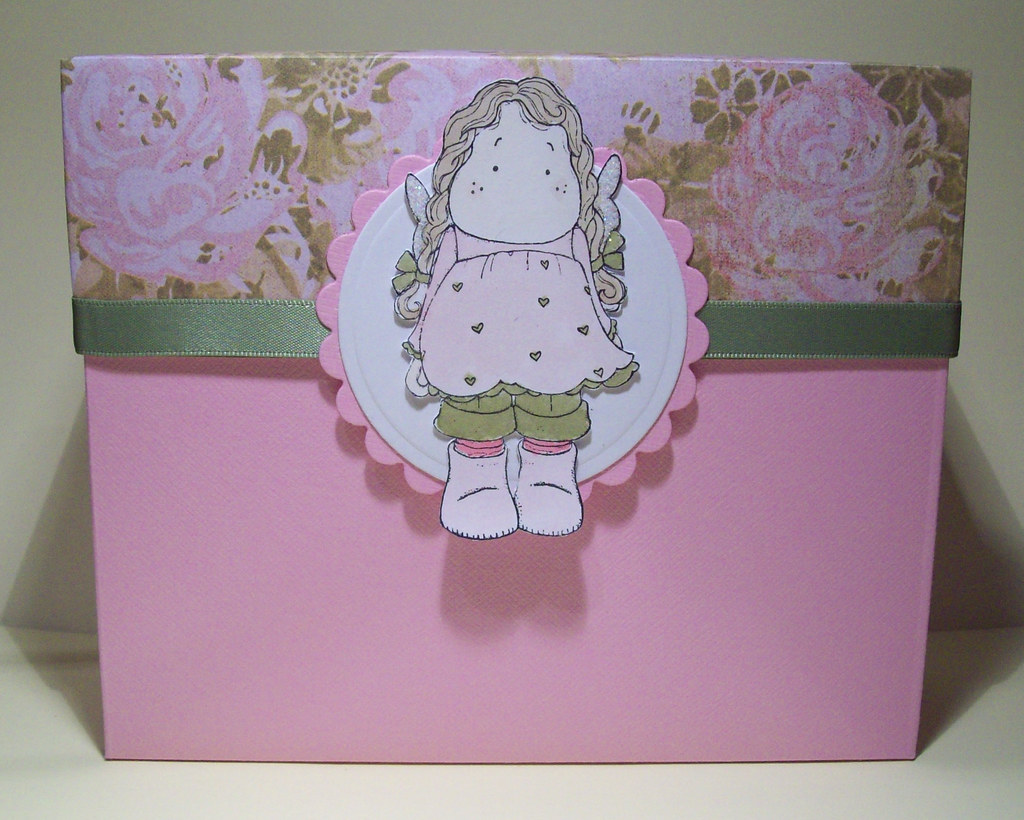
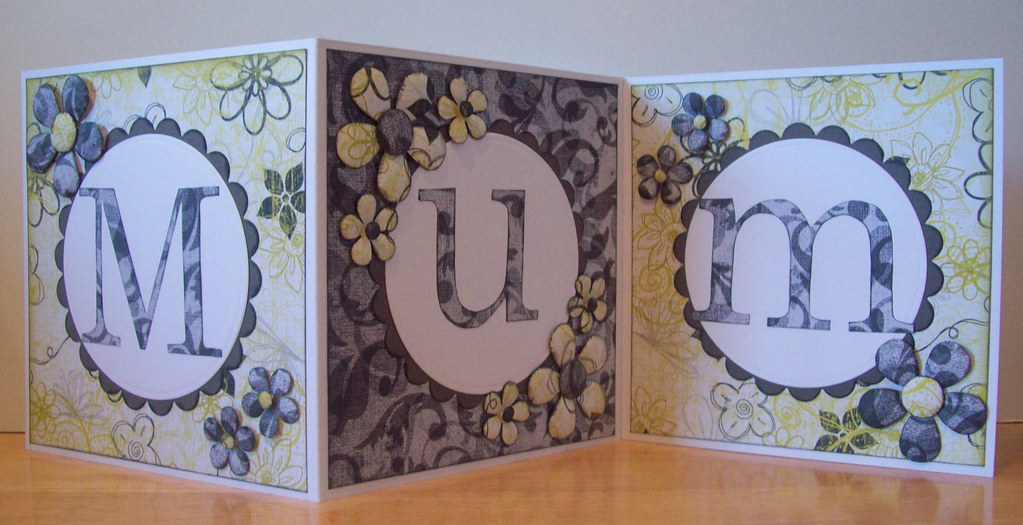 I also made this card for my step-dad to give to my mum. The papers and roses are Basic Grey, I've had them in my drawer for a long time but never wanted to cut them! I've added a few punched butterflies, some silk roses and a few pearls to finish.
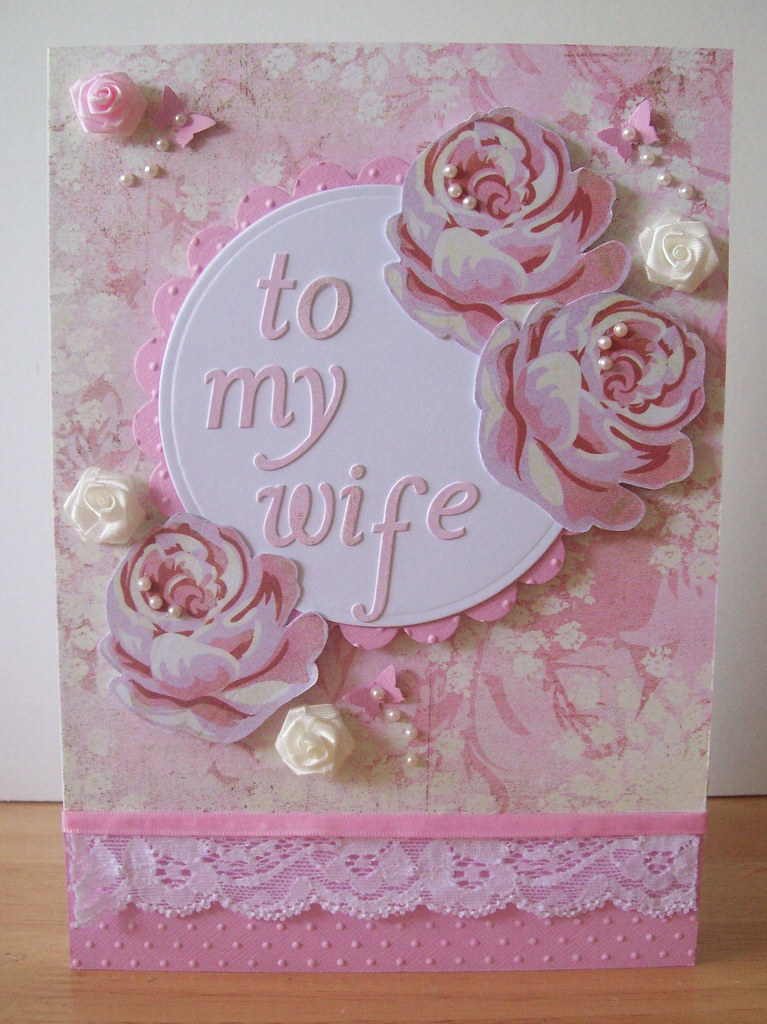 Thanks for looking.


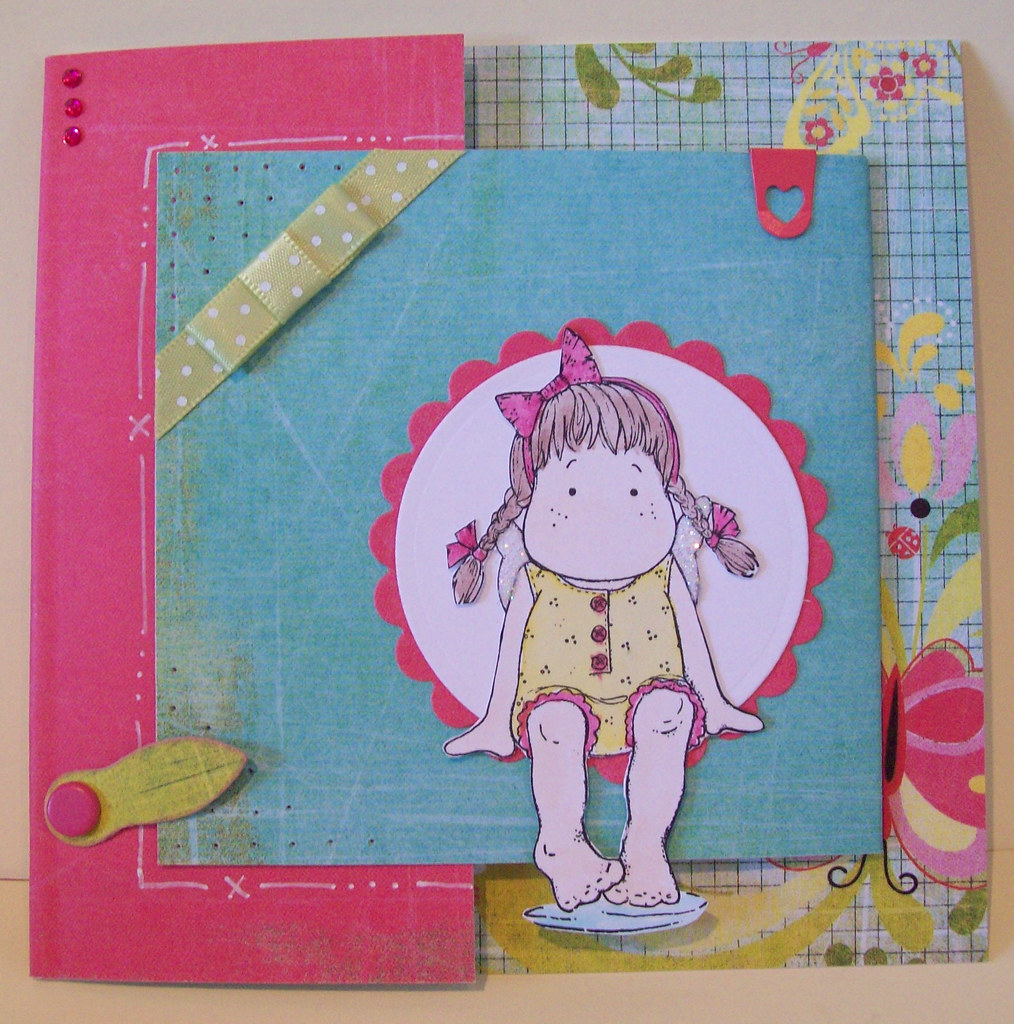
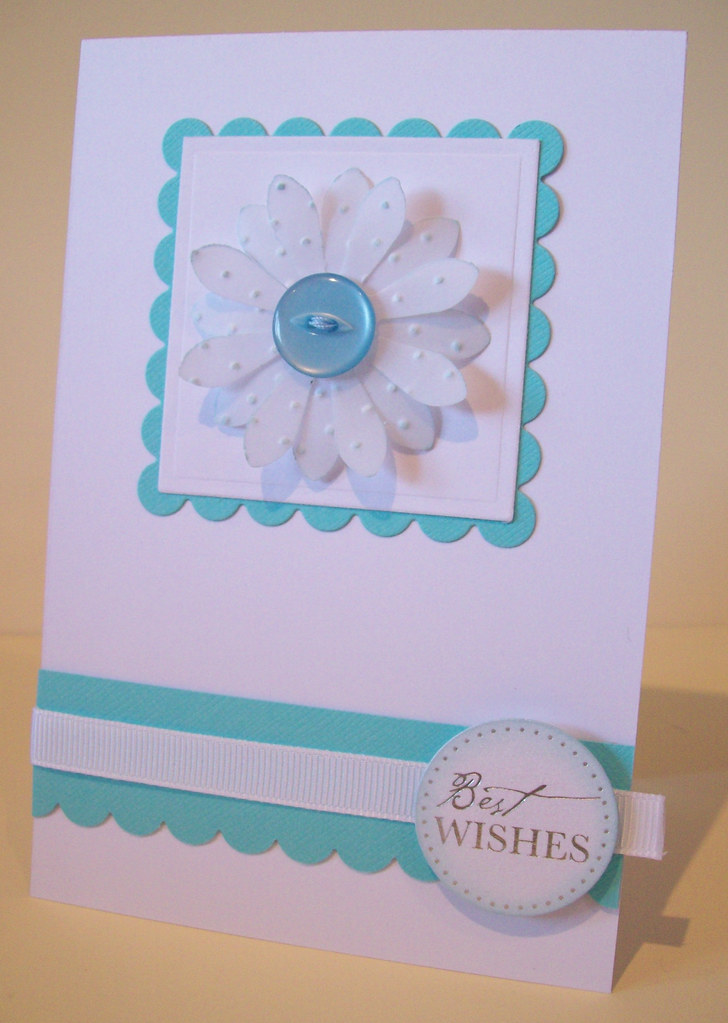
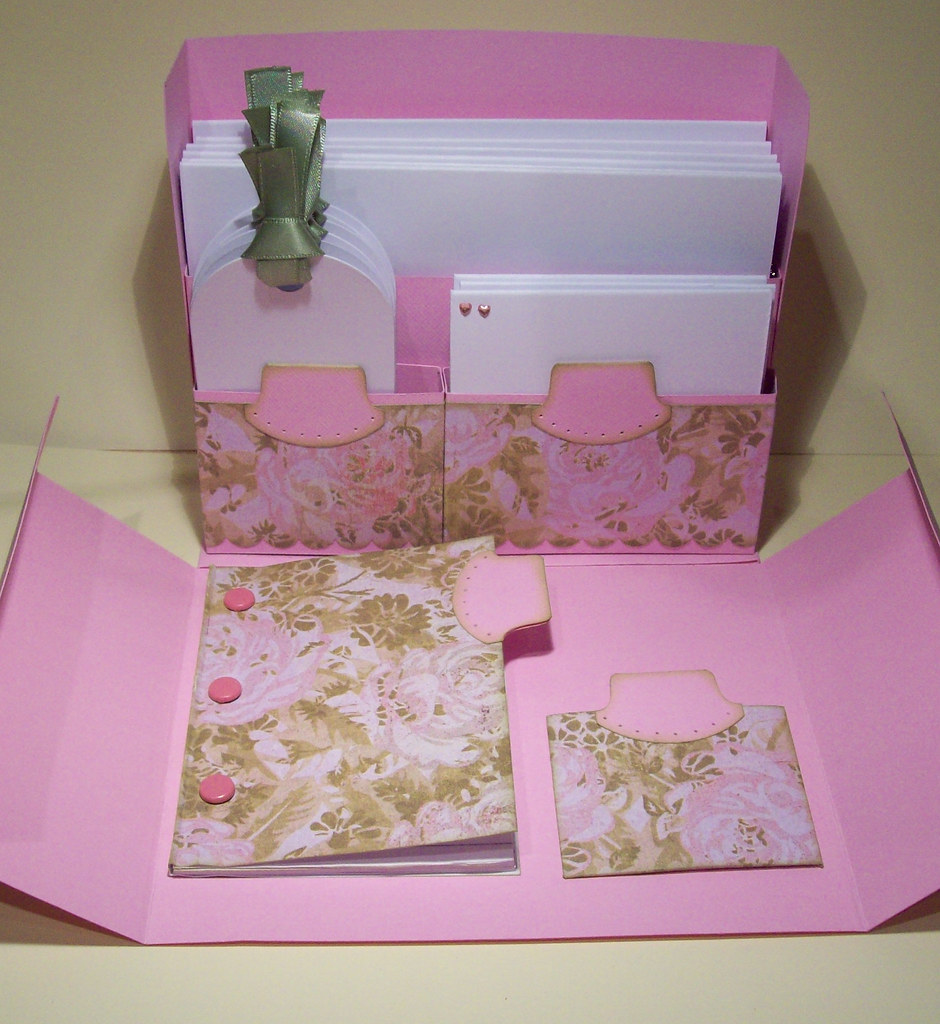
 I really love this colour combination. I stumbled across it by accident. Its kind of mint choclatey! First up is a matching notepad and pen set. These are so easy to make, and make such a lovely gift.
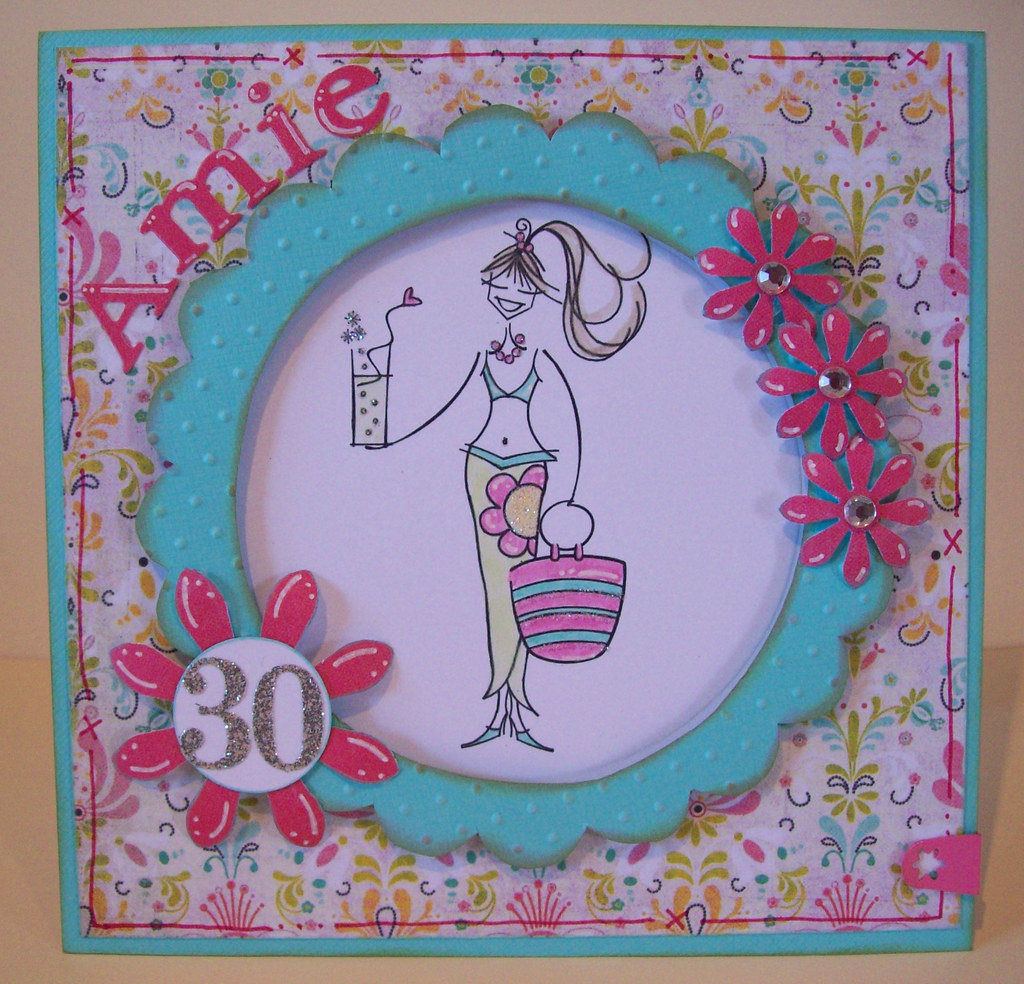
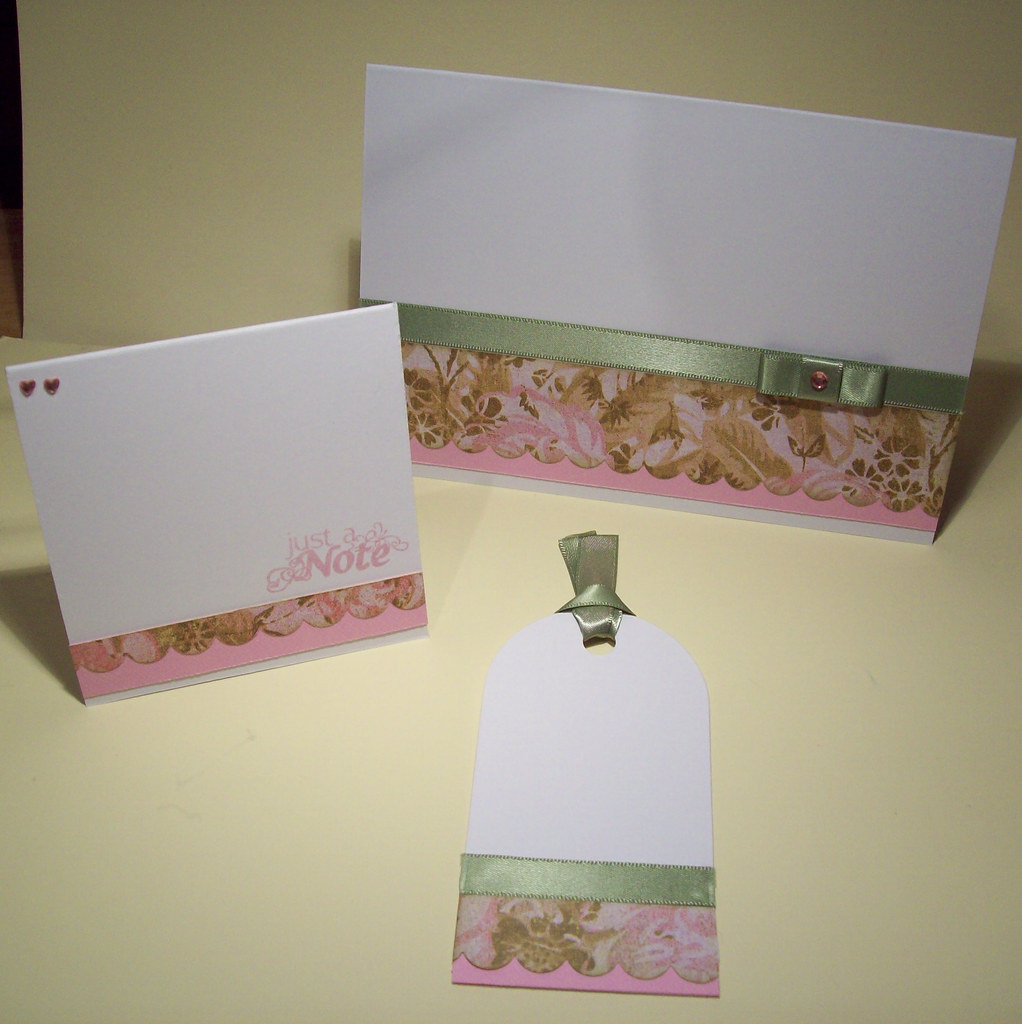
 And to co-ordinate (use up the papers) I've made this little handbag card too.