Monday 30 November 2009

Christmas Candles & Memo Block or Post It Note Holders

Today, I've been experimenting with a post it note box or memo block holder that I saw on Betty's Blog. She has lots of fantastic tutorials for boxes and gifts etc. Do take a look if you get a moment. I've tried to follow her instructions, but have adjusted the measurements according to the size of my memo pads, which I bought from Wilko's for 36p each! 
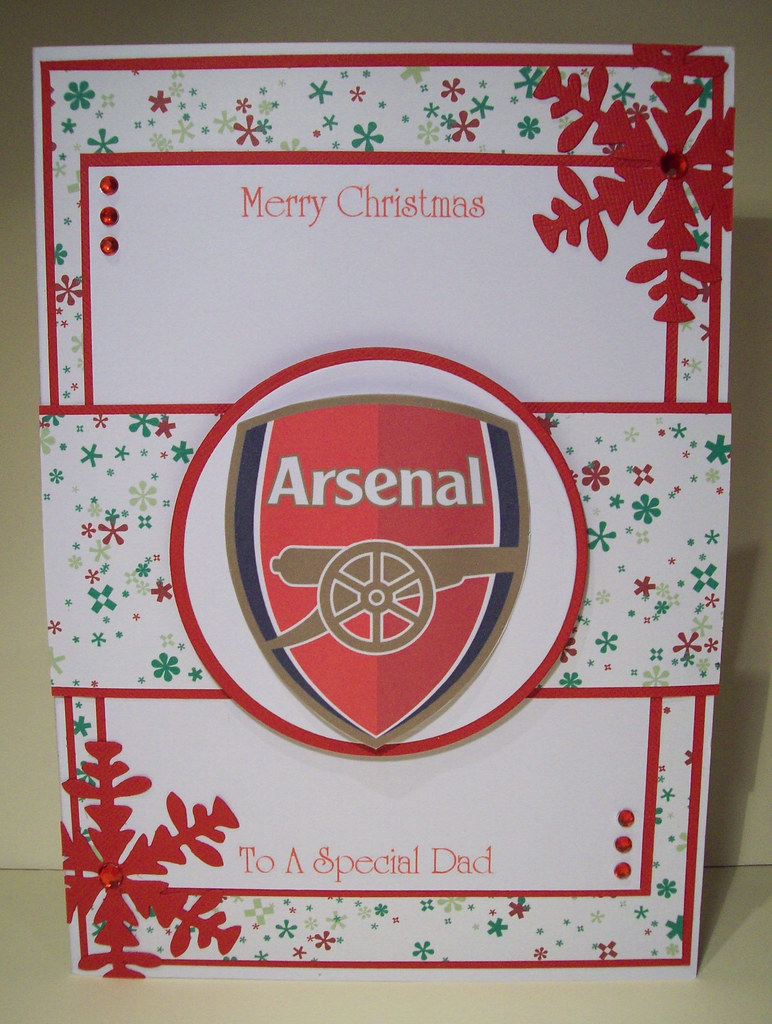
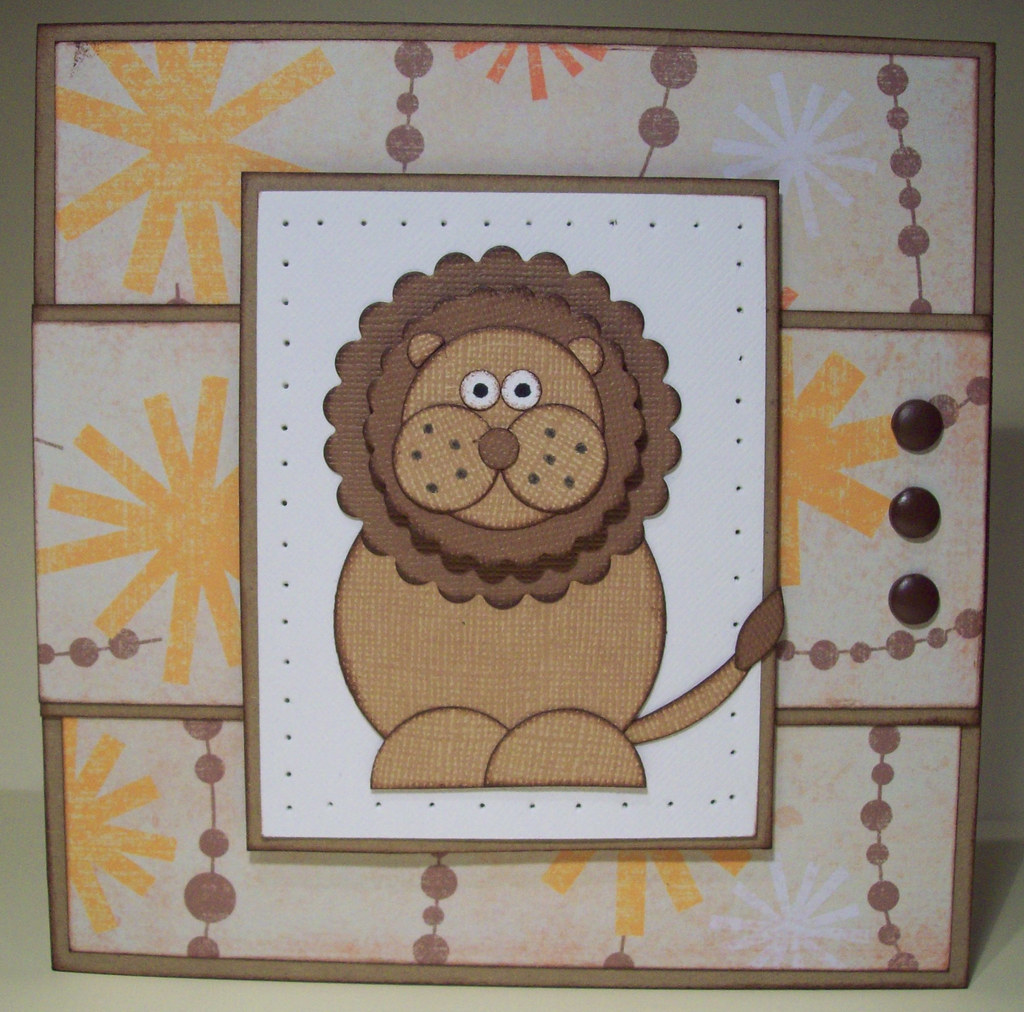
I've tried flipping the papers and cardstock on this version to give it a slightly different look.
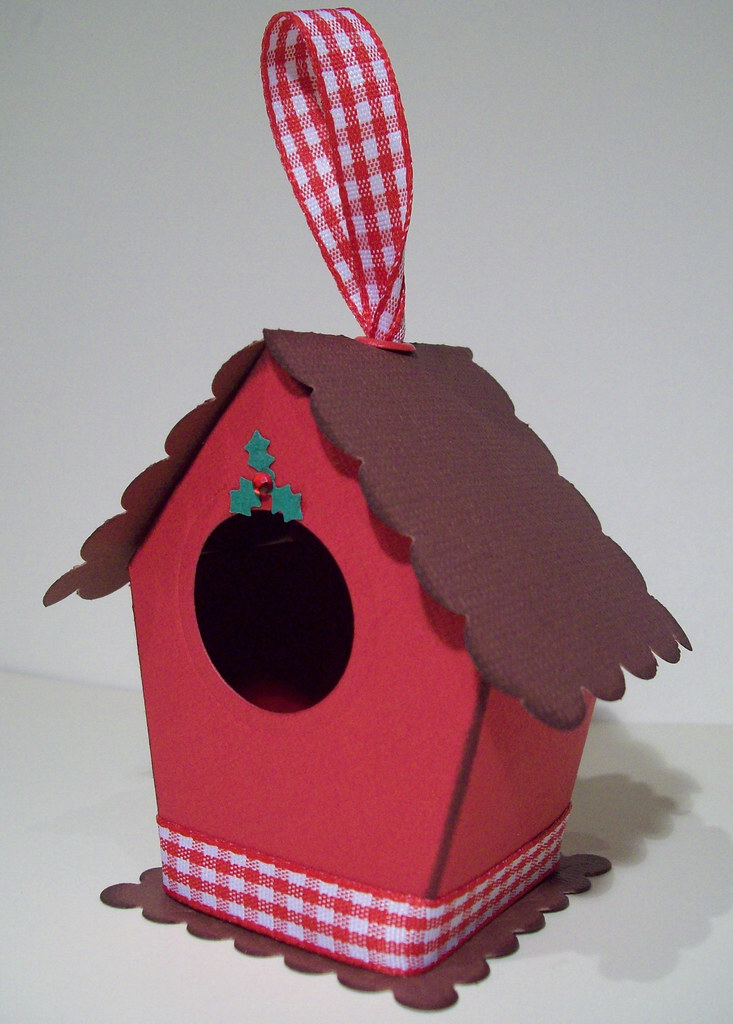
As my first attempts they are a little big rough around the edges and could do with a little bit more refinement! However, they were really quite easy to make.
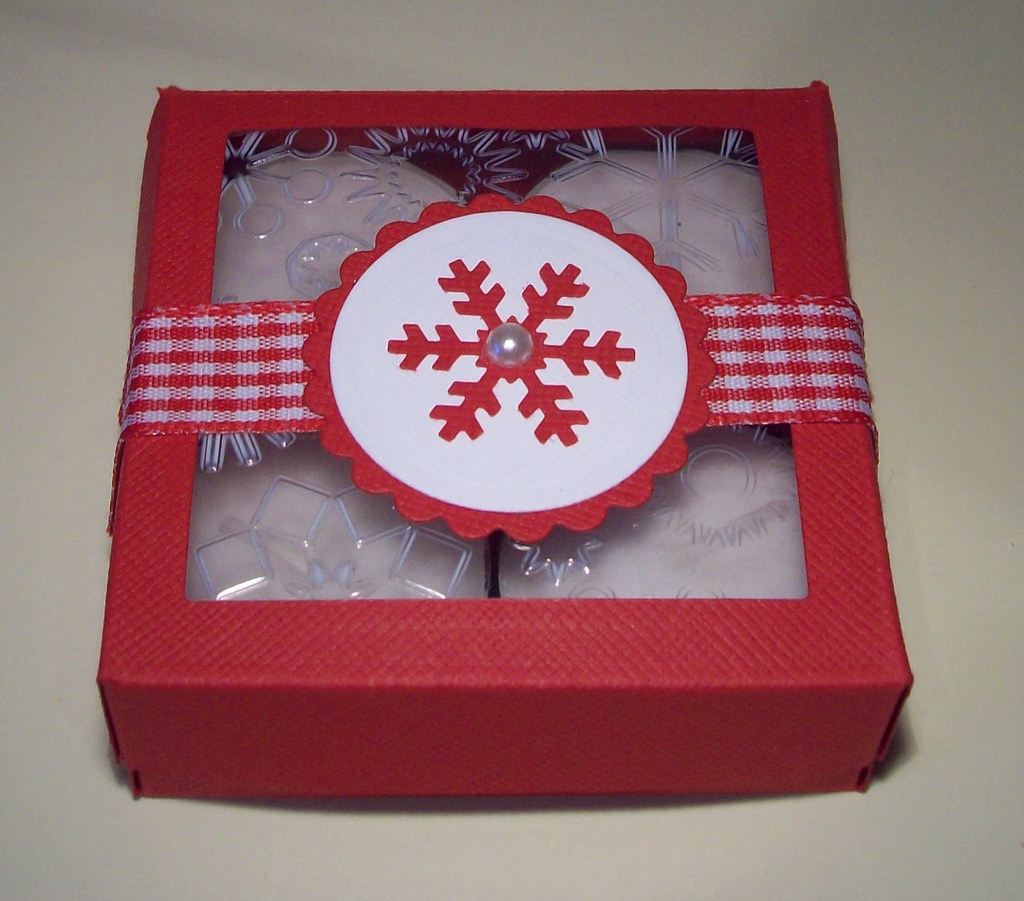
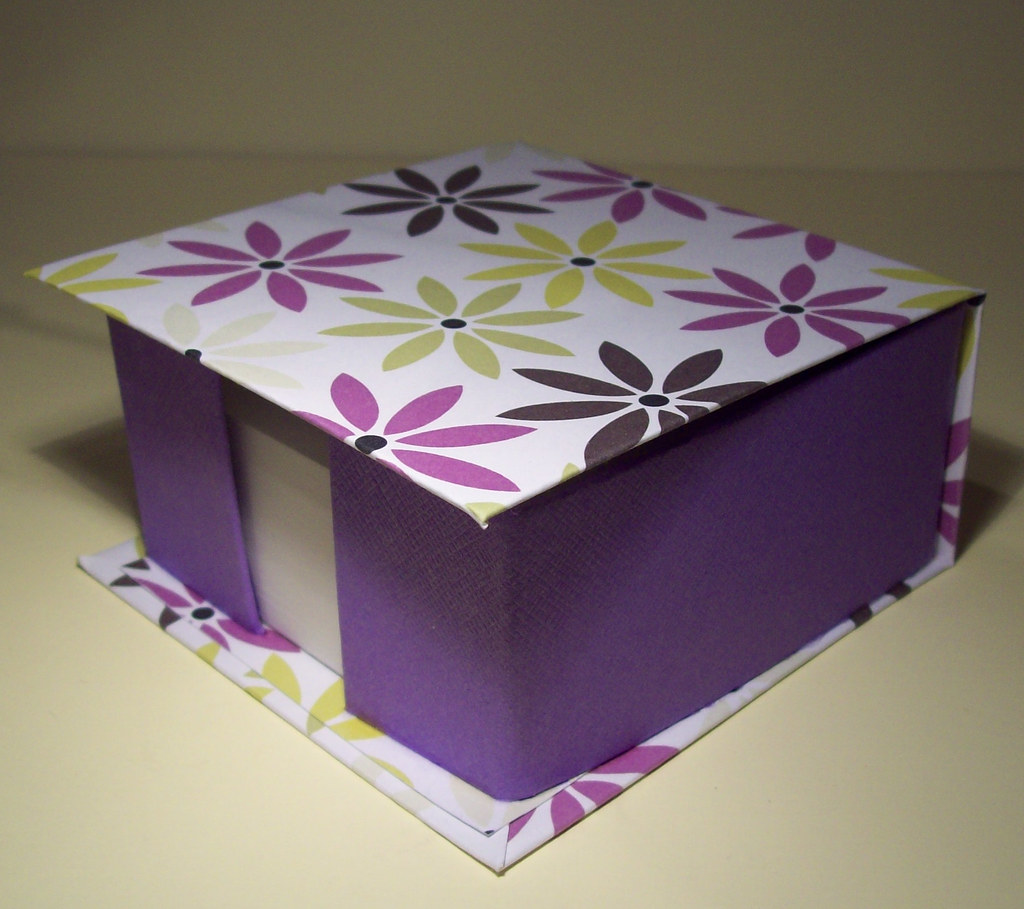
I seem to be having some sticky issues just lately!!! Firstly my bauble money holders wouldnt stay stuck down when money was placed inside them, so after a few attempts, I decided to raise the spotty pocket by using foam pads, so I'm hoping that its fixed that problem! I don't know why I didnt do it that way to start with! Pregnancy brain has well and truly set in and everything seems to be hard work at the moment! The second sticky issue was with my candle gift boxes. After about a day the acetate window fell off as the ds tape wasnt strong enough to hold it on. Then I had a thought! Why not use the glue gun that I've had sat in my draw for 3 years that I've never even take out of the box! And hey presto! it worked! I've even gone on to make a couple more boxes which are much stronger now! I also decided to add a punched snowflake to the top of each candle just to give it an extra touch! I have put a disclaimer in the box though, to remind people to remove them before lighting the candles!!!I had a go at doing a flowery version too!
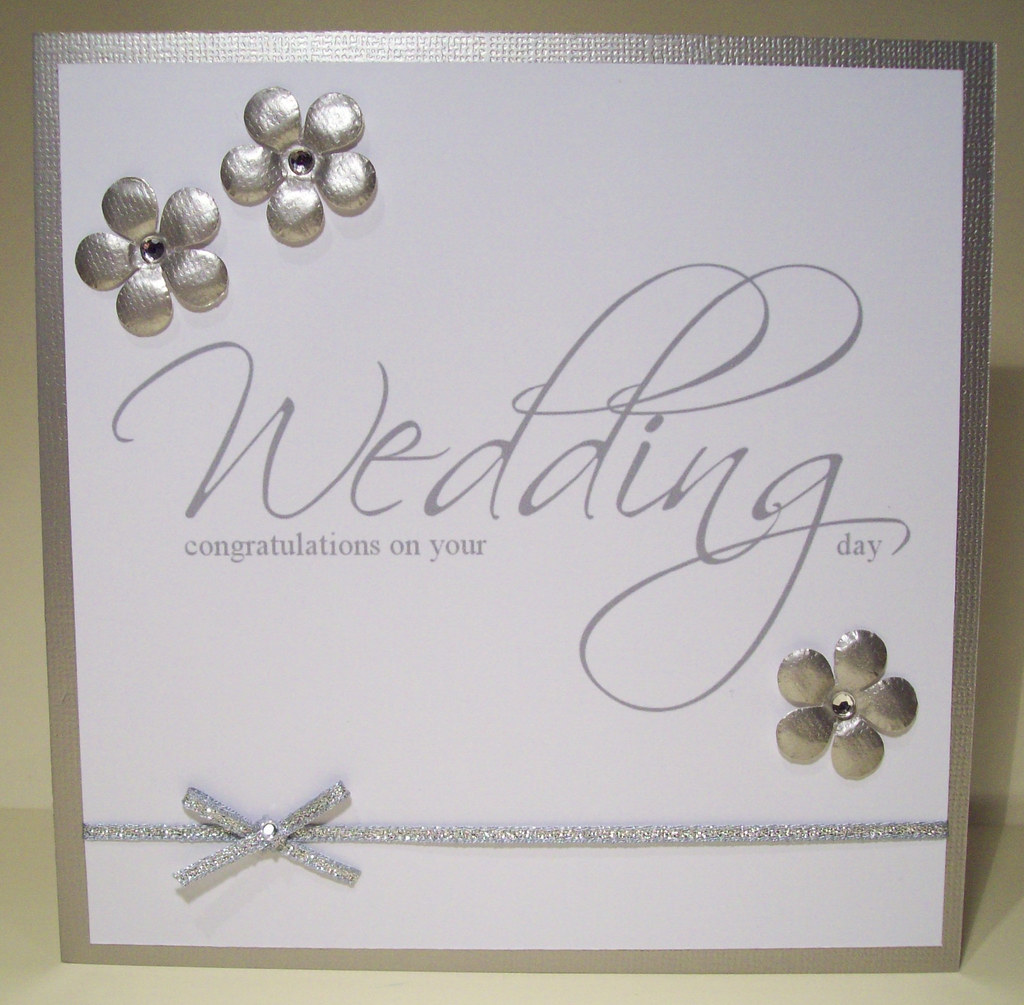
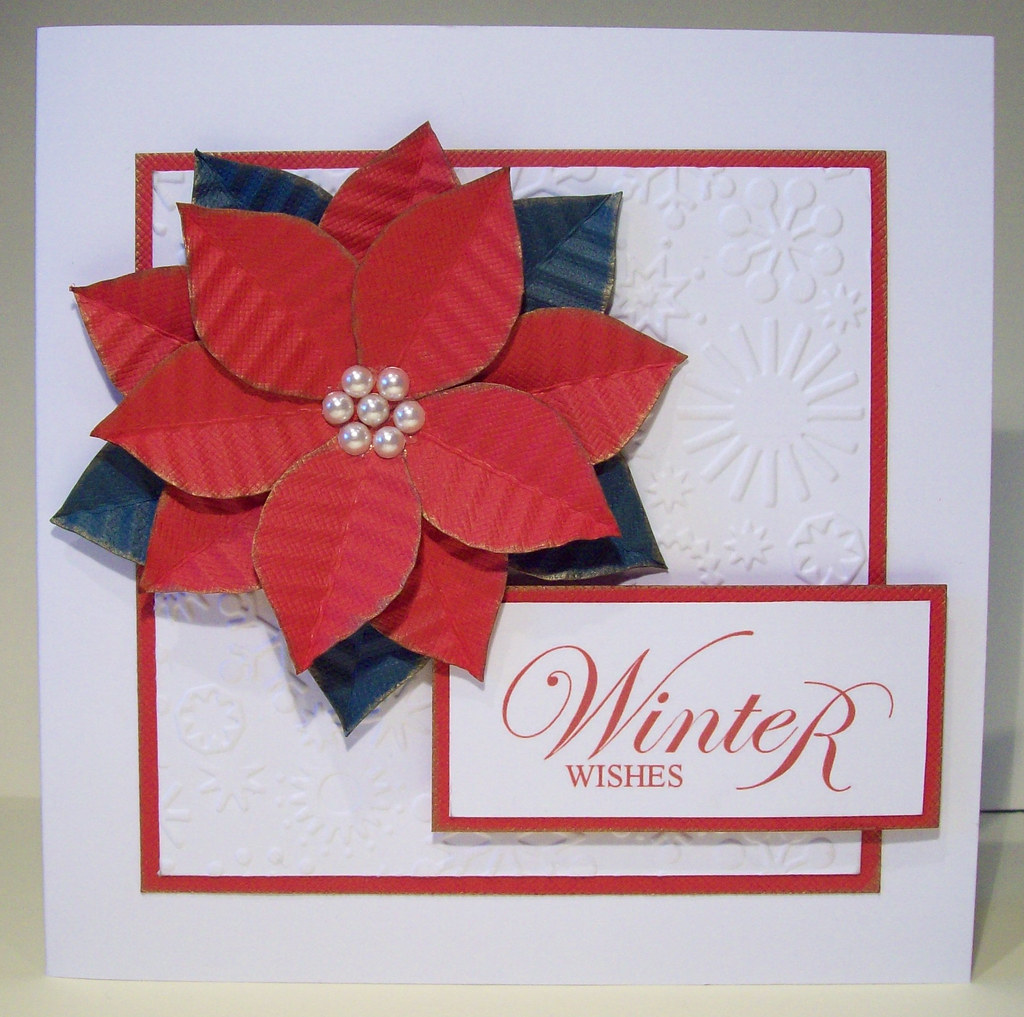
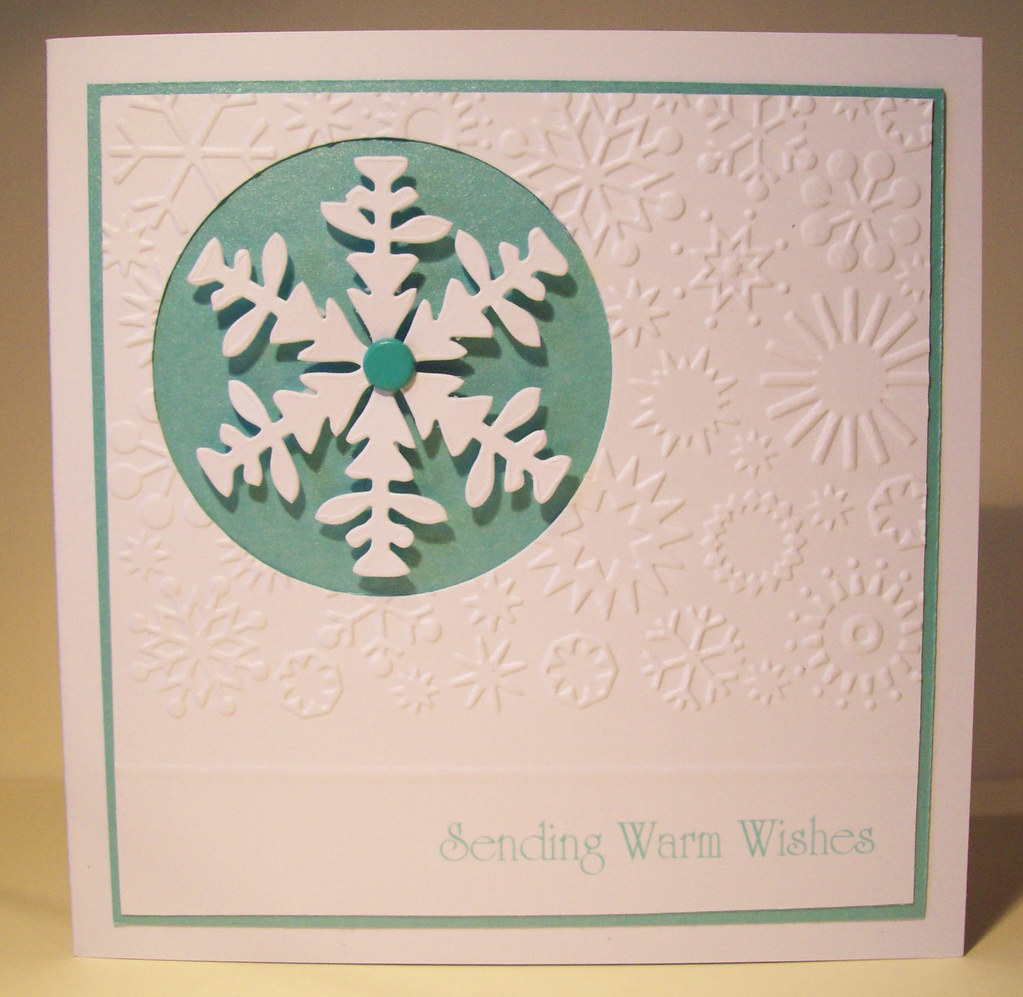
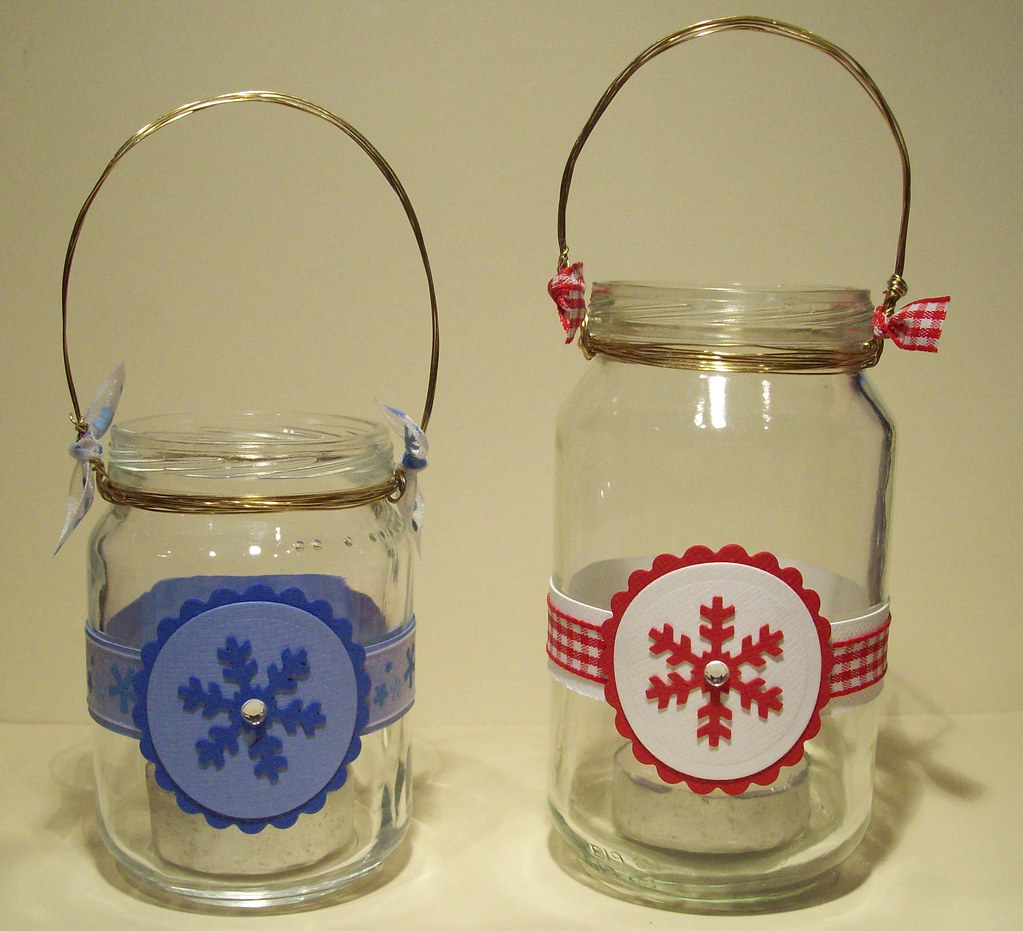
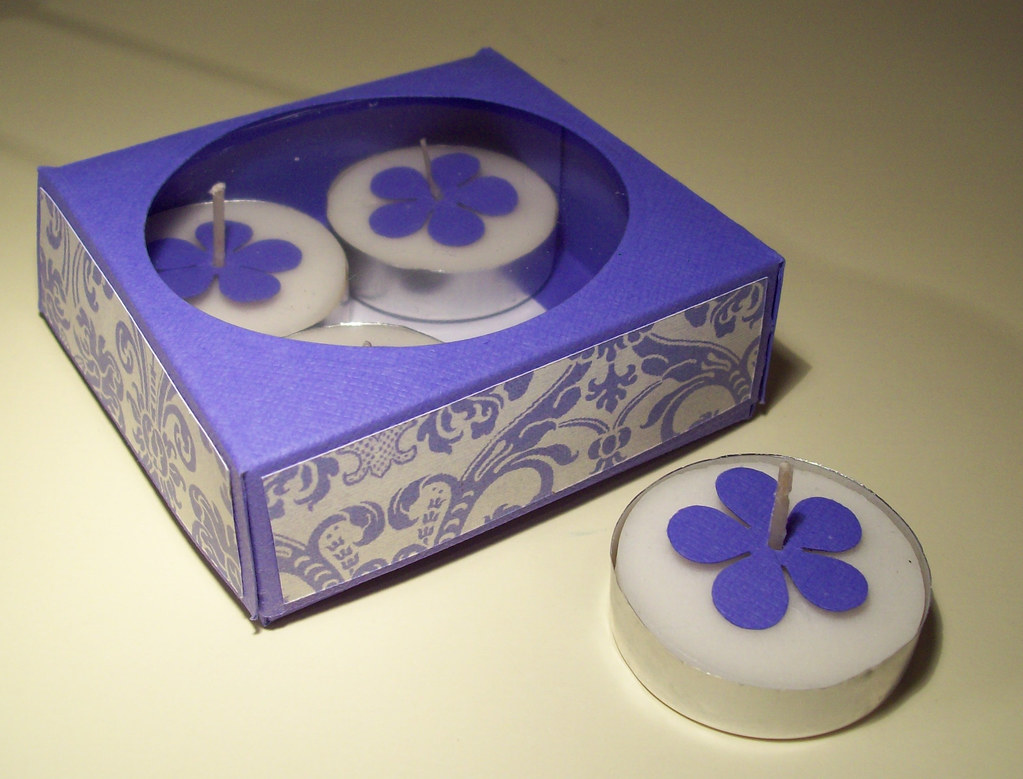
After fiddling with the wire handles on my candle jars, I got really fed up and went off to hobbycraft where I bought this much thicker and coloured wire, which made making the handles 100 times easier. I've stuck on the snowflake and ribbon using my glue gun, as I'm guessing the heat of the candle will probably just make it all fall off if I use my ds tape! Again here, I've added a snowflake to the candle.

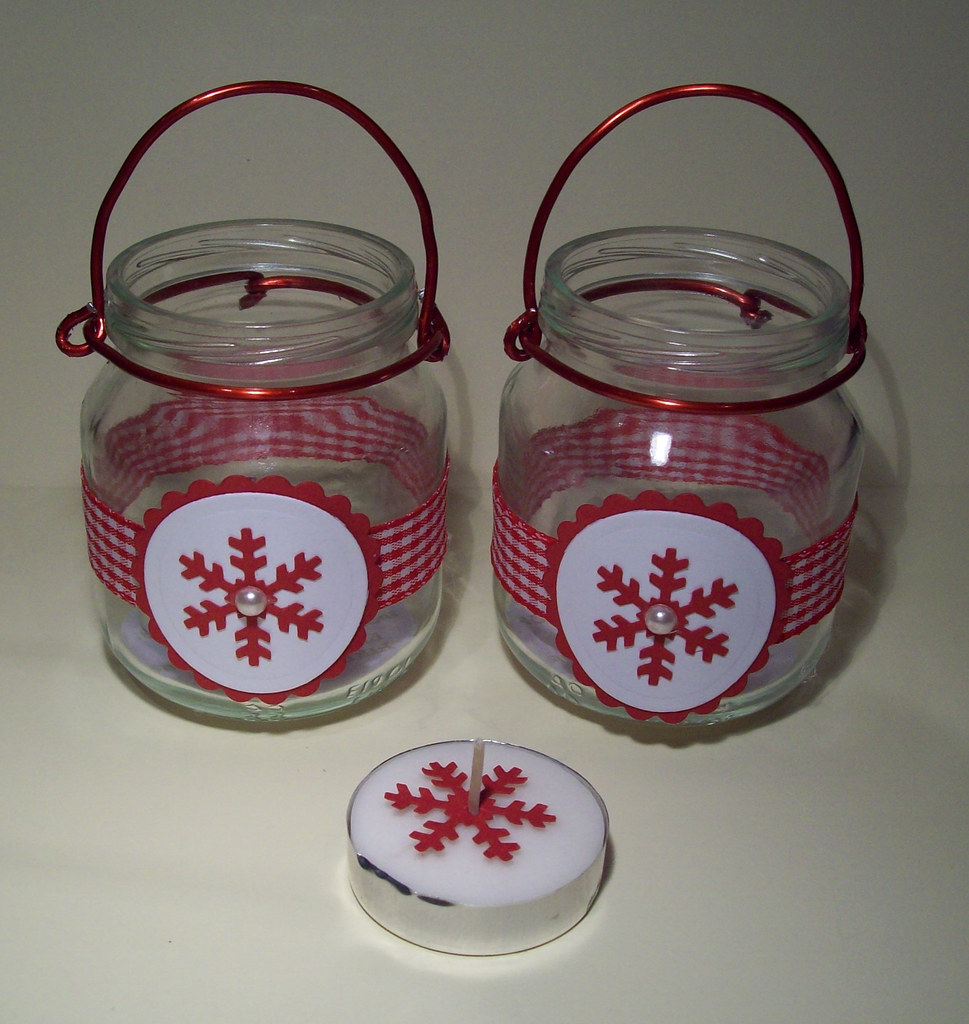
Thats all for now, I'm not making any more cards or gifts, I've packed my craft knife away! well until after the weekend anyway, when I have my sons pre-school christmas craft fair. I have a few orders for Christmas cards from friends but I'm going to wait and see what I've got left over before I make any more!

Friday 27 November 2009

Christmas Money!

Well just when I thought I'd finished my Christmas creations! I was speaking with my Mum the other day who said she needed some Christmas Money Wallets, so I offered to make some. Its not something I'd thought of making before, but once I got started I couldnt stop! I had a browse on SCS and saw an idea for a bauble shaped money holder, which I really liked. You can find a video tutorial here! I had a couple of attempts before I came up with the one I was happy with! I made the sentiment on my pc using paint shop pro. 
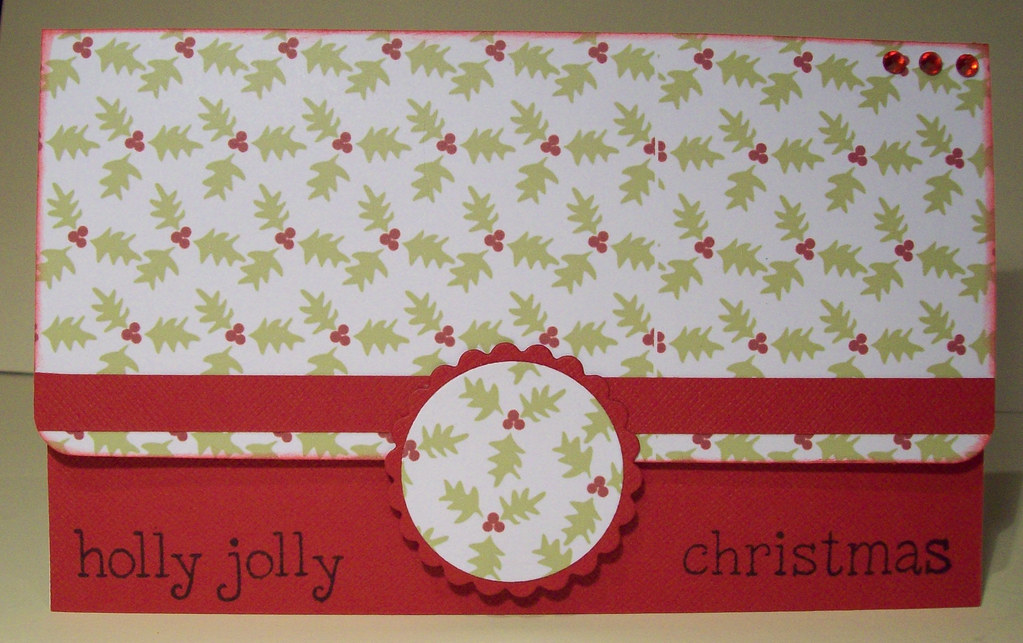
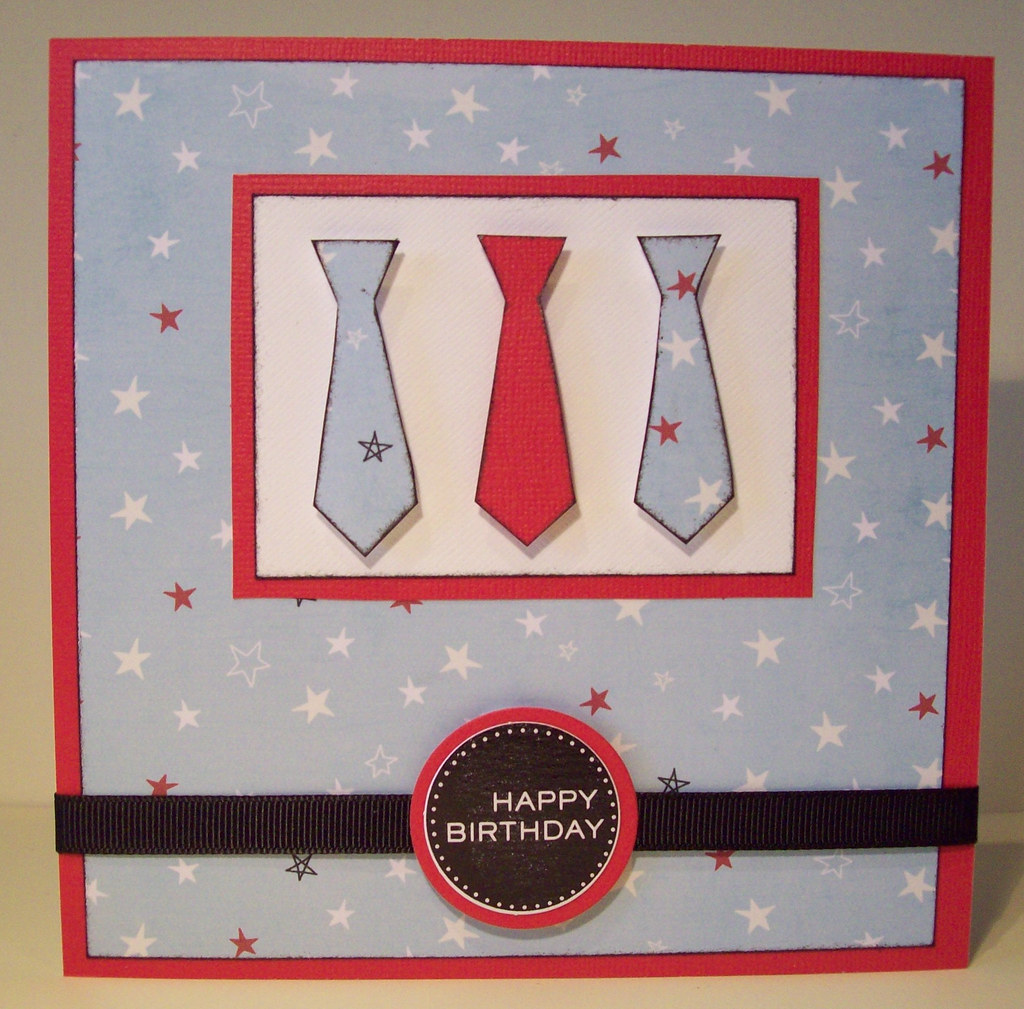
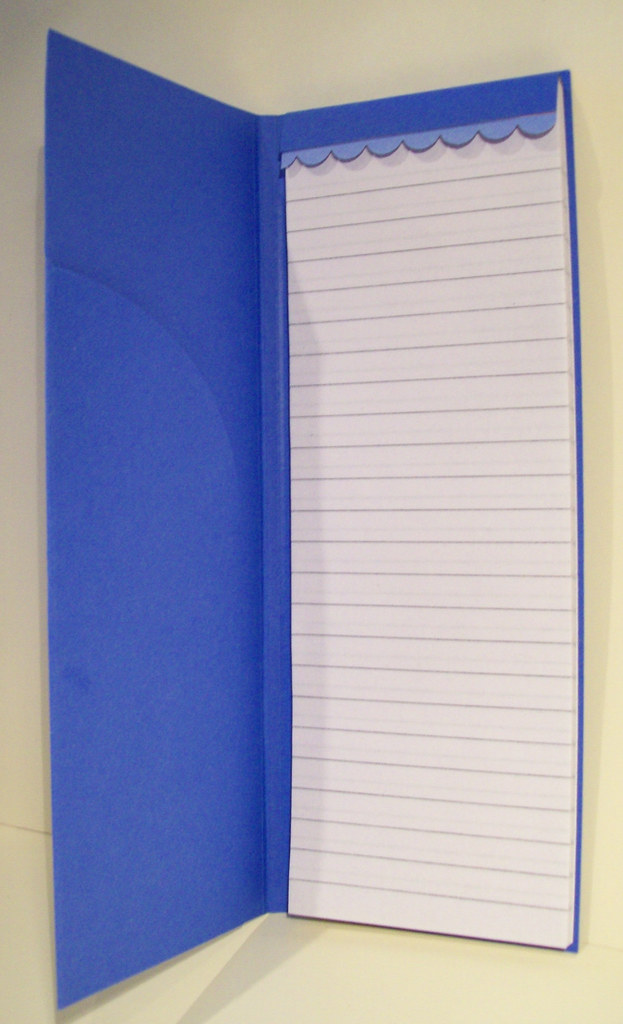
Here is my second version. A more traditional wallet style money holder. I've had a little bag in my craft room for ages now with a small pack of sticky velcro inside which I thought would be ideal for this project! I do have some Basic Grey magnetic fasteners, but I'm far to tight to take them out of the packet! Lol! The papers are from the Christmas Lights set from Pink Petticoat. I've made a few of each, in the Olive and in the Blue stars papers and this version with the Holly too.
My friend asked me to make a Christmas Card for her Dad who is an avid Arsenal fan, so I suggested I incorporate that into a card somehow, and this is what I came up with. Luckily the team colours tie in with Christmas colours! I hope he likes it. I've been really busy again over the past few days. My son's pre-school Christmas Bazaar is next Saturday, which I've been frantically making cards and gifts for. Hopefully I will do as well as I did last year and all the effort will be worth it. Anyway I'm going to give myself a few days off now and have a well deserved rest! Hopefully now I can get back on track and get blog hopping again!

Tuesday 24 November 2009

And last but not least....my Christmas Cards

Can you see a theme running through my Christmas Cards this year??? My new Cuttlebug Snowflake!!! I wanted one of these last year! But finally went ahead and bought myself one a month or so ago and I have to say its been really well worth the money! Here I've created some really simple cards using the snowflake, my cuttlebug embossing folder and some coloured card. The concept of this card came to me in a dream! So as soon as I got up I had to make it before I forgot about it. How sad is that? dreaming about making Christmas cards. It just goes to show how much I've bee doing lately! This first one is my favourite! I'm loving red and white this Christmas. Followed by my second favourite, the Lilac one!
This one is in dark navy pearlescent which I think is quite striking.And a slightly paler blue pearlescent version too!
I then found some pastel green pearlescent card too in my stash, so gave that a go too!
And here is a little something I decided to have a go at for the craft fair as a stocking filler. I made the box using a very made up template! and I've just filled it with 4 tealite candles. I've used my nestabilities to cut the square in the lid and have then embossed some acetate with my snowflakes embossing folder.

My next task is to make some money walletts, so I'm off for a browse to see if I can get inspired!

more... more... more...

I love this style of wedding card. It was originally inspired by one I'd seen on the Docrafts gallery. I usually make them A5 sized and personalise the cards with the names and date, but thought that I'd try a couple of smaller ones for my box! I think they turned out ok? Apart from the extremely thin ribbon on this card, I only realised I hadn't got any thicker ribbon when it came to sticking it all down! I like to make these cards to co-ordinate with the wedding theme where possible.
I've made this version of the 3 Tie's card before but using different papers. These papers are actually part of the Pink Petticoat Christmas Lights kit. I love the red/blue colour combination. Again, I've finsihed it with a Craftwork Cards sentiment. Meet Alex the Lion! I've been having fun with my punches again! My 3 year old son gave him his name! He's a big Madagascar fan! He's not quite how I pictured him before I started and is a combination of a couple of punched lion's I'd seen before. I think he's quite cute though. The background paper is Epsom again. The perfect colours for Alex!
I've used the Sugar Nellie pirate with an Epsom treasure map for this card. I've torn and distressed the eges of the map and then added the sentiment using my sizzix naturally serif alphabet. I've just added some navy eyelets to tie in with the sentiment and to add a bit more colour to the card. Quite a simle one, but I think had I have added anything else I'd probably have ruined it!

I've been so Busy Busy Busy!

I can't quite believe how many cards I've made over the past few weeks! My boxes were virtually empty and I have a craft fair coming up in December so desperately needed to get some made! Also with my expected delivery at the end of February, I dare say that I'm not going to have a whole lot of time for crafting then!

So first up, I'll show you some of my Non- Christmas cards. I've made a few new ones but have mainly been re-creating some of my older designs in bulk. I must have made about 100 cards in the past few weeks, which by my standards is a huge amount! Several trips to Hobbycraft and lots of double sided tape later....
Here is a layout I used a few posts back, with this squares design, only last time I did all one colour, this time I decided to use a patterned paper and co-ordinating cardstock. The papers are Epsom and Pink Petticoat. The sentiments are craftwork cards. I have to say, I like these better than the ones I did before!The pink and brown version has got to be my faveourite! I've made a couple of each card too to help bulk out my box.
Bathtime Lola is kind of a re-make of a card I did before, in the respect that the image sits slightly high of the card. Its still able to fit into a 6"x6" envelope though! I did measure and check it before I stuck it down. The papers here are from a DCWV stack. The sentiment is Craftwork Cards. I've used glamour dust on the bubbles to give it a bit of sparkle!

I'll be back later with some more!

Wednesday 11 November 2009

Christmas Snowflakes

Well I don't have any new Christmas cards to show today! I've spent the past few days "bulk making" some of the cards I've already done, ready for a couple of craft fairs I've got coming up soon. So I thought I'd take a break from that and have a go at something different! I had some of this tall slim notepads left over from last year and decided to do something with them. I spent most of the day working on this first one, but now its finally done I like it! So I decided to use the same layout for the others but just changing the colour scheme.

It opens up like a book and inside there is a small wallett flap for you to tuck things into! I've also decorated the top strip to finish it off.And the Red & White version! I'm not sure which one I like best, but I think this red/white one is quite striking. I think I may do a few cards like this too. Today I had a sudden flash of inspiration! It doesnt happen very often, so I thought I'd better get on and make these before I completely forgot I'd even had the idea! They are simply tea light holders, using re-cycled baby food jars. I saw one on the Elzybells blog back in the summer which had little flowers stuck all over it so initially I wanted to stamp some holly or christmassy images and stick them all over the jar too, but it turned out to be way too fiddly so I decided to use the same snowflakes as the notepads above! I've created a little handle using some craft wire and finished it off with some ribbon and adhesive stones. I have to collect some more jars now as I think they'd look nice in pairs or a set of 3 maybe.

And finally! a little birdhouse tree decoration. I've had this made for some time now, but kept forgetting to photograph it. It was inspired by the Papertrey website, who have a free template, for personal use. You can find it here! Its such a sweet little touch. I might have to make a few more for my tree.

Friday 6 November 2009

More Christmas Creations!

You might remember this chap from a couple of posts ago! Well I've really struggled to make a card with him. I had a flick through some of my old cards to see if any of the layouts inspired me and this is what I've finally come up with! I printed the sentiment using paint shop pro. The Santa's list is part of a great stamp set I picked up recently in Hobbycraft, called Holly Jolly Christmas by Hampton Arts. It must be an old set as I've not been able to find any cards made using these stamps or anywhere else that sells them!
And another version, using one of my old layouts. I've decided to keep the colour scheme to all of my cards fairly similar this year. It saves on buying lots of different papers etc and I like to have some sort of theme to my Christmas cards.
I saw this card on Julie's blog last year and absolutely fell in love with her poinsettia. I didnt have a go at it last year, but was brave this year so have given it a try and am quite pleased with the result, although it was a little time consuming. I love the idea of using the paper ribber tool for the petals. I tried to vein them using my embossing tool, but they didn't look as effective. So a big Thank You Julie for your inspiration! I wanted to keep the card very simple, so as not to take the attention away from the poinsettia so have based the card on one I made last year, only I like this one better!
A Close up of the poinsettia!
I think this next card is probably my favourite of the christmas cards so far . I was so pleased with how this little punched penguin turned out! I've stamped some snowflakes onto some Kraft card for the background, then used a few torn strips of heavy vellum with the edges glittered as the snow. The sentiment is stamped from my new Hampton Arts Set. The large snowflake is a Cuttlebug Die, which aslo comes with a matching embossing folder too! All quite simple again, but quite effective. I think the orange brad just finishes it off, taking the colour from the penguins nose!
I've been crafting all day today and I've only actually made two cards! I have been playing around with a box template as I'm planning on making Christmas Cookies to give as a gift this year. The first box was a bit big and the second one was about the right size but the cookies are a bit too big! I made a test batch yesterday, like the ones you get in Tesco's or Millies Cookies, the slightly gooey ones! I'm thinking that I might be better off making a slightly smaller cookie as' I'll get more out of the mixture and these are little on the large side! Delicious though!

Thats all for now, I'm afraid. I'm off to re-create some more of these cards ready for a couple of craft fairs I've got coming up, and to finish off working on my cookie boxes! I may have to test a few more cookies first though!

Thanks for stopping by and reading.

Wednesday 4 November 2009

Pink & Girly

I've had a few Children's parties recently and here are a couple of cards I made for my son to give. The first being this cute Peppa Pig card. I've used my new hearts embossing folder which I love! The papers are from Imaginisce and are from the Happily Ever After range (I think!!) I've stuck some gem stones onto peppa's crown and have used some glamour dust on her wings.Using the same layout and paper! I've gone for a Disney Princess image this time, both of which tie in with the presents we gave! Hopefully both of the recipients were happy with them!
And another of my "number" cards, only this time in Lilac/Purple, which I'm quite happy with. not a colour scheme I would usually make this card in but it works!And finally, a card for my friend to give to one of her friends who has just found out that she's expecting! I dont get asked to make may of these, so I offered! I love this Lola Rose image from Pink Petticoat. All papers are Pink Petticoat too! The sentiment is part of a Hero Arts sentiment set. The baby bump is layered using foam pads to give it that extra bit of dimension!