Some of these cards go back a while now! To start with, I was asked to make two golfing cards for a chap who's 60, as it turns out there were for the same man! Luckily I figured this out before I went ahead a copied the first card I made!

I've been on ebay and invested in some Quickutz dies, a Golf Tee & Ball and a Golf Club set and the Grass die. I can see myself getting quite a lot of use out of these so thought they would be a good purchase! I can't remember where the paper for this card came from, but I'm pretty sure it was a download. The pringle design works great with golf cards! I've done quite a bit of paper pricking on this card too! I think its my latest "thing"

And here is my second attempt! Decided to go with the large numbers theme on this card and embellish it with the golfing die cuts. I've used a tartan looking paper, which I think came from the Basic Grey Archaic set, very fitting as the chap is also Scottish! I've mounted the numbers onto foam pads so they stand out a bit and have tied the two together using some eyelets and elastic stringy stuff!

Within the space of 3 days I was asked by two different people to make a card for a keen cyclist! This time though they were actually for different people so I was able to replicate the card! I really didnt have a clue what to do, so I took a look through my trusty old stash of magazines when I came across a booklet of mens cards, I think it was from Papercraft Inspirations last year. This is my interpretation of the card they featured which was a paper pieced mountain bike. I beleive I've seen a version of this card on Stacey's blog too! It was a bit challenging getting all the pieces to fit together!

This one is for a Watford Football Club fan! I'm never really sure what to do when it comes to football cards. I've done one a bit like this in the past, and after Googling some images, this is what I came up with. The background card is part of the Black Magic set I bought recently, it has a yellow core. I've sanded it down so it looks distressed. I didnt realise that it would make so much mess though!

And this final one was for my friends Dad for Fathers Day! The suggestion was for Automotive! Something Classic! So I thought, blokey, James Bond, Aston Martin! The image has a slight hint of green in one of the back windows, and this is what inspired the colours of the card. I really like this teal/grey combination.


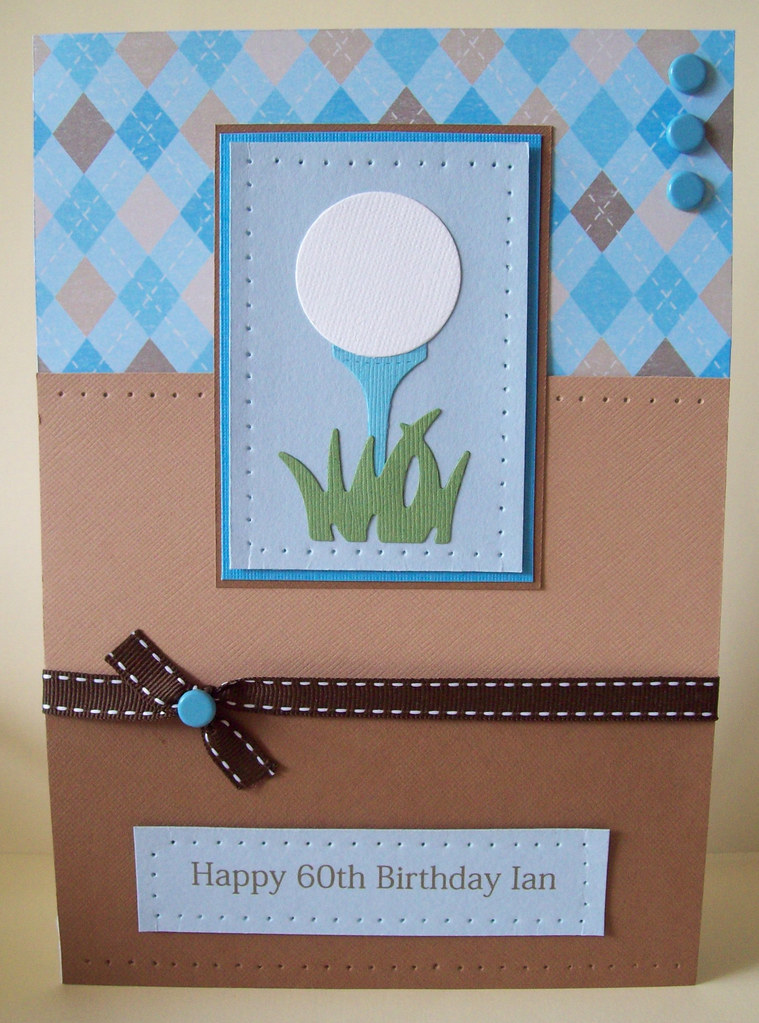 I've been on ebay and invested in some Quickutz dies, a Golf Tee & Ball and a Golf Club set and the Grass die. I can see myself getting quite a lot of use out of these so thought they would be a good purchase! I can't remember where the paper for this card came from, but I'm pretty sure it was a download. The pringle design works great with golf cards! I've done quite a bit of paper pricking on this card too! I think its my latest "thing"
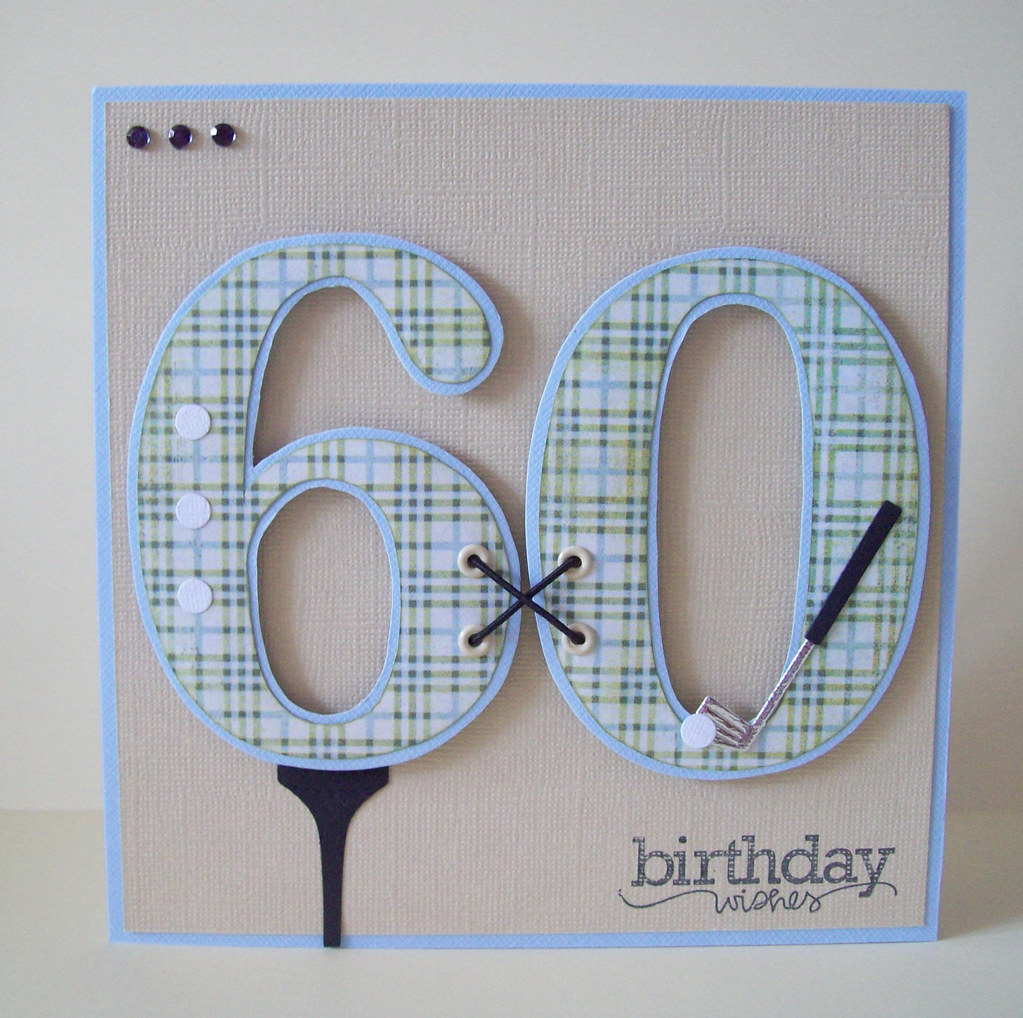 And here is my second attempt! Decided to go with the large numbers theme on this card and embellish it with the golfing die cuts. I've used a tartan looking paper, which I think came from the Basic Grey Archaic set, very fitting as the chap is also Scottish! I've mounted the numbers onto foam pads so they stand out a bit and have tied the two together using some eyelets and elastic stringy stuff!
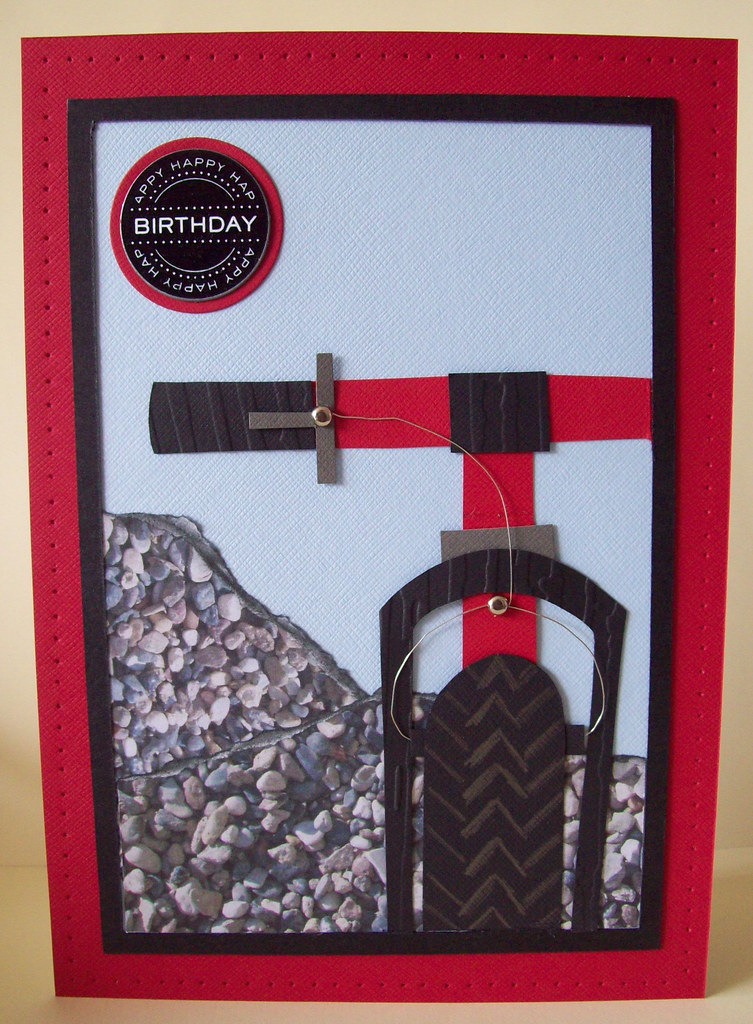 Within the space of 3 days I was asked by two different people to make a card for a keen cyclist! This time though they were actually for different people so I was able to replicate the card! I really didnt have a clue what to do, so I took a look through my trusty old stash of magazines when I came across a booklet of mens cards, I think it was from Papercraft Inspirations last year. This is my interpretation of the card they featured which was a paper pieced mountain bike. I beleive I've seen a version of this card on Stacey's blog too! It was a bit challenging getting all the pieces to fit together!
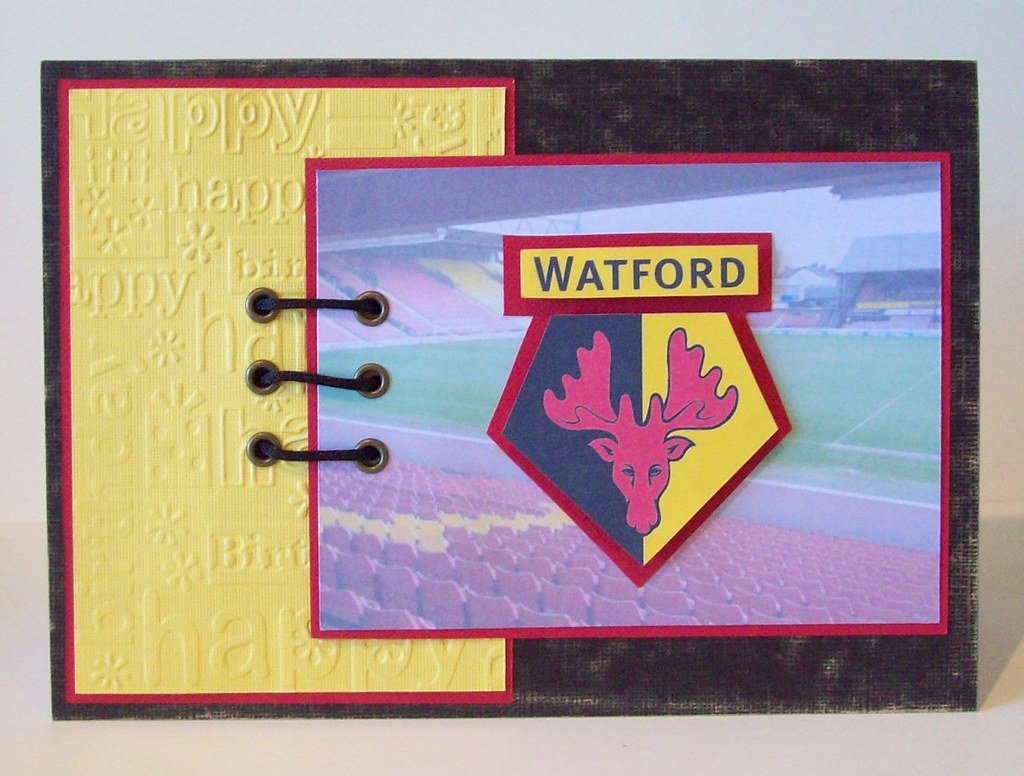 This one is for a Watford Football Club fan! I'm never really sure what to do when it comes to football cards. I've done one a bit like this in the past, and after Googling some images, this is what I came up with. The background card is part of the Black Magic set I bought recently, it has a yellow core. I've sanded it down so it looks distressed. I didnt realise that it would make so much mess though!
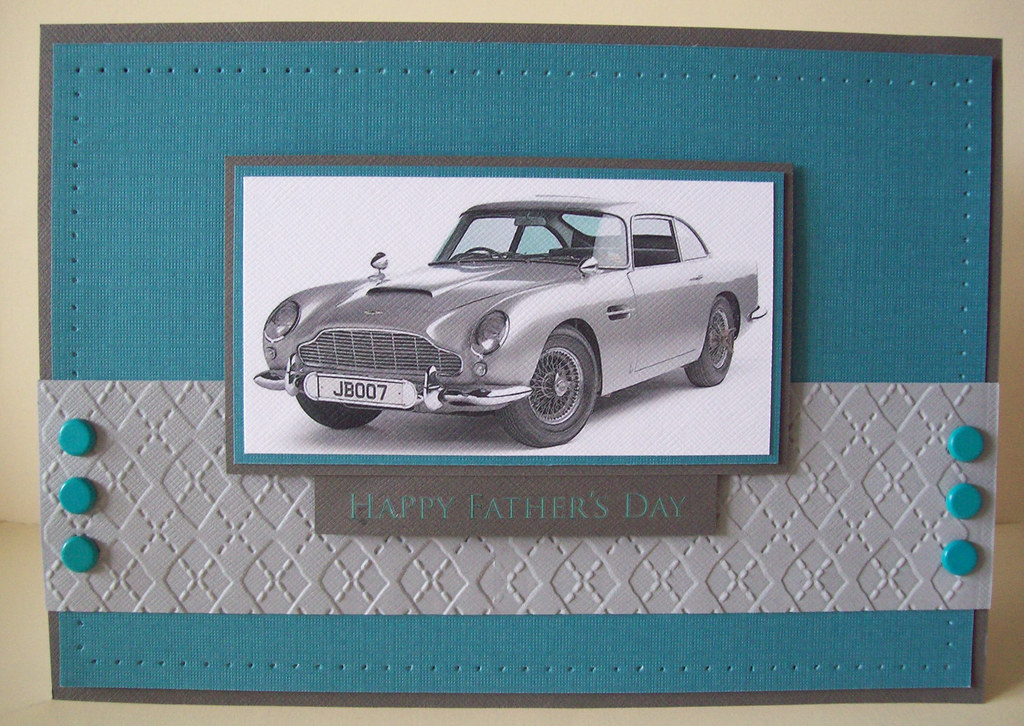 And this final one was for my friends Dad for Fathers Day! The suggestion was for Automotive! Something Classic! So I thought, blokey, James Bond, Aston Martin! The image has a slight hint of green in one of the back windows, and this is what inspired the colours of the card. I really like this teal/grey combination.




 I really love this colour combination. I stumbled across it by accident. Its kind of mint choclatey! First up is a matching notepad and pen set. These are so easy to make, and make such a lovely gift.
 And to co-ordinate (use up the papers) I've made this little handbag card too.