Here are my first few cards that I've made for Tinker & Co as part of the Design Team. The paper pack is called Elisia and you can buy it
here! I really love the colours in this set, and the flowery flourish is absolutely gorgeous!

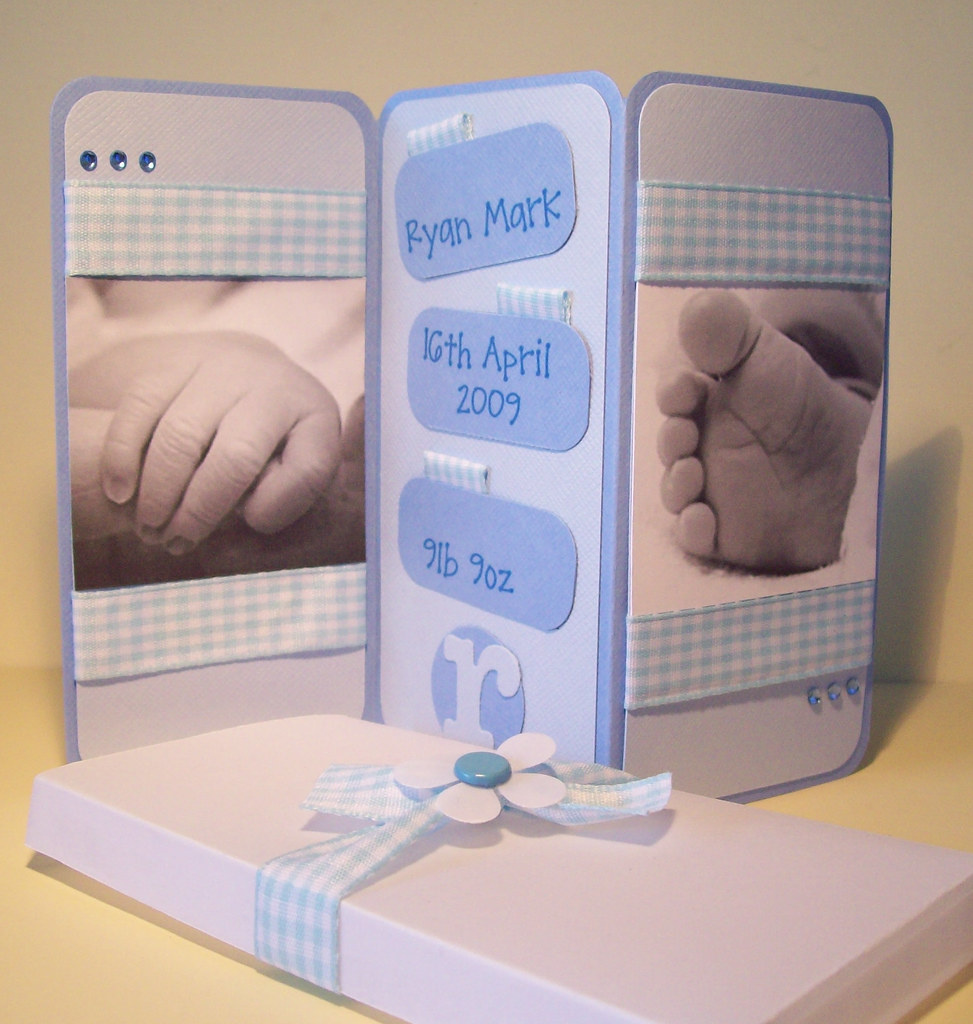
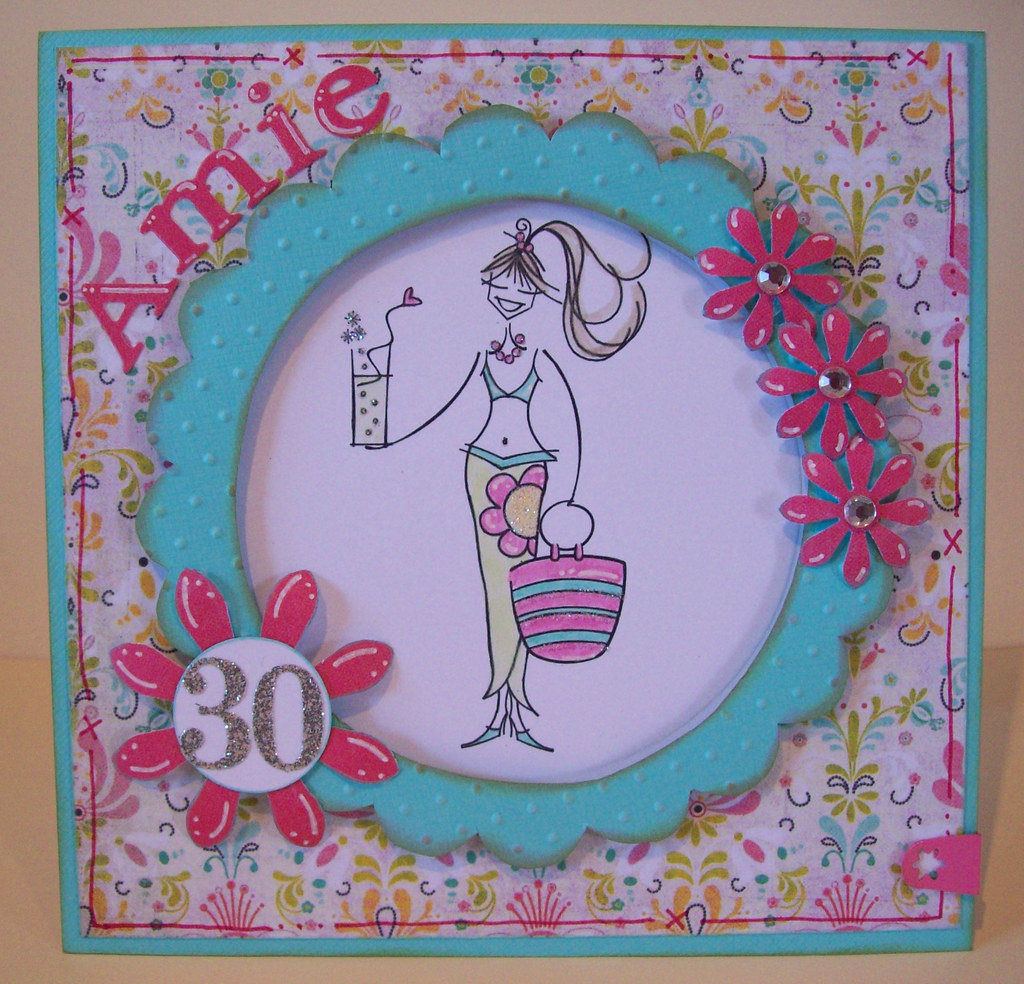
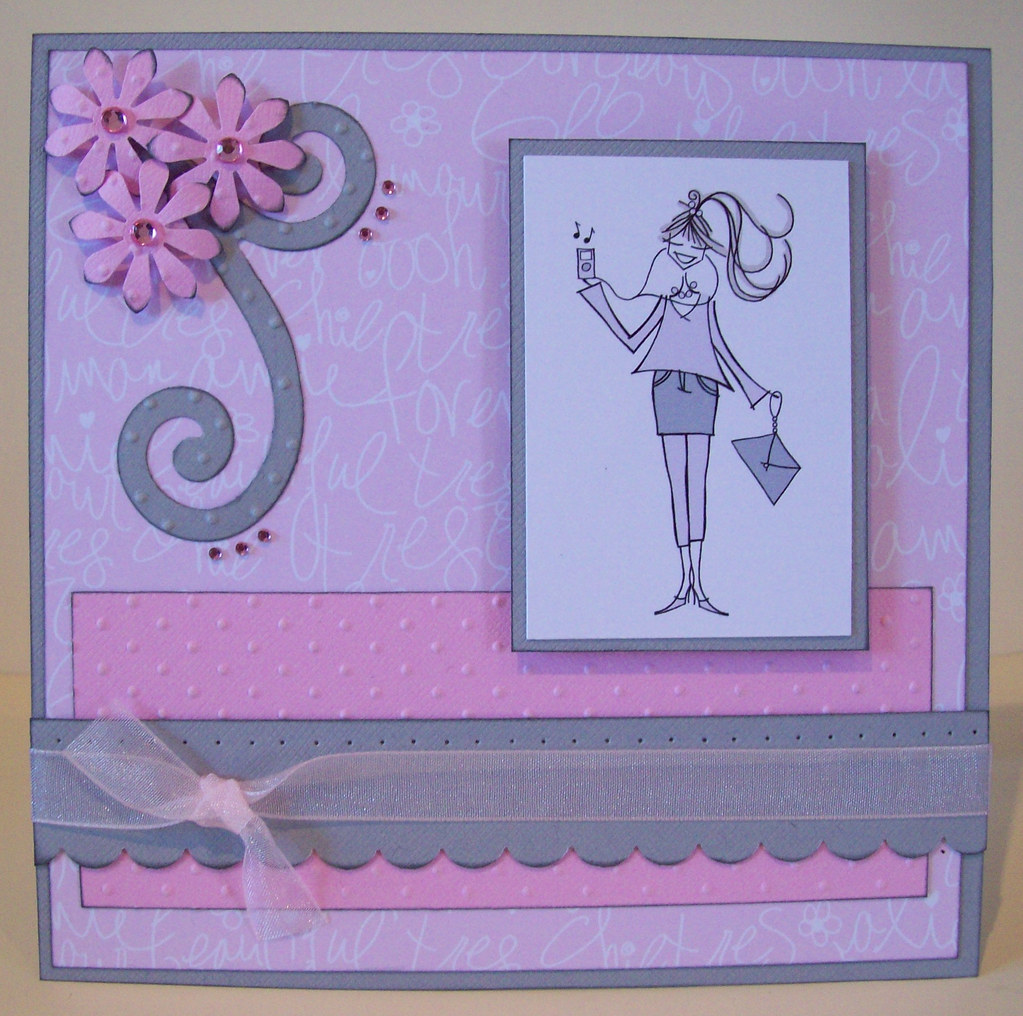
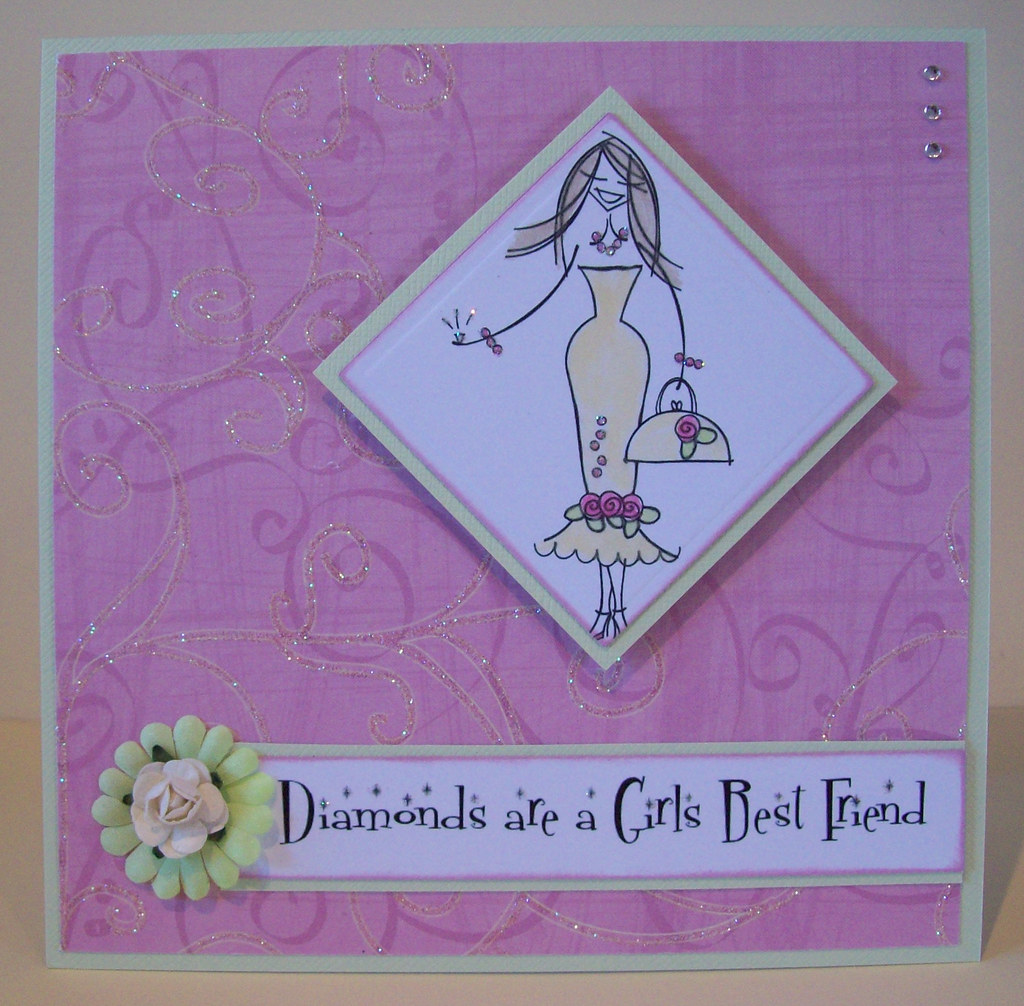
This first card is my favourite of the set. Its made using the
Joy-Fold layout. I've used a combination of the three paisly papers from the set, combined with some black card. I think these colours contrast really well. The flourish element has been printed onto acetate and then cut around the edges before being fastened with a small brad through the centre of the flower. A few adhesive stones and some organza ribbon to finish and voila!

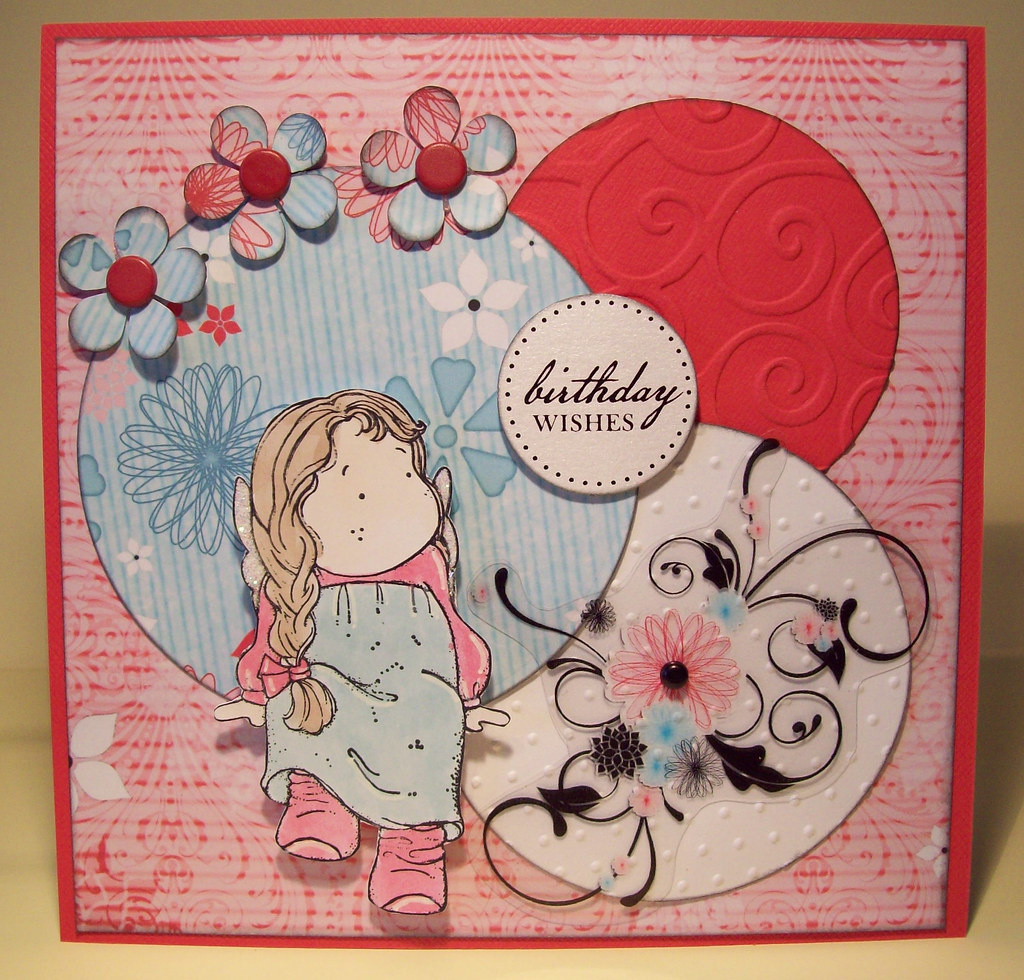
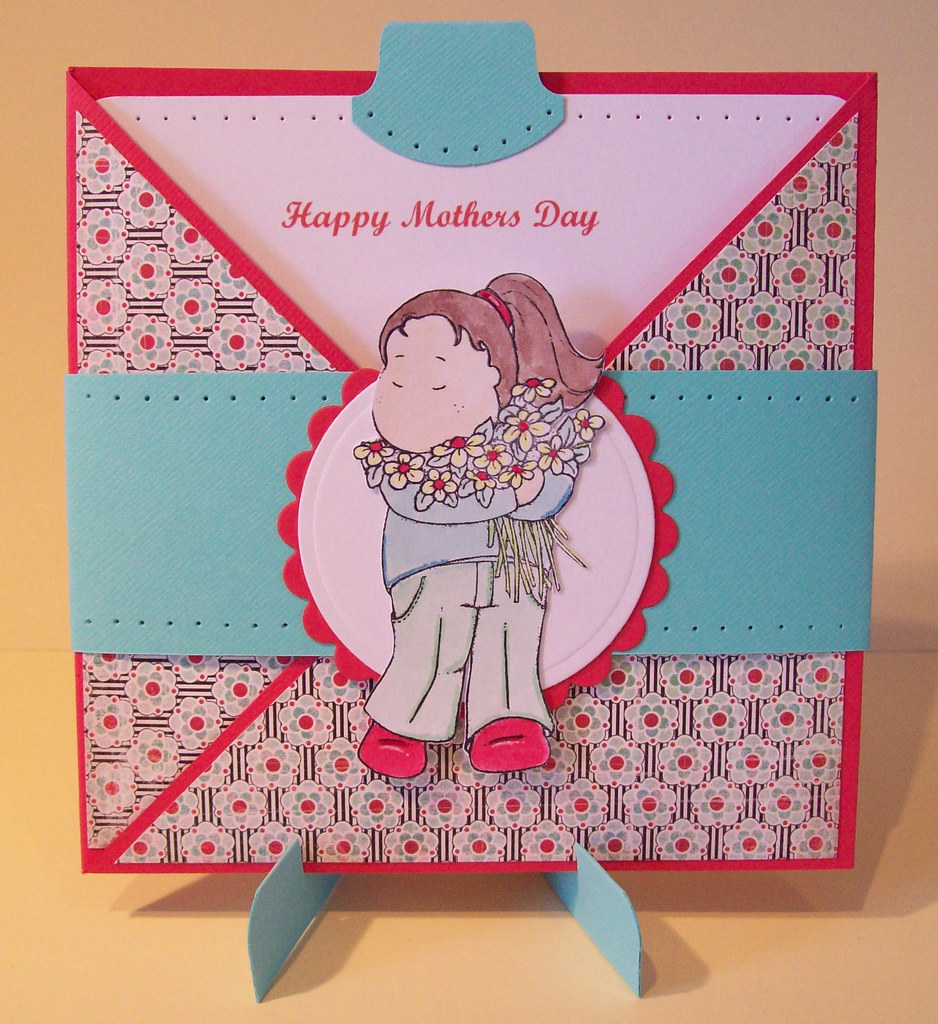
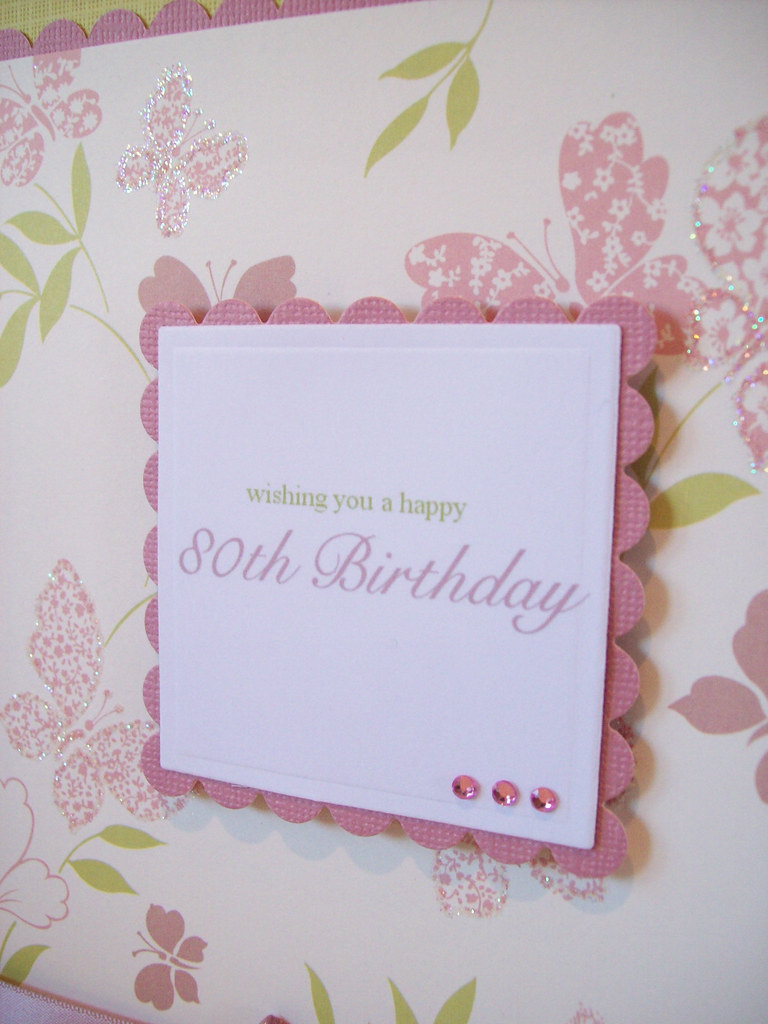
I've made this one using a sketch I used a couple of weeks ago, and have used some of the more floral papers from the pack this time. Again the flourishes are printed onto acetate and fastened with a brad.

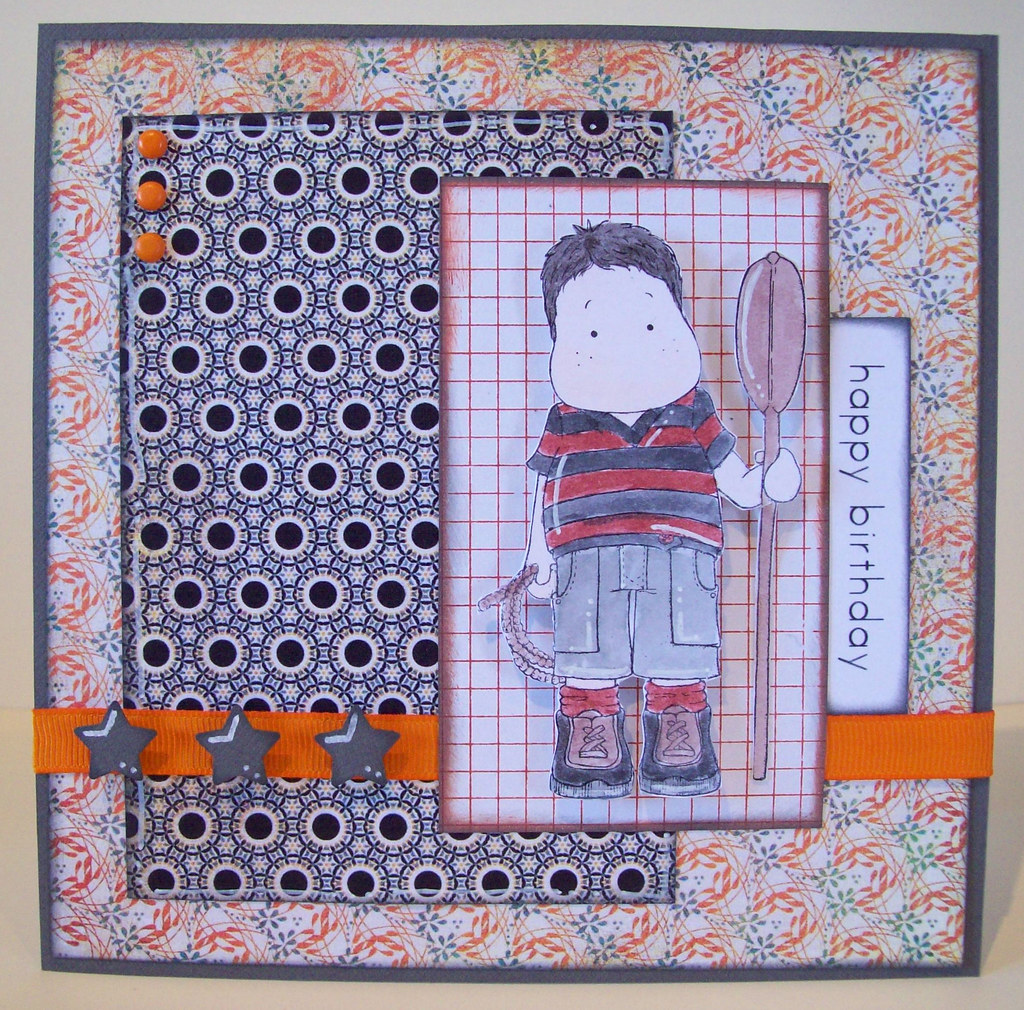
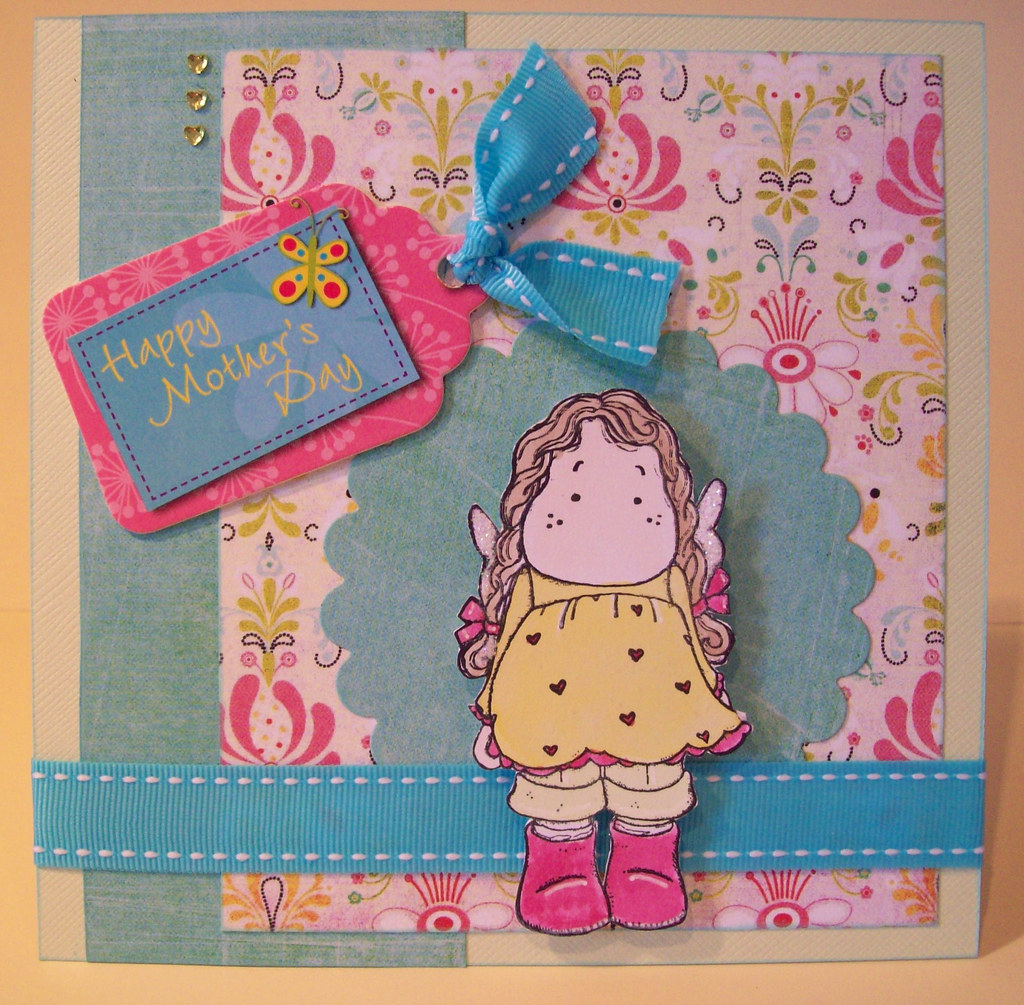
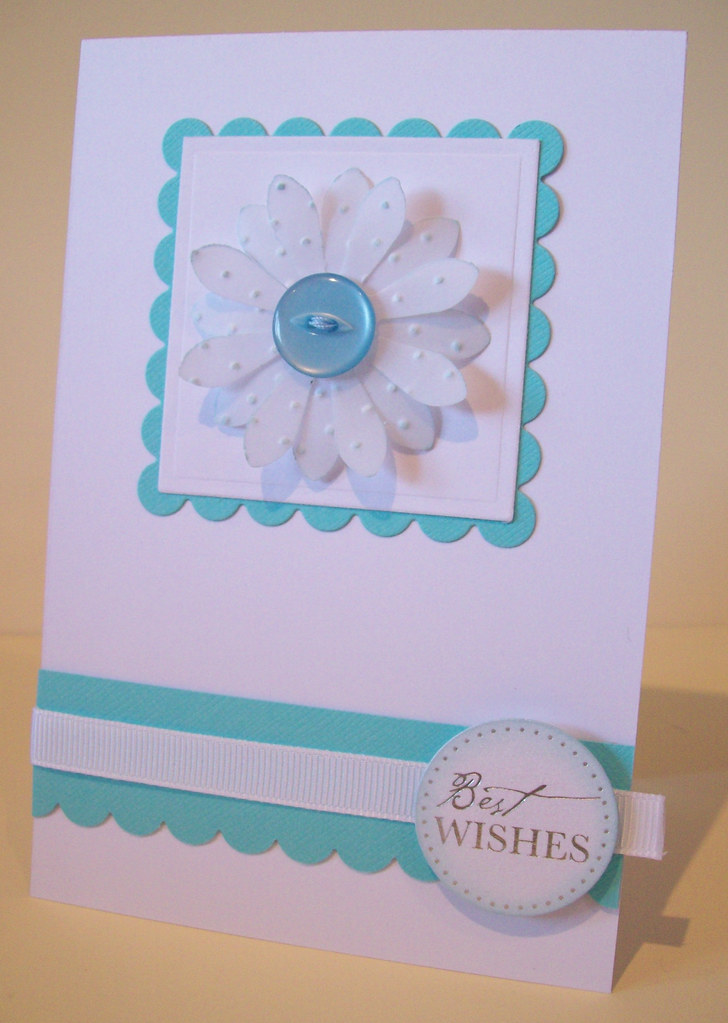
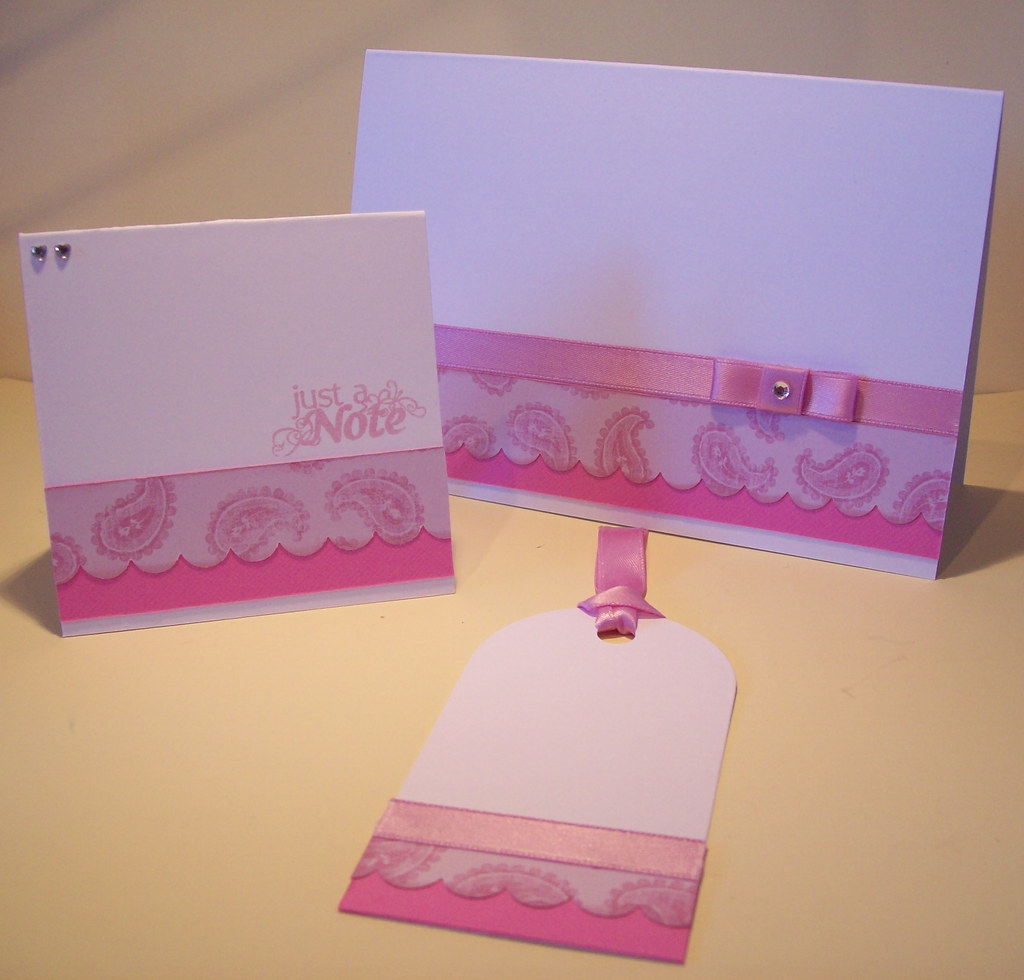
This was quite a simple one to make, again using the blue paisley paper layered onto white cardstock with inked edges. I used my nestabilities to cut out the squares and layered over the printed flourishes so that they overlapped the square. I then just stamped the sentiment and added a few adhesive stones to finish.

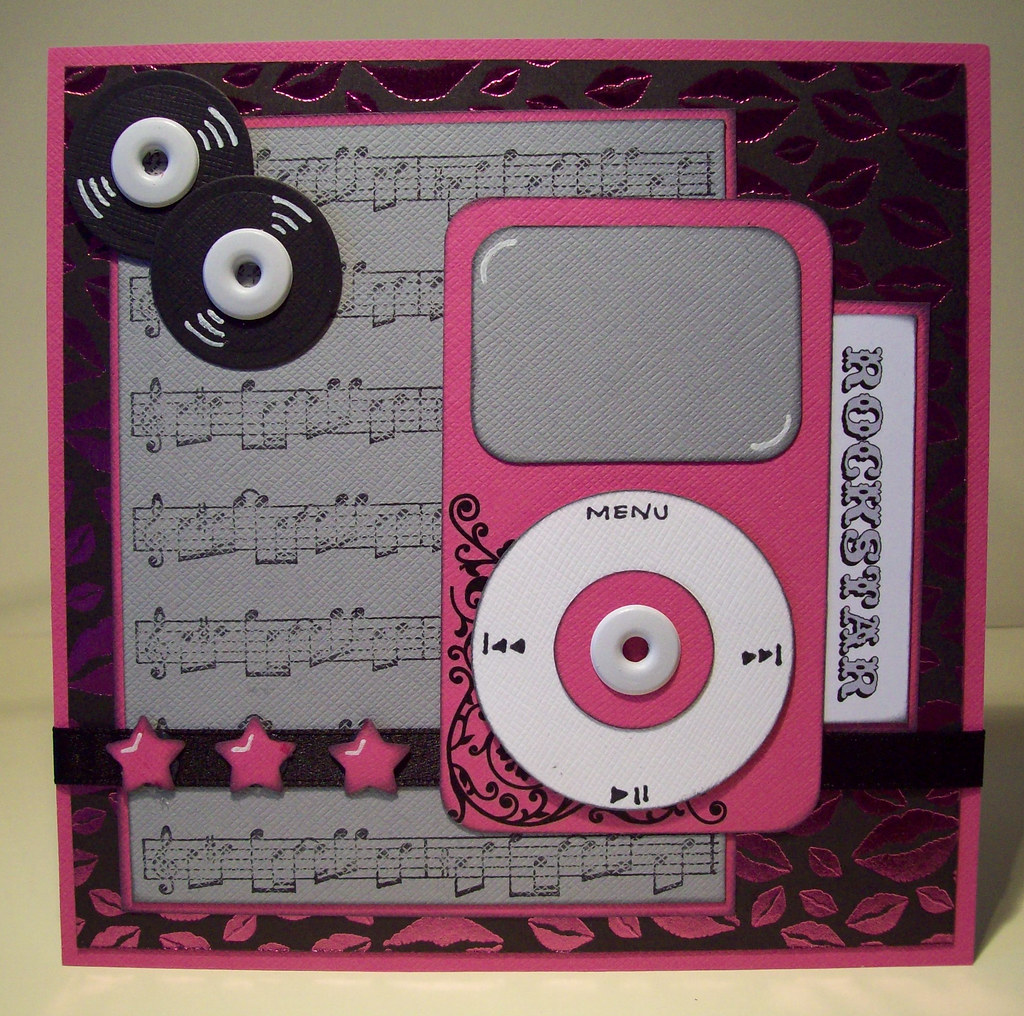
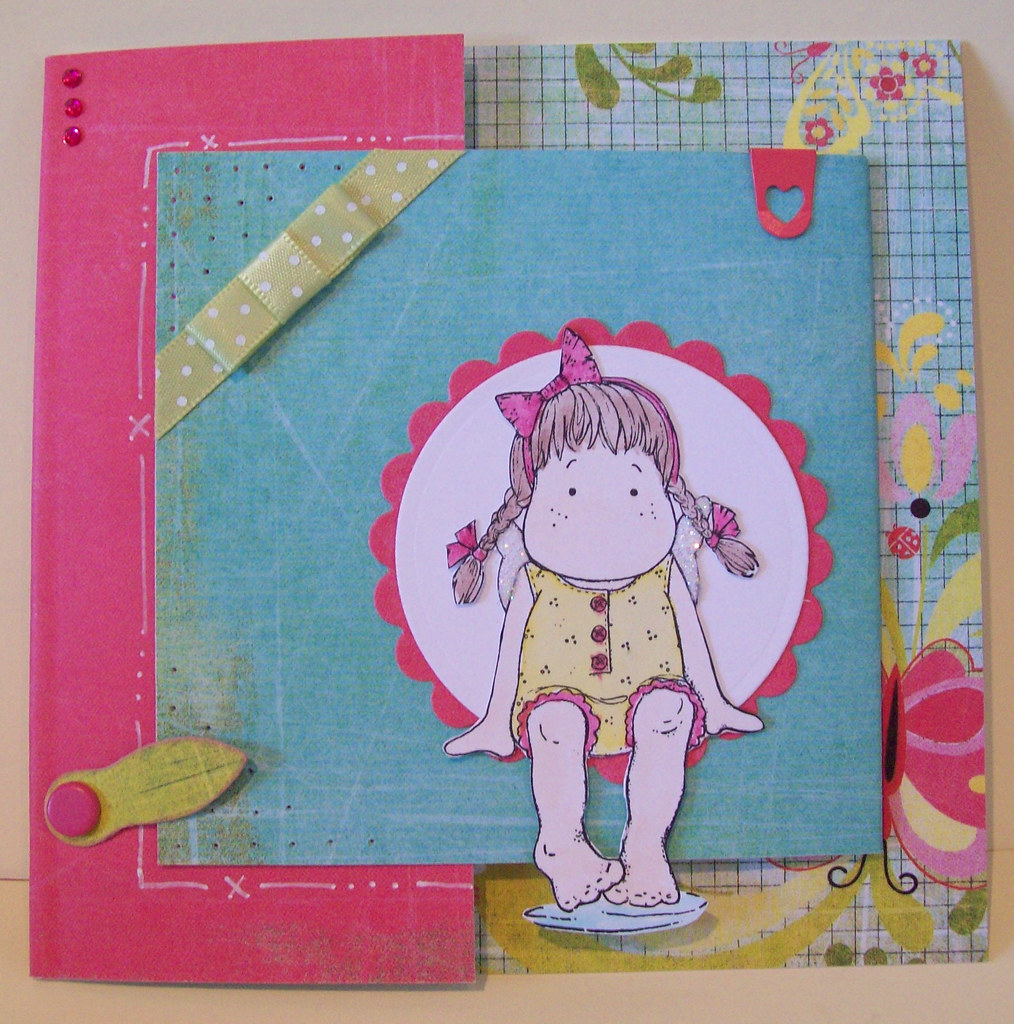
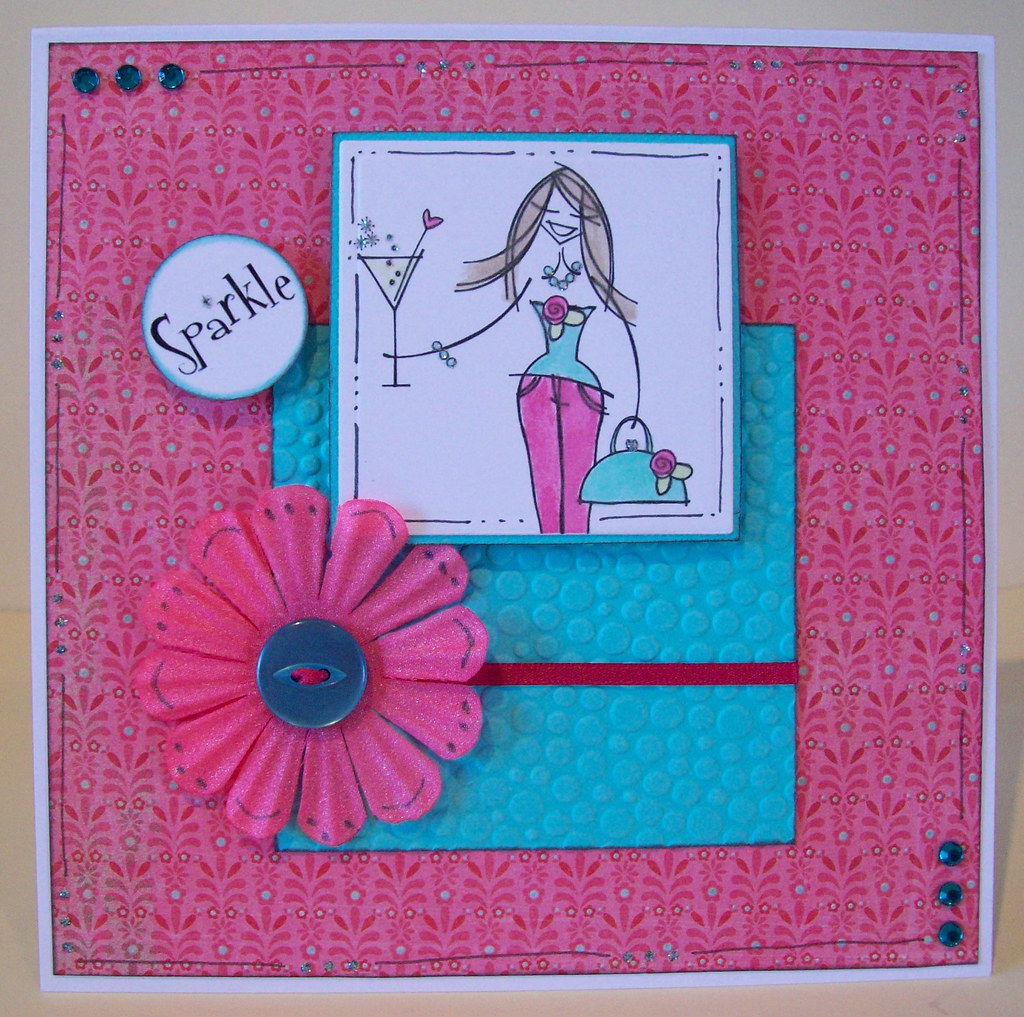
And finally, using my favourite layout of the moment! I paper pieced Tilda's dress using the pink and black spotty paper, which was really quite fiddly, I'd not done this before, but I love the result so it was worth it! I love the pink & black combination, one of my favourites.
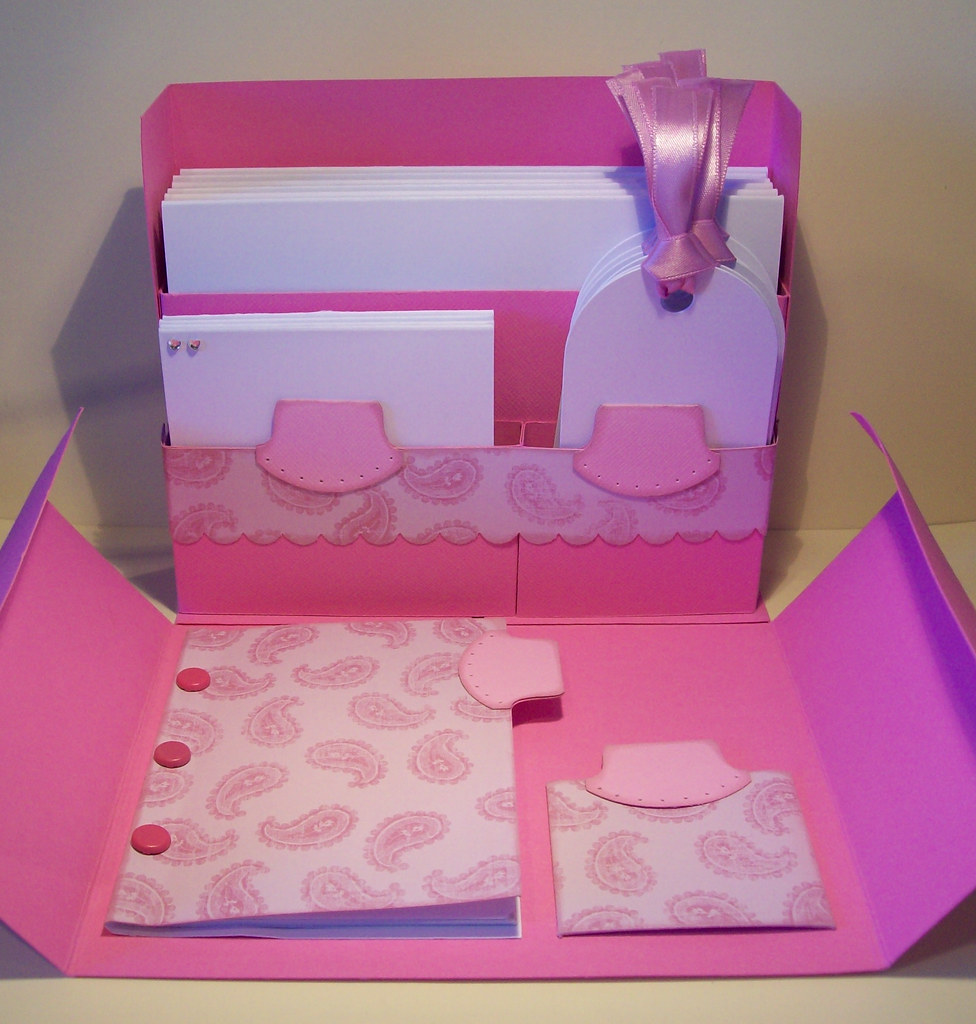
Yo can buy this kit from
Tinker & Co along with a huge range of other digital kits too.


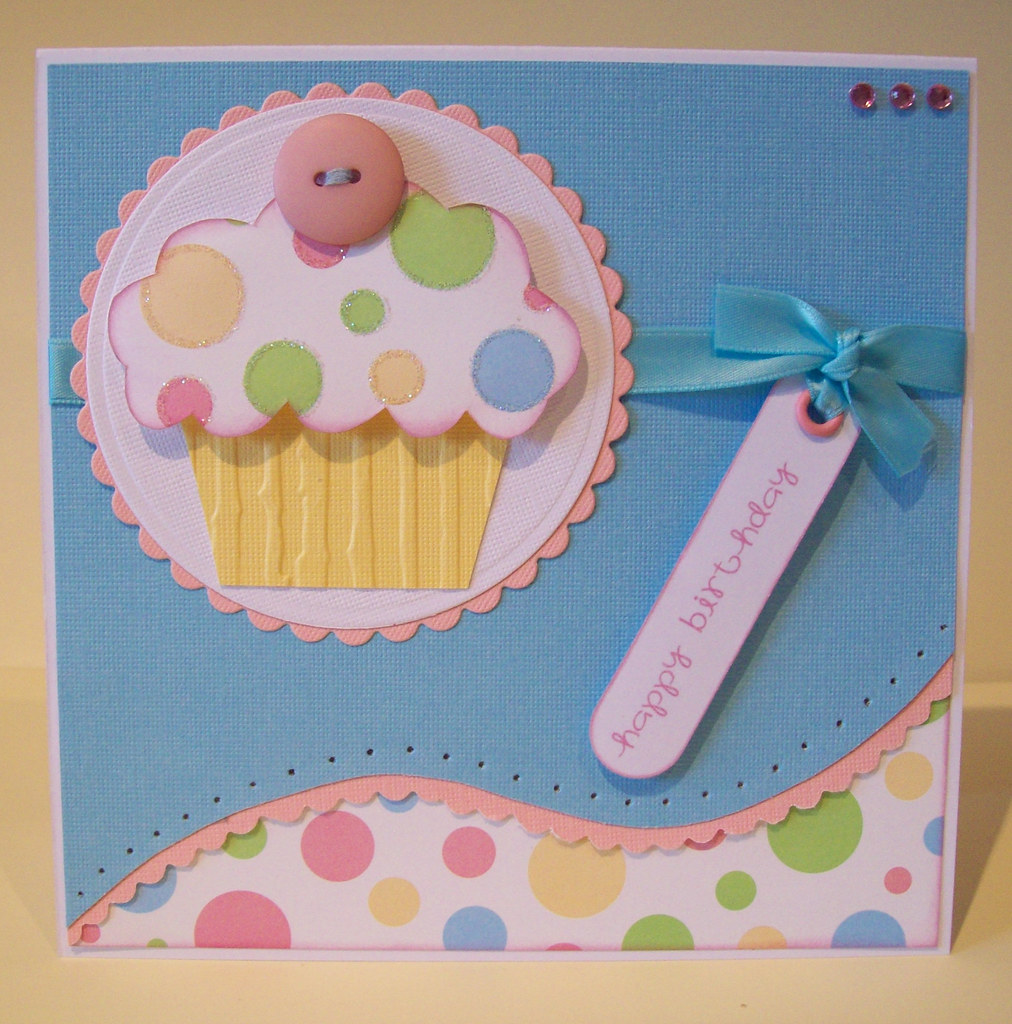
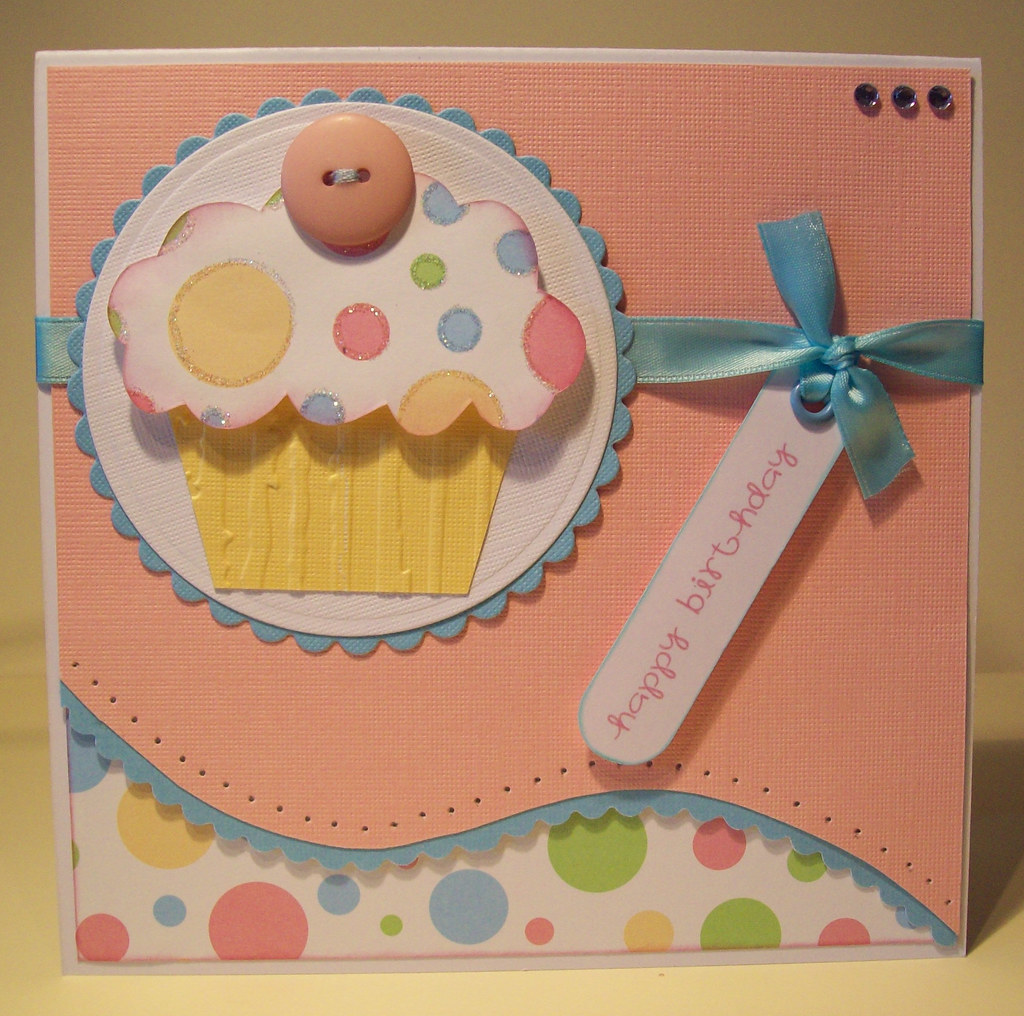 I've inked the edges of the topping of the cupcake and have also drawn around each circle with my glue pen and then added some glamour dust, before mounting it on foam pads. I've then topped it off with a pink button.
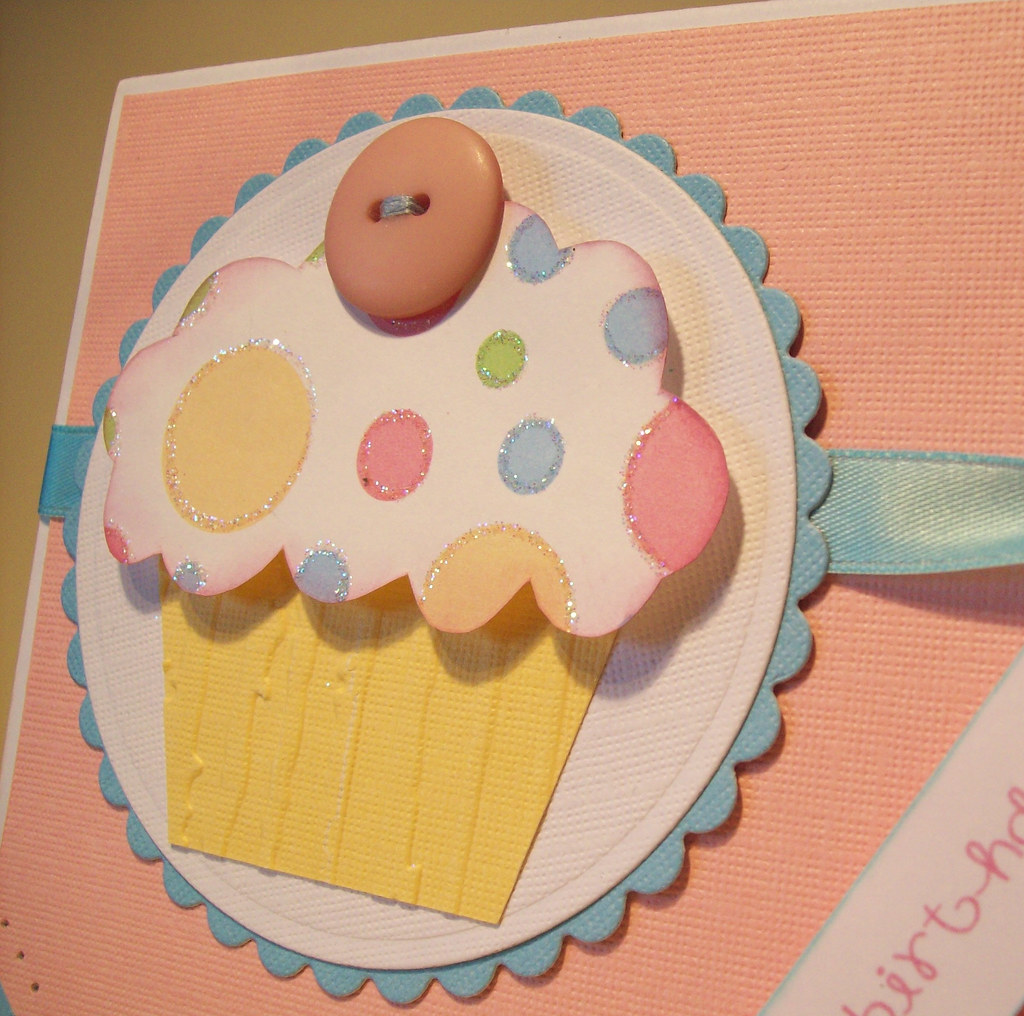 And a slight variation on the first one! I've used my scalloped edge scissors to layer the curved edge.
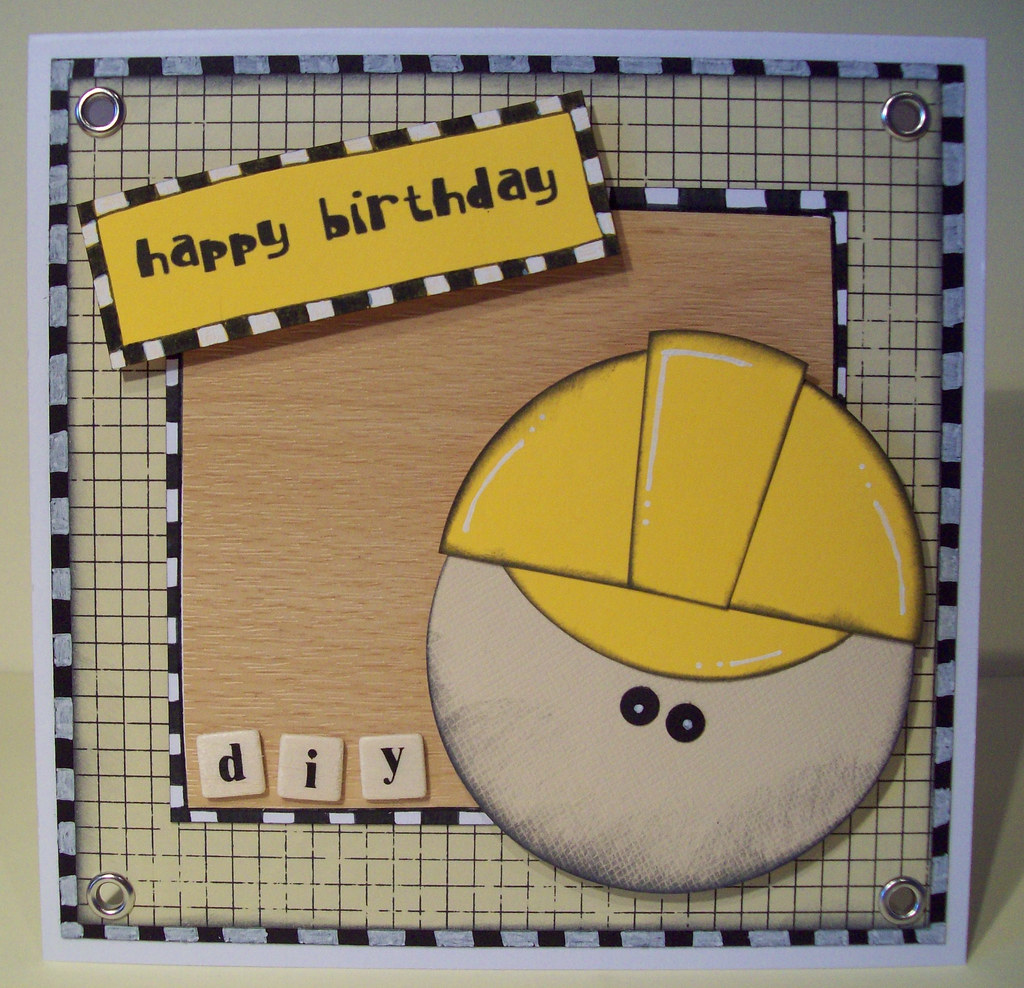